|
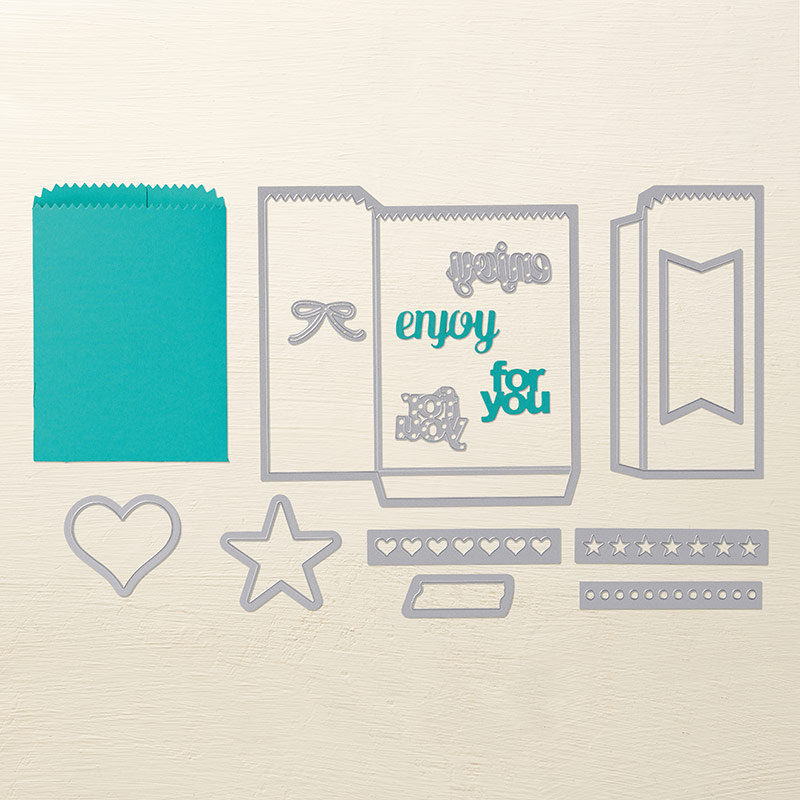
Hi all, Hope you're managing to stay safe and warm from the horrible weather we are experiencing! I very nearly got blown away on the school run today! Today I am bringing you a 3d project instead of my usual card! Stampin' Up! offer a wide range of gift packaging items and one of the things that I really like are their clear acetate treat boxes. Measuring 2" square, these are great for filling with sweet things to share on a table, or just as a little "just because" gift.  This treat box is filled with mints, which is great for the non-chocolate lover, and great as a table gift if you are hosting! I have added some strips of DSP around the box, leaving the top clear so the receiver can see what's inside, and tied with some ribbon and bakers twine to secure. To create the tag, I have used a selection of punched shapes and a sentiment which is just perfect for these things, "Treat Yourself". All of these products are currently available to buy now and with Sale-a-Bration under way right now, you can choose a FREE Sale-a-Bration item with any order of £45! 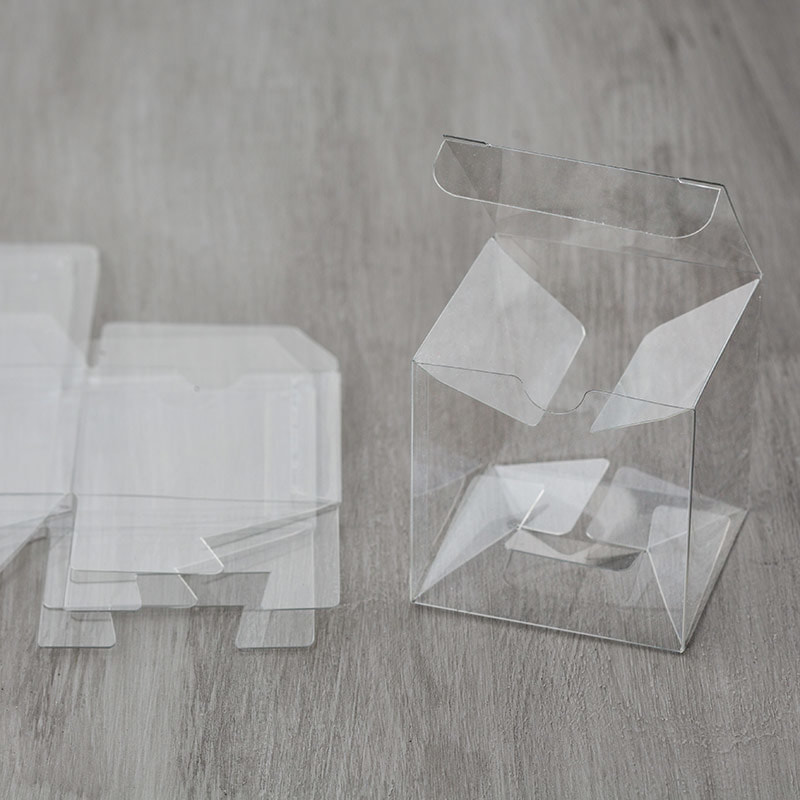 Clear Tiny Treat Boxes 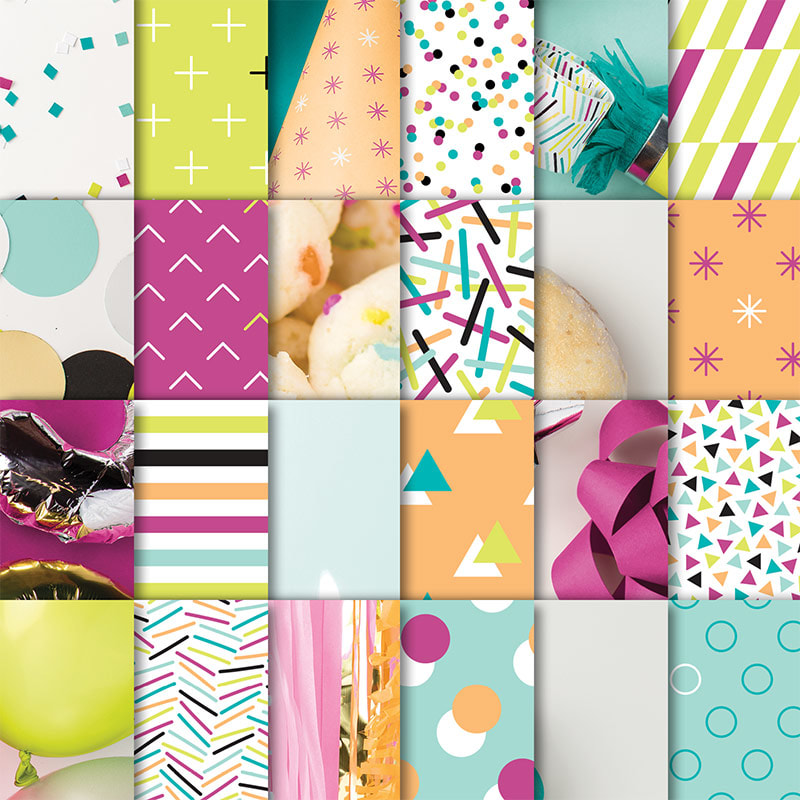 Picture Perfect Party 6" x 6" Designer Series Paper Stack 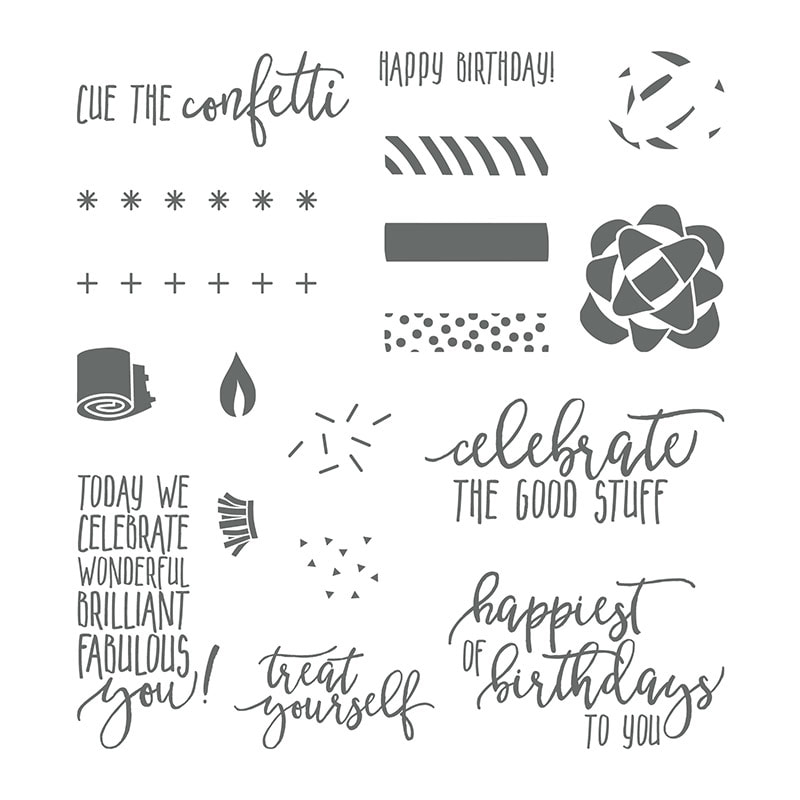 Picture Perfect Birthday Photopolymer Stamp Set 2 of these items are brand new in our Spring/Summer catalogue. If you would like a paper copy sent to you, leave your details in the comments.
Thanks for reading. Stacey xxx
0 Comments
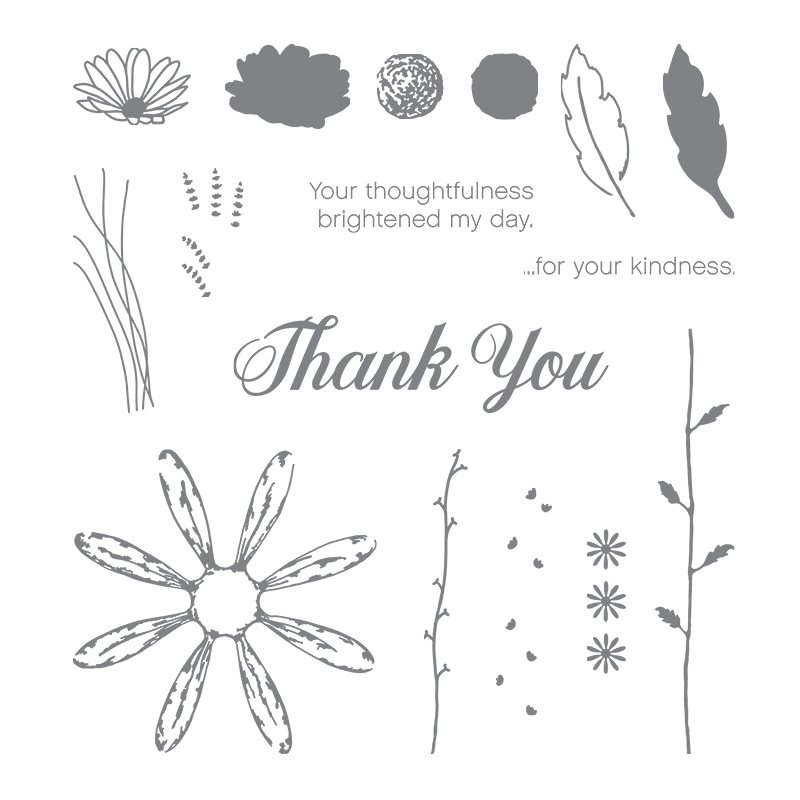
Hi all, When it comes to saying thank you nothing says it better than a handmade card and of course Stampin' Up! have bundles of products that make it so easy for doing just that! 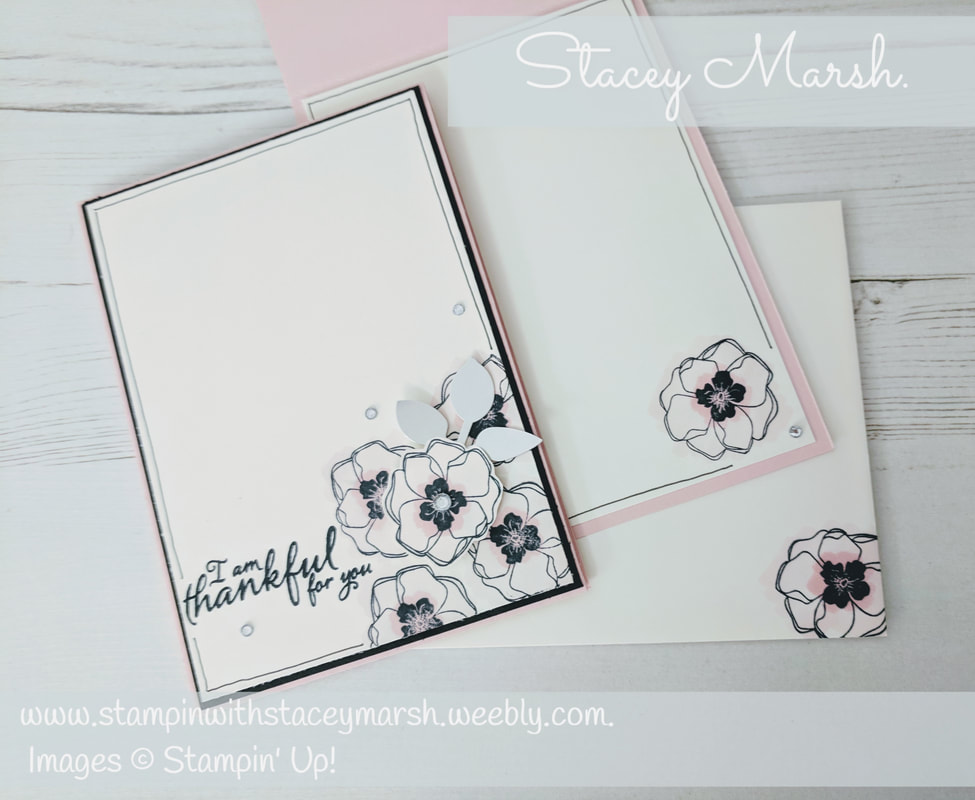 Keeping it simple, I have used just 4 colours to create a monochrome style look.
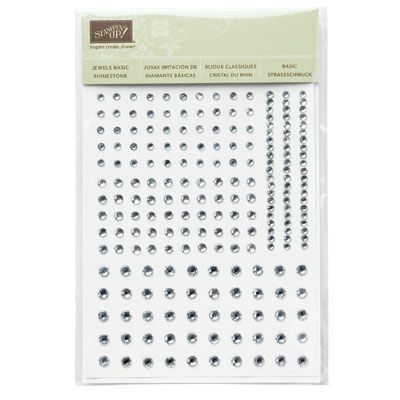
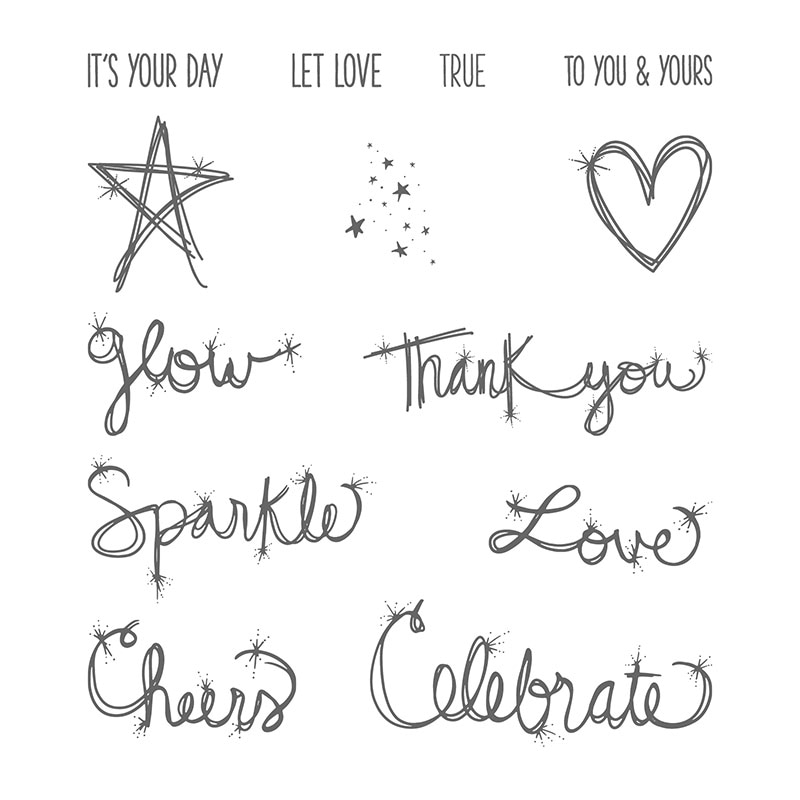
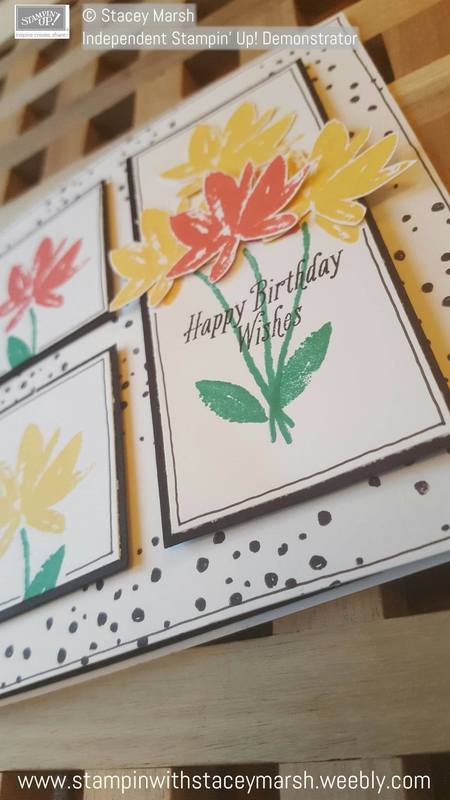
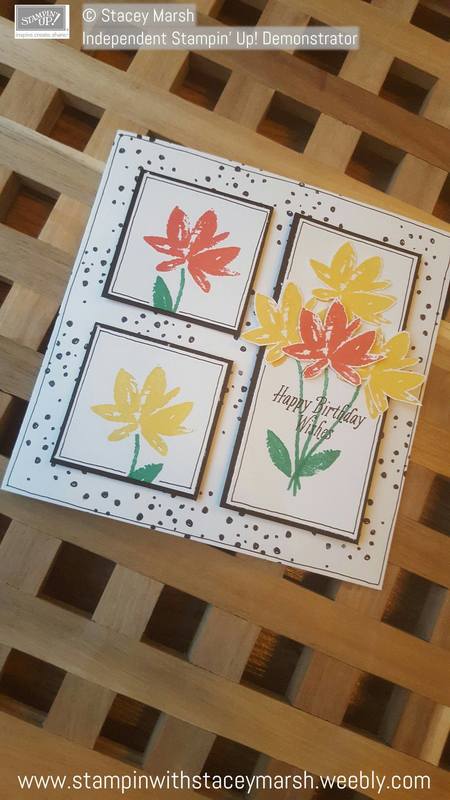
Very Vanilla cardstock Pink Pirouette cardstock and colouring Basic Black cardstock, stamping and doodling Silver cardstock and rhinestone jewels This card measures 4, 1/8" wide by 5, 1/2" tall. The Basic Black mat layer measures 4" x 5, 5/8" The Very Vanilla mat layer on the front and inside the card measures 3, 7/8" x 5, 3/4" I have used the new Stampin' Blends to add colour to the flowers. Rather than colouring in neatly, I have just added a wash of colour and some darker colour for the flower centres. Sometimes colouring outside the lines it's okay, it just depends on the look that you want to achieve. Although this card looks quite flat I have added some dimension by stamping a separate flower, cutting it out with scissors and attaching with a foam pad. The leaf attached underneath is cut using the new 'Leaf Punch' and although it isn't clear in the photo I have used Silver Foil Card to add some shine. To add some sparkle I have added some rhinestone jewels to the centre of the attached flower and some others at random in the Vanilla space. The line around the edges of the card is drawn freestyle with a Basic Black Stampin' Marker and I think it lift's the image off the page better than keeping it plain. To finish off this project I have stamped and coloured a flower inside the card and also on the envelope. The 'I am Thankful For You' sentiment comes from the 'Painted Harvest' stamp set and the flower comes from the new 'Colour Me Happy' stamp set. Stacey.xx Hi all, Hope you're all having a lovely weekend! This week I was asked to take part in a new challenge by "The Joy of Sets". This challenge is an alphabet based challenge and this week is all about the letter C!  Challenges are set every 2 weeks, and are for use with current and retired product so it really is a great one for all Stampin' Up! lovers out there! Anyway, the lovely Fiona Whitehead asked me to take part and how could I refuse?! So after a busy day with the girls and a curry, I thought who wants to clean the house on a Saturday night....?!! Looking through my stamp sets... I own 2 that I would have been suitable and I settled on the lovely Confetti Celebration which was a new set in last year's annual catalogue that is still current!
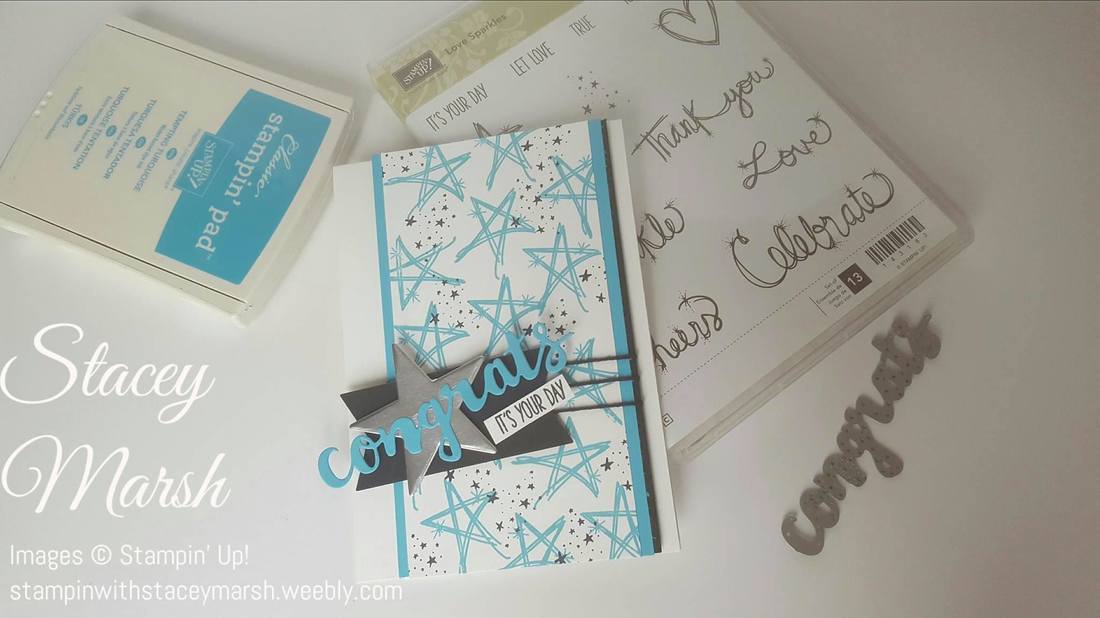
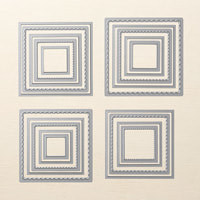
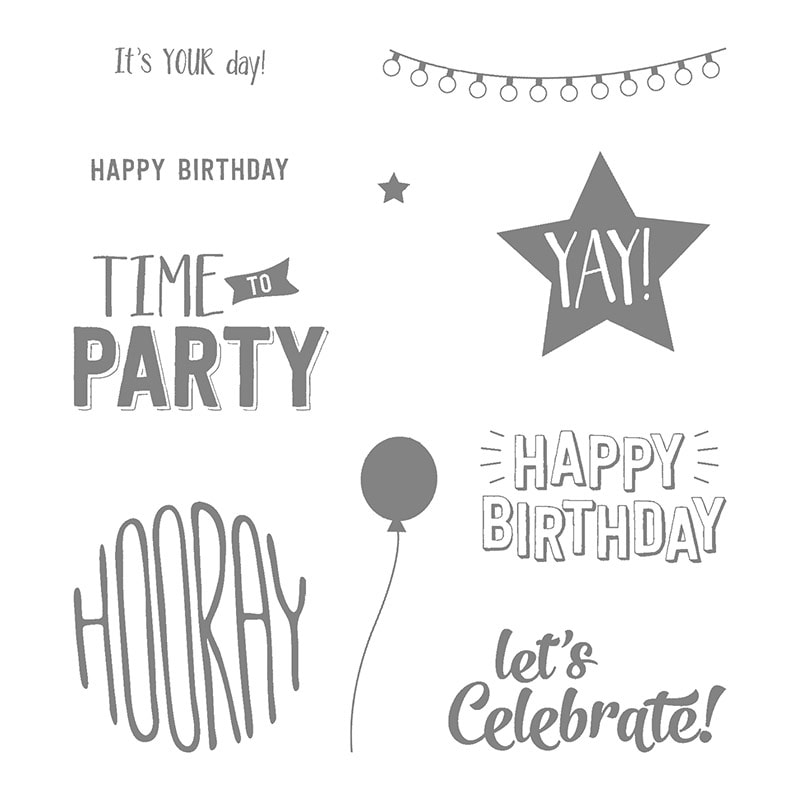
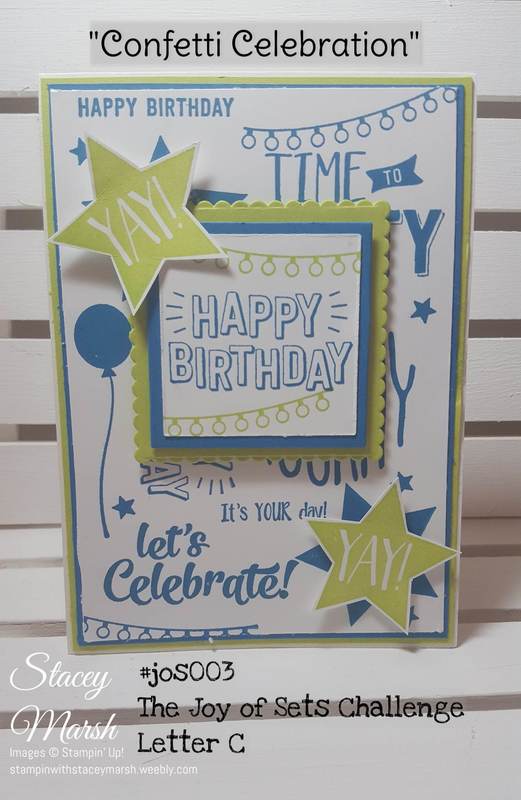 I have seen this background technique used quite a bit for this stamp set on Pinterest and I think it looks really effective. I have used every stamp in the set to create a background, and then chosen 1 sentiment to use as the centrepiece. On this card, I used the Layering Squares thinlit dies to mount the main sentiment and fussy cut the stars to add something extra. I found that using the Stamp-a-majig tool really helpeful for making sure that my stamping was straight and not wonky. This was a really quick card to put together and will be great for a male birthday card! These are the products that I have used: I enjoyed taking part in this challenge and I look forward to joining in next time when I'm guessing it will be the letter D....now what stamp set shall I use?!!7
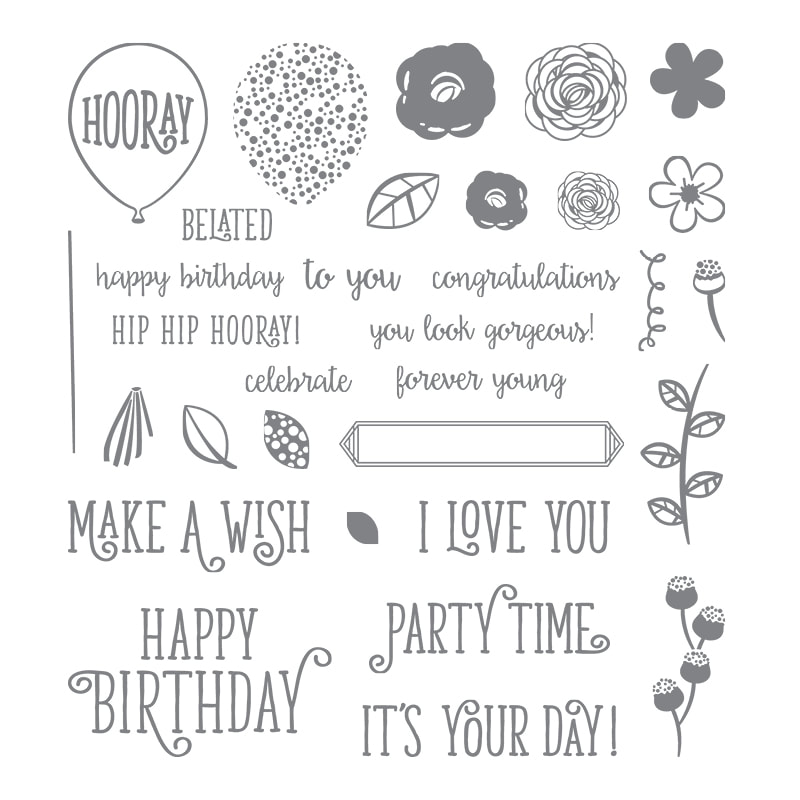
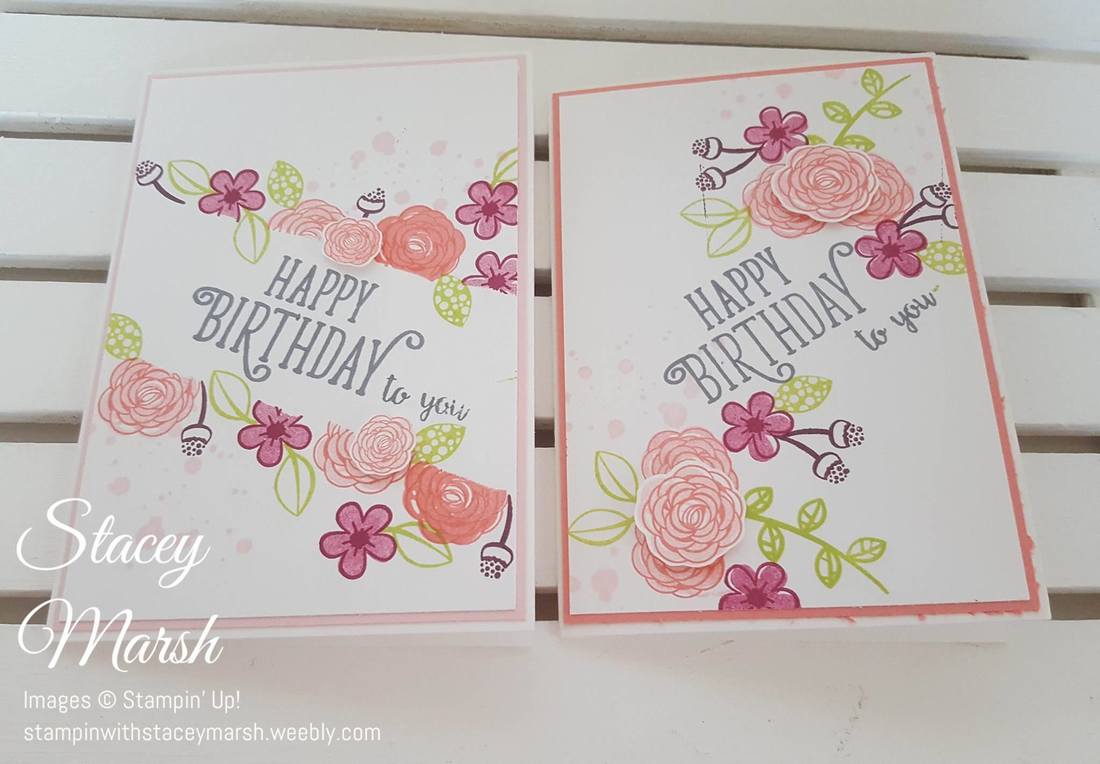
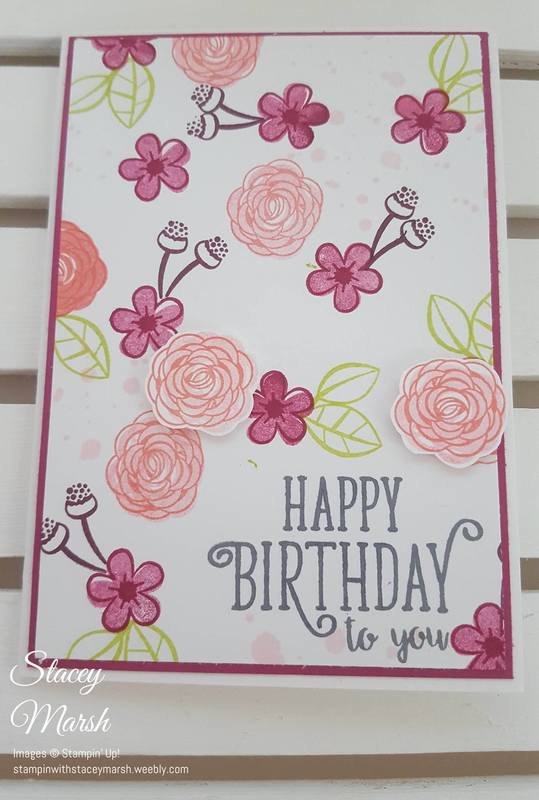
Stacey xx Hi all! After the excitement of my little girl's christening last weekend I finally got some crafting time in this weekend hooray! I will be doing a few craft fairs over the next few months and when I have done these in the past, sets of notecards always seem really popular! I'm still slightly lacking on the new product front from the new catalogue but one of my favourite new stamp sets is called Happy Birthday Gorgeous! 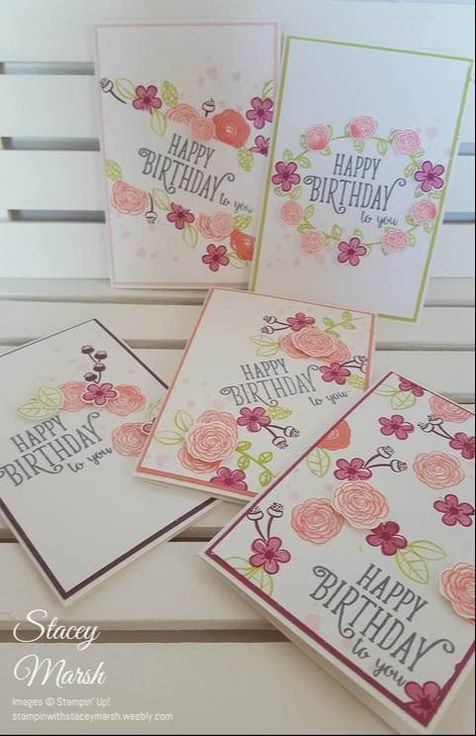
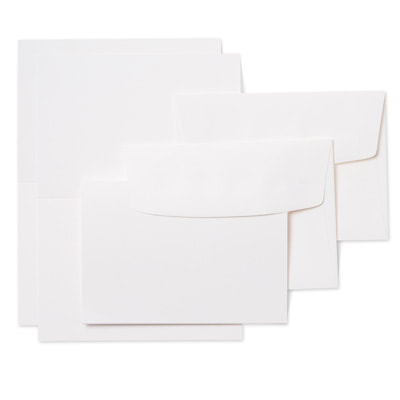
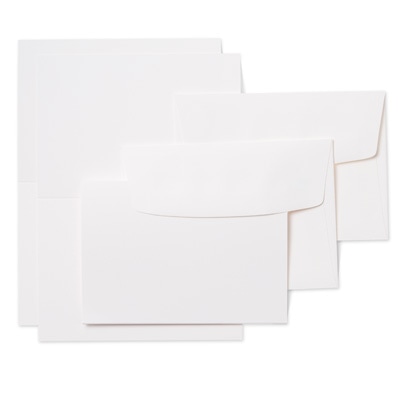
These cards are made using the Notecards and Envelopes that are available to purchase in sets of 20. They come in Whisper White and Very Vanilla options and I have used Whisper White for these cards These are the products that I used to make this Happy Birthday Gorgeous Notecards set... Thanks for reading!
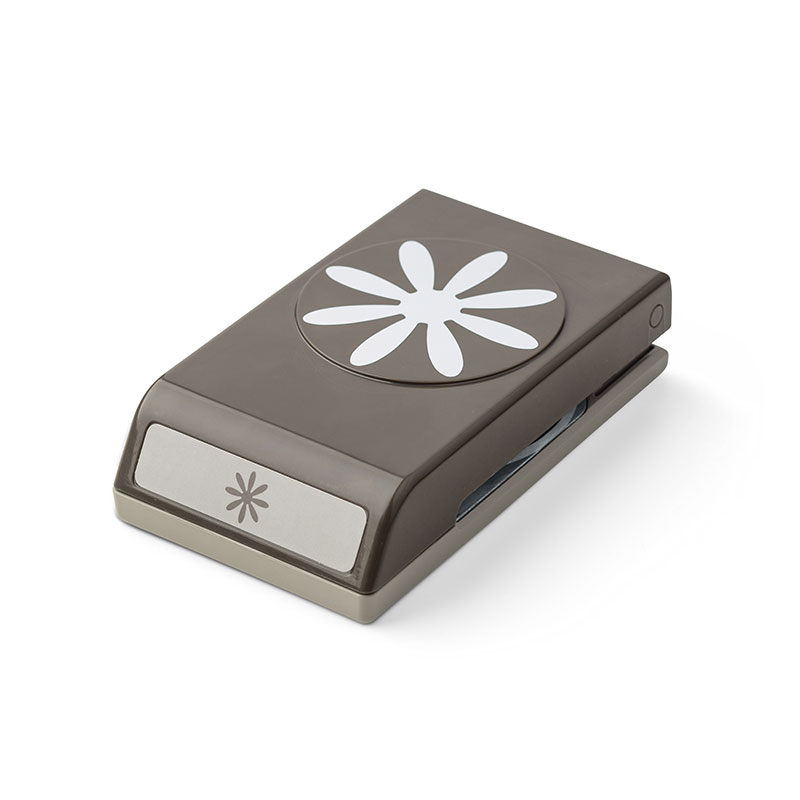
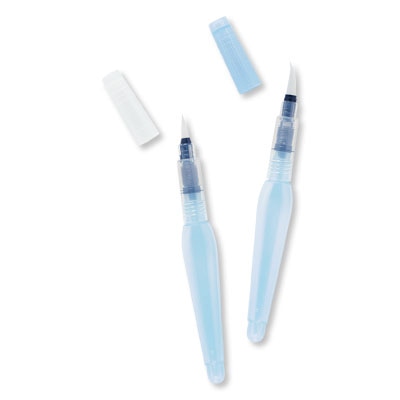
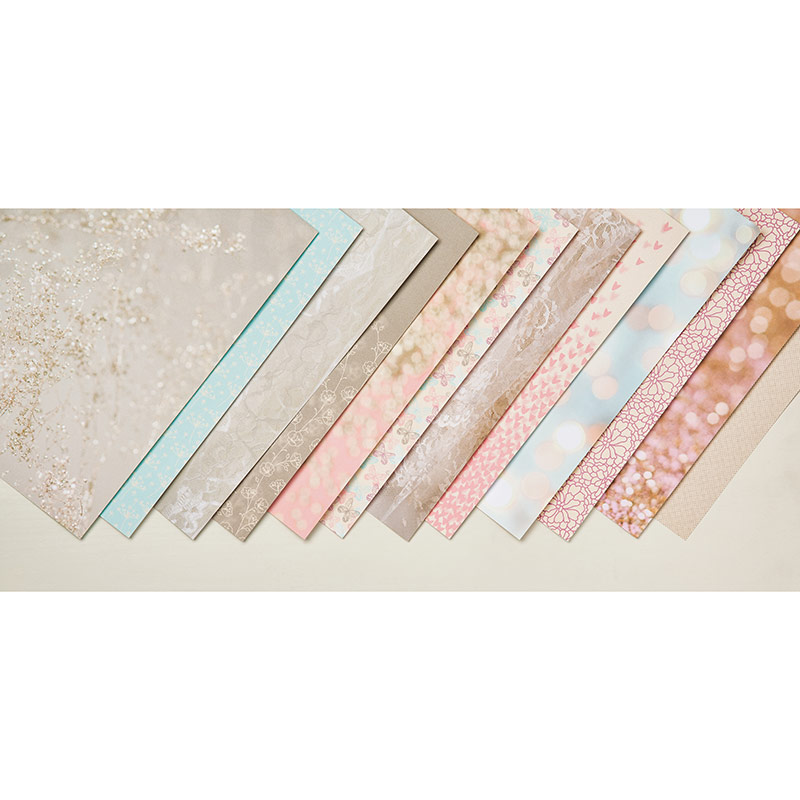
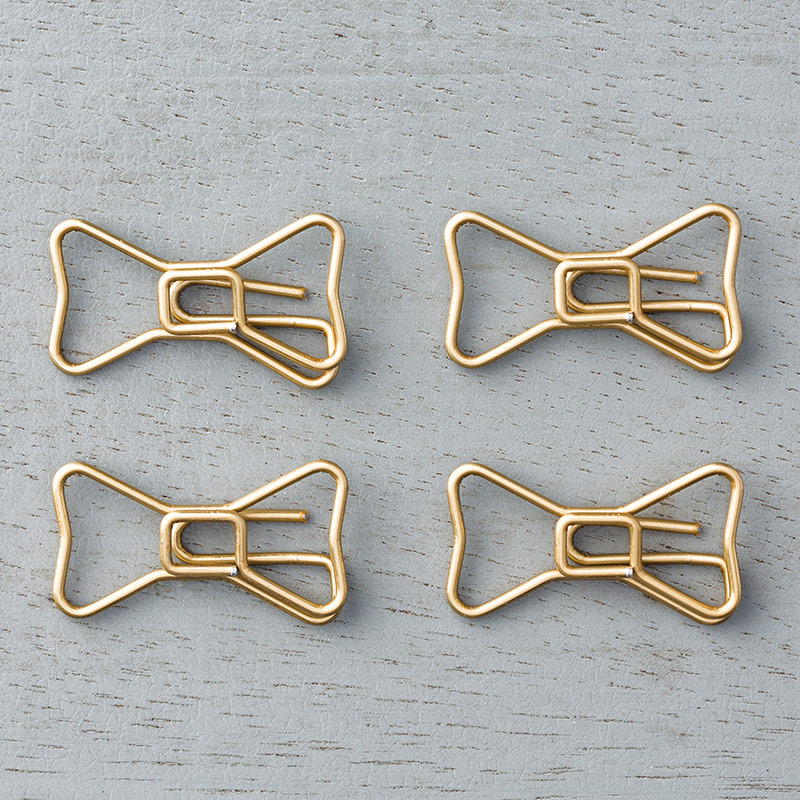
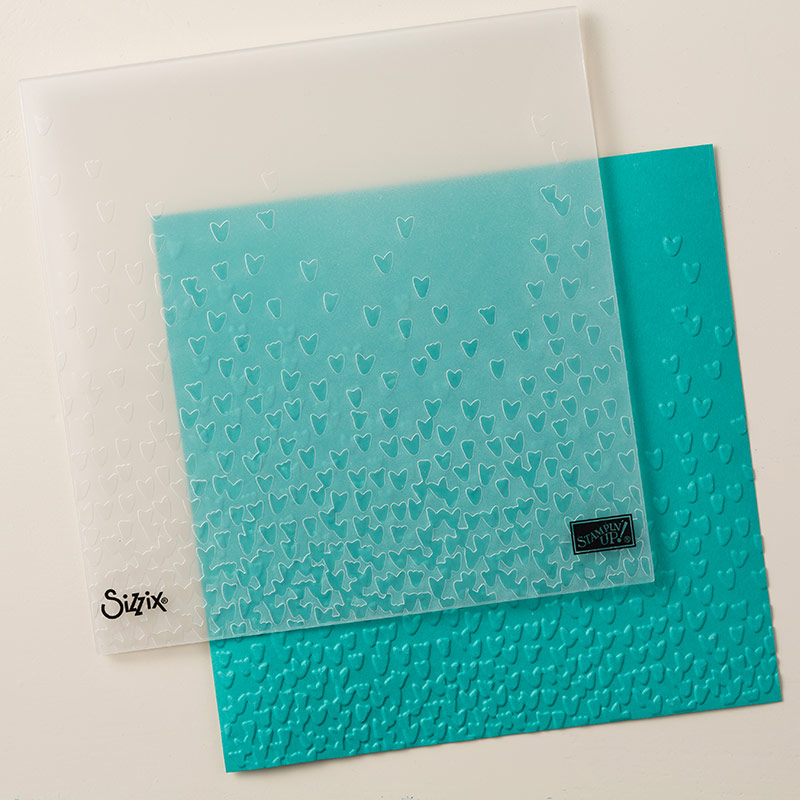
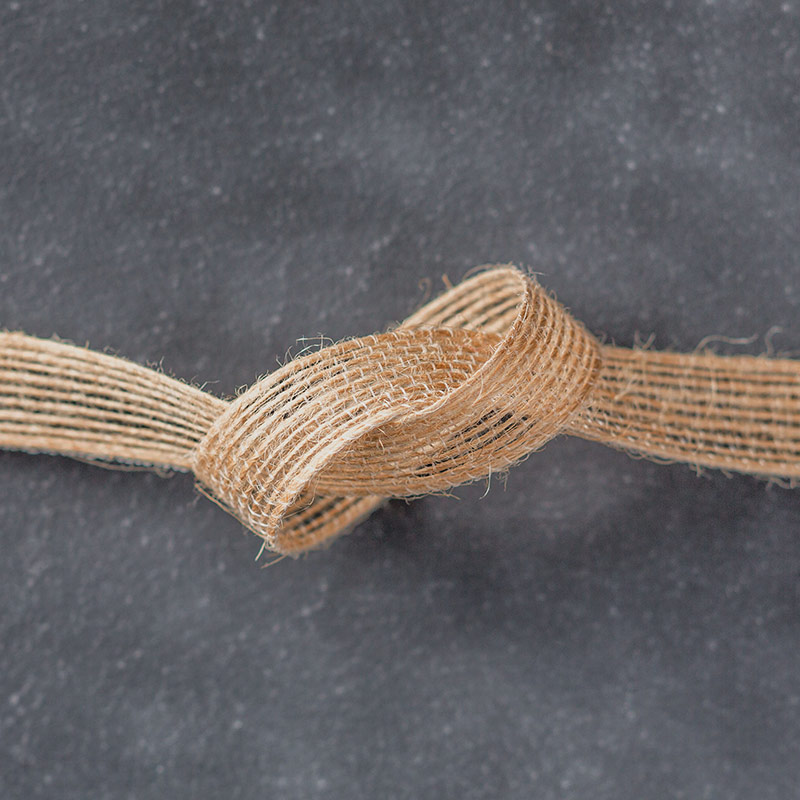
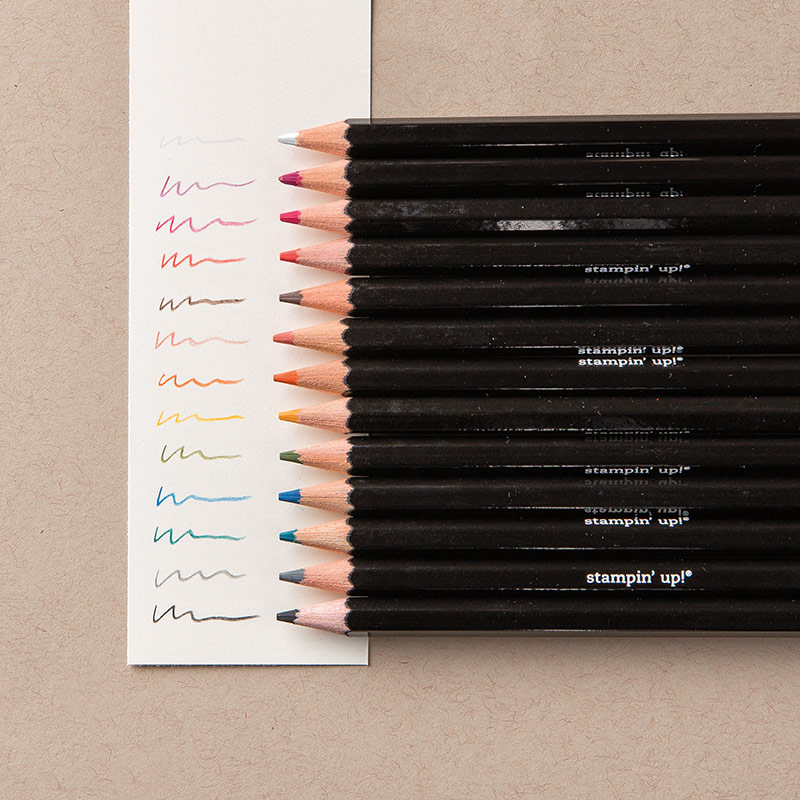
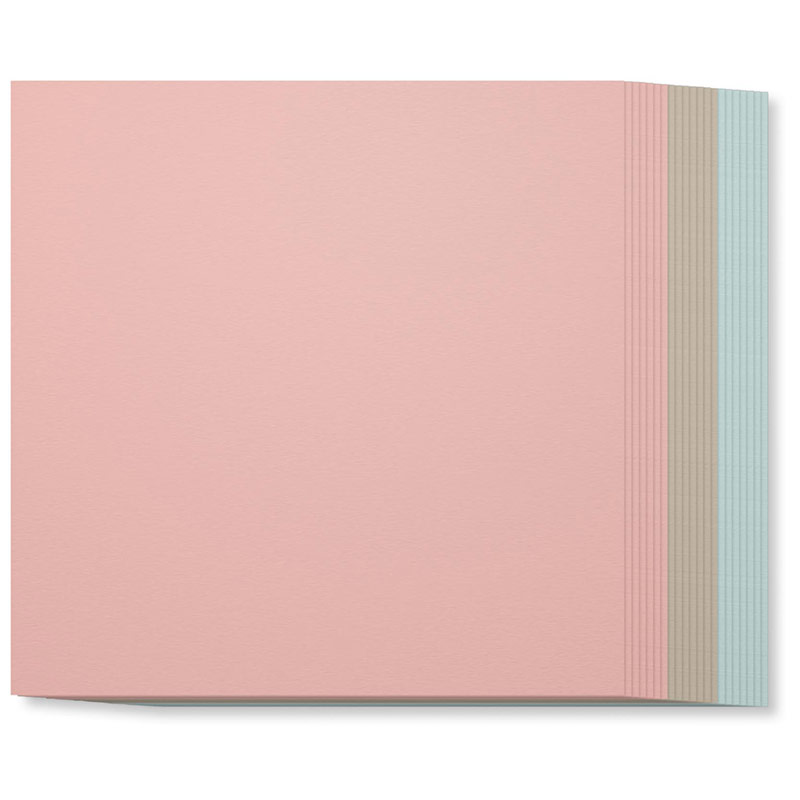
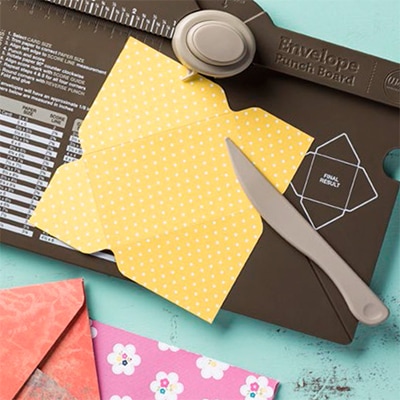
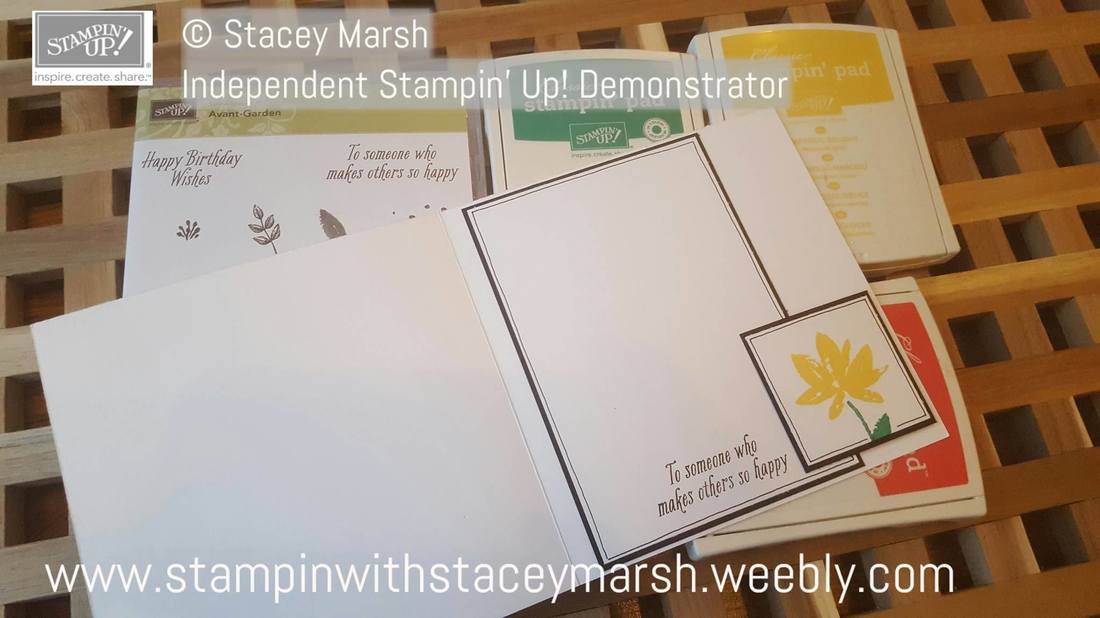
Looking forward to finishing off the Memories and More project sample to show you all ready for my taster class next week! Stacey xx Hi all, So here we are...the final of the 3 card that we made at this month's card class all about Beauty on the Inside! It's always nice to make a really lovely card with just the front decorated but sometimes its nice to surprise your recipient with a little decoration on the inside! This is my favourite of the 3 that we made....just saying! 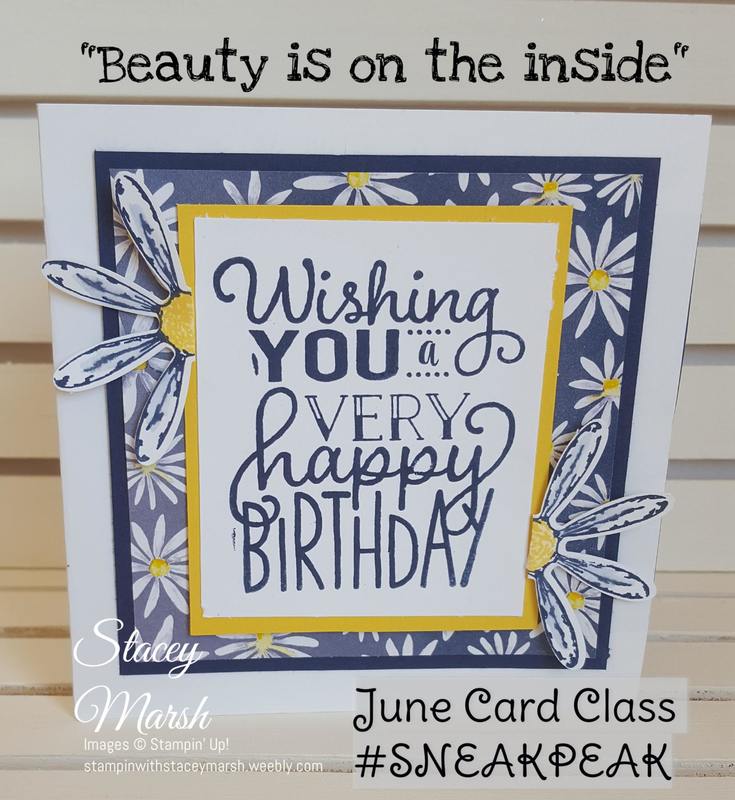 Apart from the gorgeous colours on this card (Night of Navy and Daffodil Deilight) I have used the new Daisy Delight stamp set and matching Daisy Punch which is sold out across the whole of Stampin' Up! right now which just shows how much people are loving this set! The papers come from the Delightful Daisy Designer Series Paper set and this is the one that jumped out at me first...and I found it really hard to cut (ha!) The sentiment comes from the Big on Birthdays stamp set and is such a nice size to use! I added the daisy's for that extra something! And for the Beauty on the Inside... 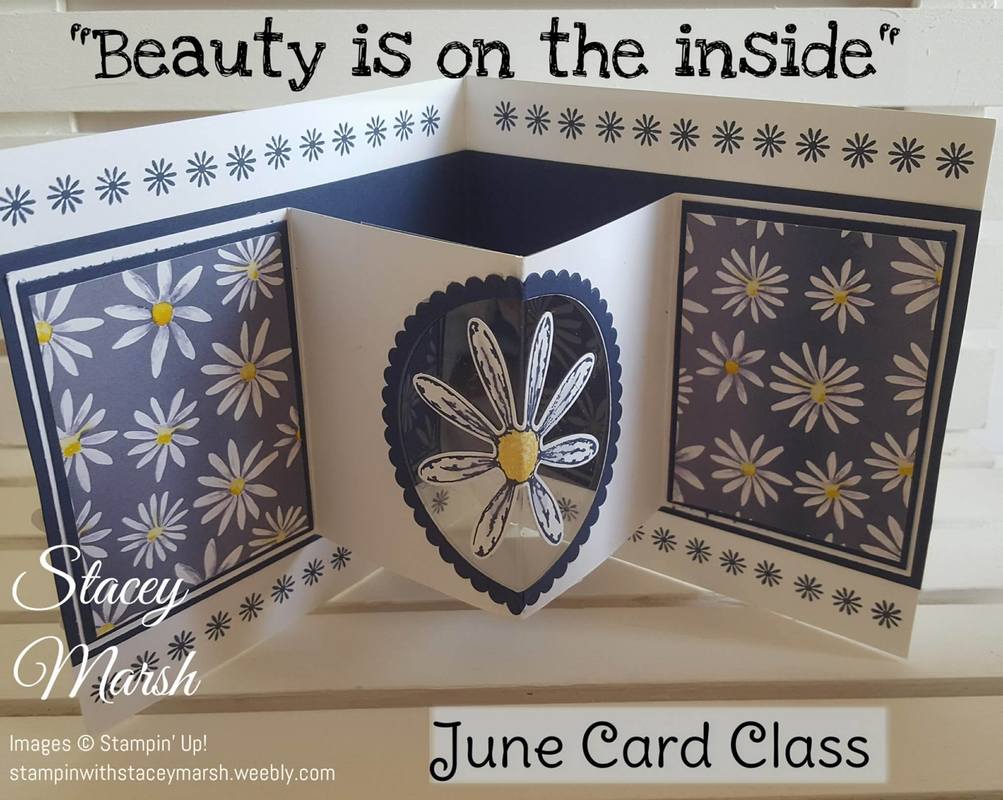 So within this card, I have added an extra fold out panel with a window sheet used underneath the circle apperture and added another daisy as the centre piece. It doesn't fold well but the inside really is so pretty! It definitely looks more complicated than it was to put this one together but I think its quite effective! You could add anything to the centre...maybe for a christmas card, a christmas tree or a snowflake?! (Yes I'm starting to think about Christmas!) These are the products that I used to make this card... Hi all, Hope you're all having a good week! March's classes are all about the Beautiful You Stamp Set which is definitely the most popular stamp set from the Spring/Summer seasonal catalogue. If you've looked at Pinterest, you will see this stamp set being used alot! It is such a versatile set and looks fab however it is used! 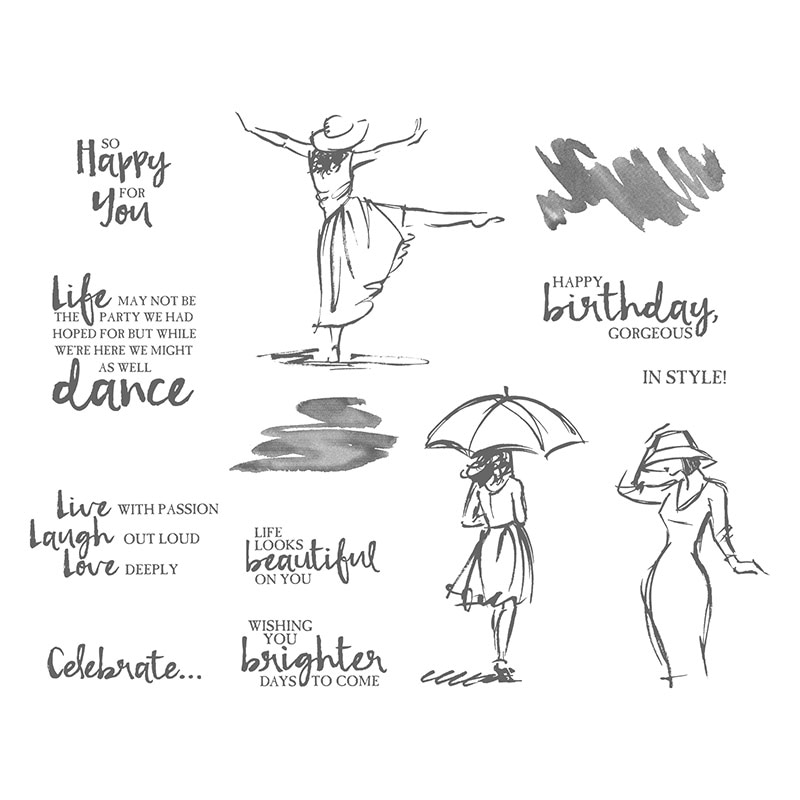 Alot of my customers have bought this stamp set so I thought it would be a good idea to put together a class. I love to make sets of coordinated notecards. They make for great gifts and always go down very well at craft fairs! 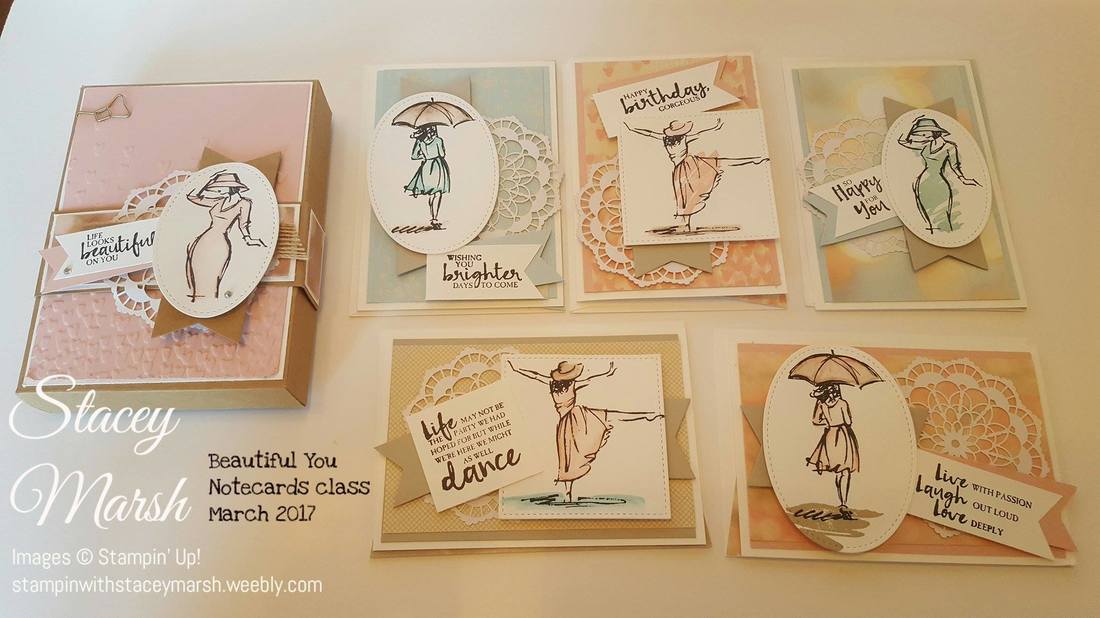 The box contains 5 notecards/envelopes which have been decorated with the Falling in Love Designer Series Paper set which is gorgeous pastels and really compliments the sentiments in the stamp set! The lady images have been coloured in using the new Watercolour Pencils and wash stamps from the set. 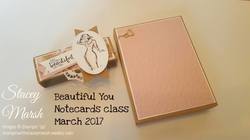 I made the box from Kraft card using the Envelope Punch Board. Starting with a 9"x9" piece of card, line the card up at 3, 1/8" and punch/score on all 4 sides. Then using the same piece of card, punch/score again with a starting point of 4,5/8". The box is then secured closed with the belly band. I used the following products to create this set: Watercolour Pencils & Aqua Painters Dies - Stitched Shapes Framelits & Mini Treat Bag Thinlits (banner die) Beautiful You stamp set Basic Black Stazon Ink, Blushing Bride, Pool Party & Sahara Sand Falling in Love DSP & cardstock Whisper White Notecards & envelopes Falling Petals Textured Impression Embossing Folder Triple Banner Punch & Envelope Punch Board Burlap Ribbon Gold Bow Paper Clip If you would like to order any of these products or find out about classes that I offer, please message me!
Stacey xxx Hi all, I hope you all had an enjoyable weekend. We managed some quality family time with a trip to the zoo and it was so nice to be outside in the fresh air making memories together! I've managed quite a bit of craft time this week (hooray!) so i'm on track with this week's Global Design Project challenge! This week we are casing the designer.... 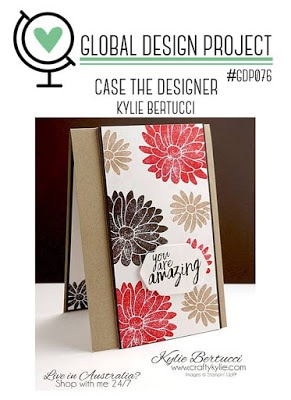 I love the colour combo that Kylie has used here but I've chosen to case just the style of card ...  For this card I have used the following products:
To make this card
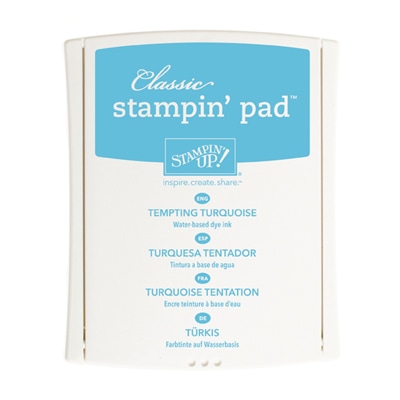
Tempting Turquoise measuring 3,1/4" x 5,3/4
 I hope you like my entry, thanks for reading!
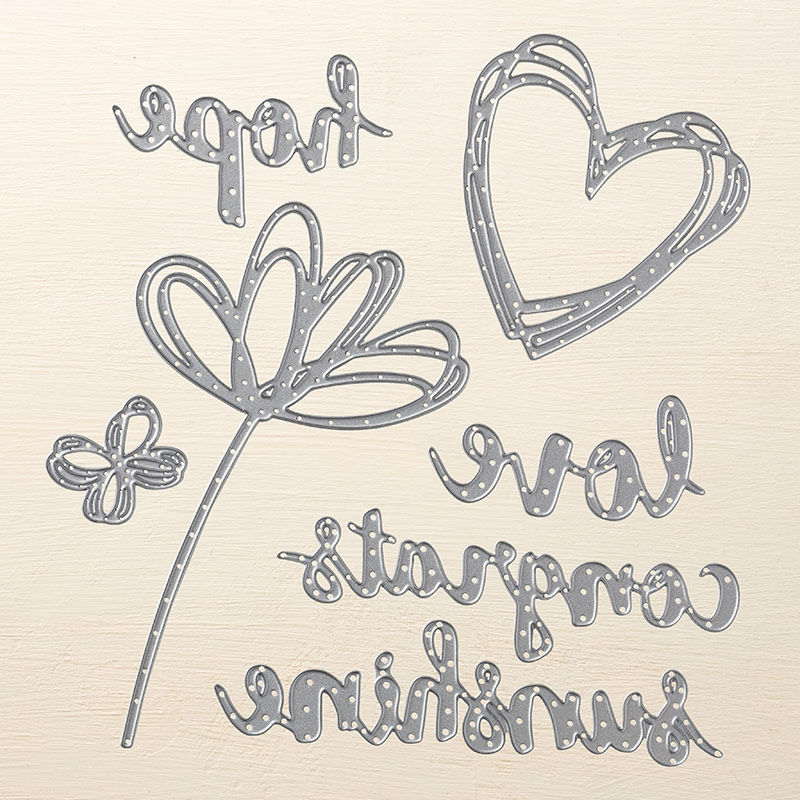
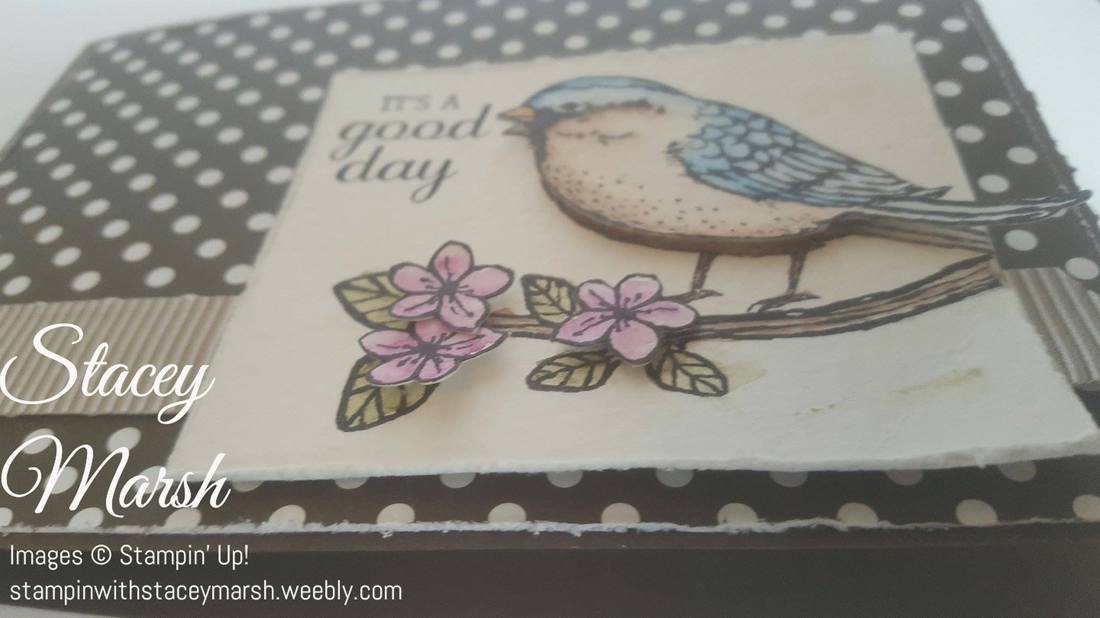
Stacey xx Hi all, A bit late in the week for me but I got there eventually! This week's Global Design Project challenge is a theme week all about Winged Creatures!  What does Winged Creatures mean to me?! Well, Butterflies were what stood out to me first, however this challenge is designed to get you crafting out of your comfort zone, well for me that's the idea anyway so I didn't reach for my many butterfly stamps and dies...instead I opted for an unused stamp set that I have in my stock...Best Birds! 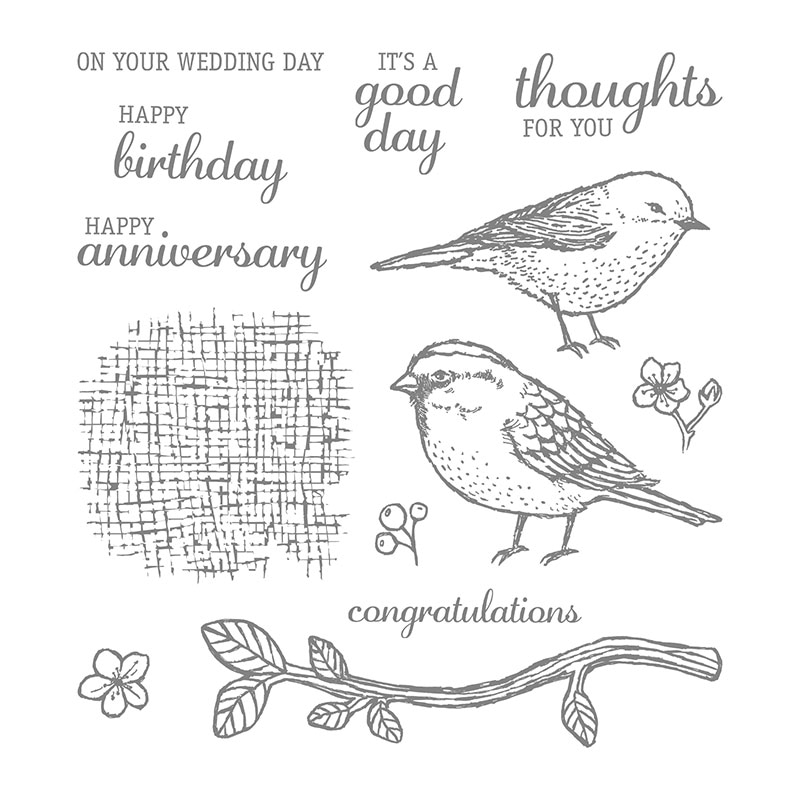 I love this stampset and I have many projects pinned to Pinterest unsing it but nope it's still untouched...until this week! 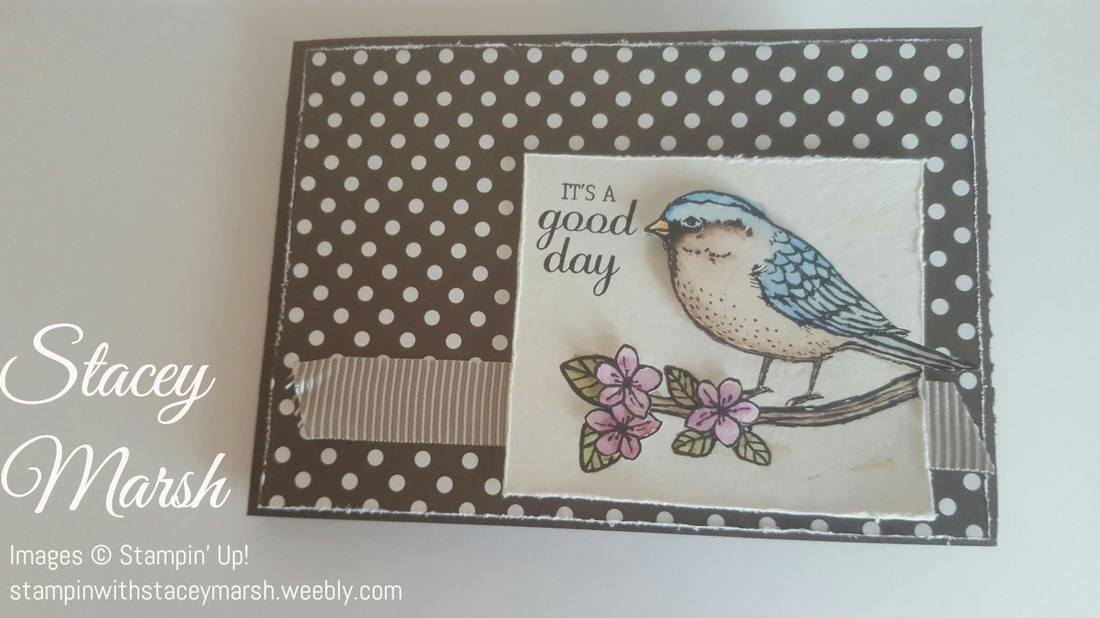 The card measures 4" x 5, 3/4". Using the Stazon ink I have stamped the branch onto watercolour paper and then the bird to get the image that the bird is standing on the branch. I also stamped "it's a good day". On a seperate piece of Watercolour Paper I have stamped the bird again and 3 flowers. Using the watercolour pencils and an aqua painter I have coloured the images in and left to dry. Whilst there are coordinating framelits for this stamp set, I didn't purchase them so I have cut the bbird and flowers out using my good old scissors. I have attached the bird and the flowers to the base image using Dimensional foam pads. To make the edge of the watercolour paper & DSP look rough, I have scratched the edge using the blade of my scissors. The DSP has been stuck to the Early Espresso cardstock, trim added and the image using dimensionals to make it stand out.
Watercolouring is still very new to me but overall my technique is improving. This isn't a traditonal "my style" of card but I hope you like it! To purchase any of these items that I have used, please click "visit my shop" below. Remember the "sale-a-bration" promotion is currently running whereby any order over £45 will reward you with a FREE limited edition product of your choice!  Have a great weekend!
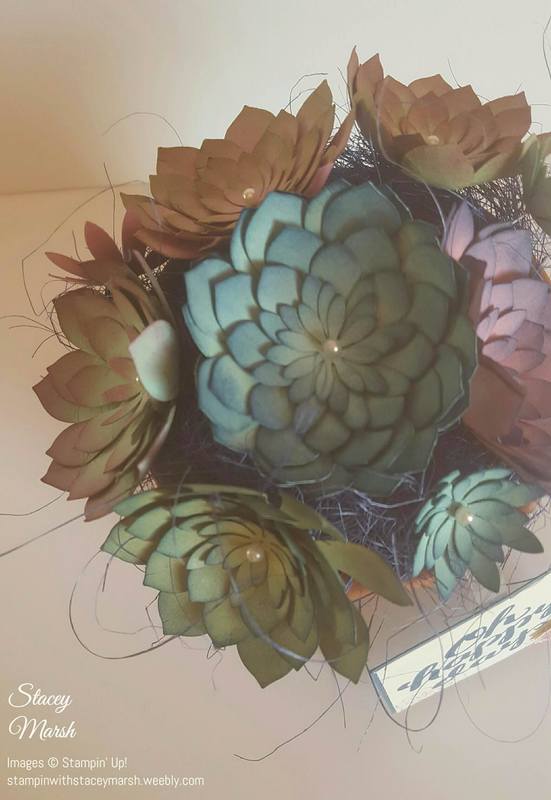
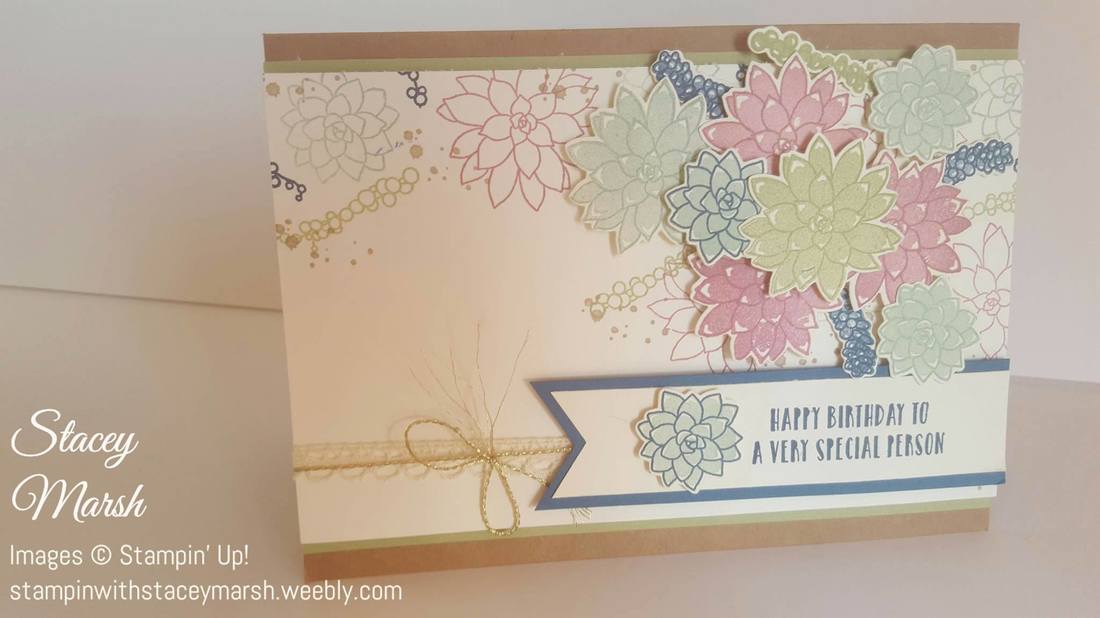
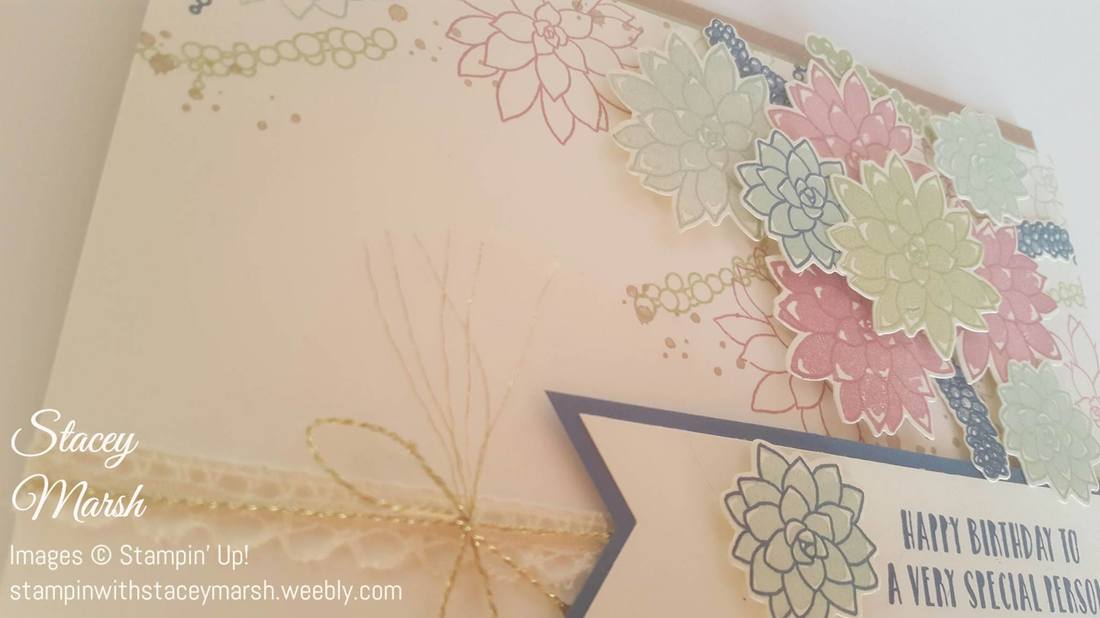
Stacey.xx Hi all, This months' project class was based around the Succulents Bundle that is one of the new products available in the Spring/Summer seasonal catalogue. 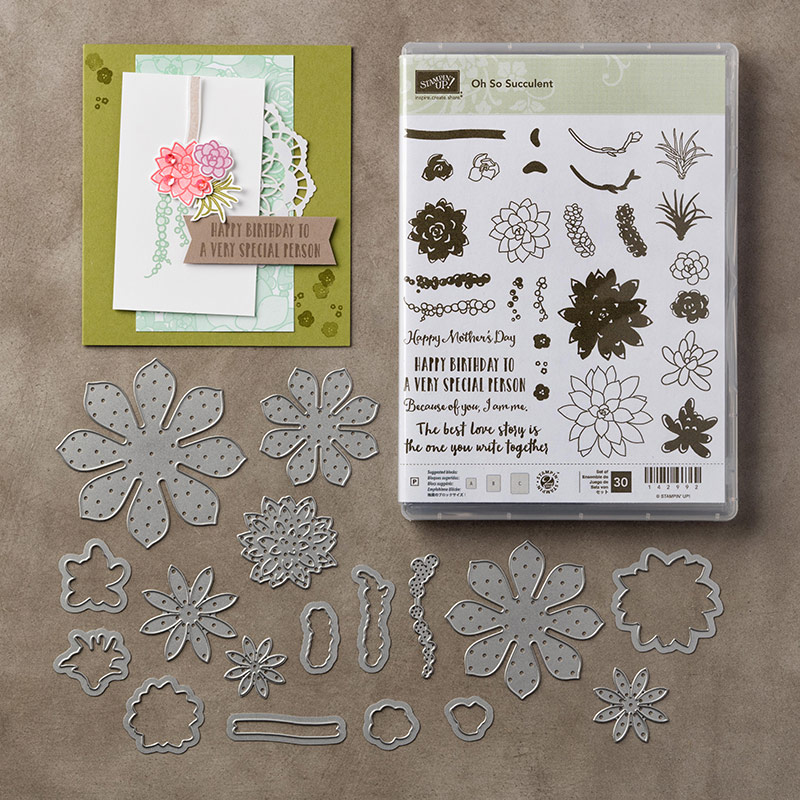 This set jumped out of the catalogue at me as it screams Spring and who doesn't love spring?!! For this class I wanted to make something more than a card as the large flower dies make the most beautiful 3D flowers....and this is what they made! 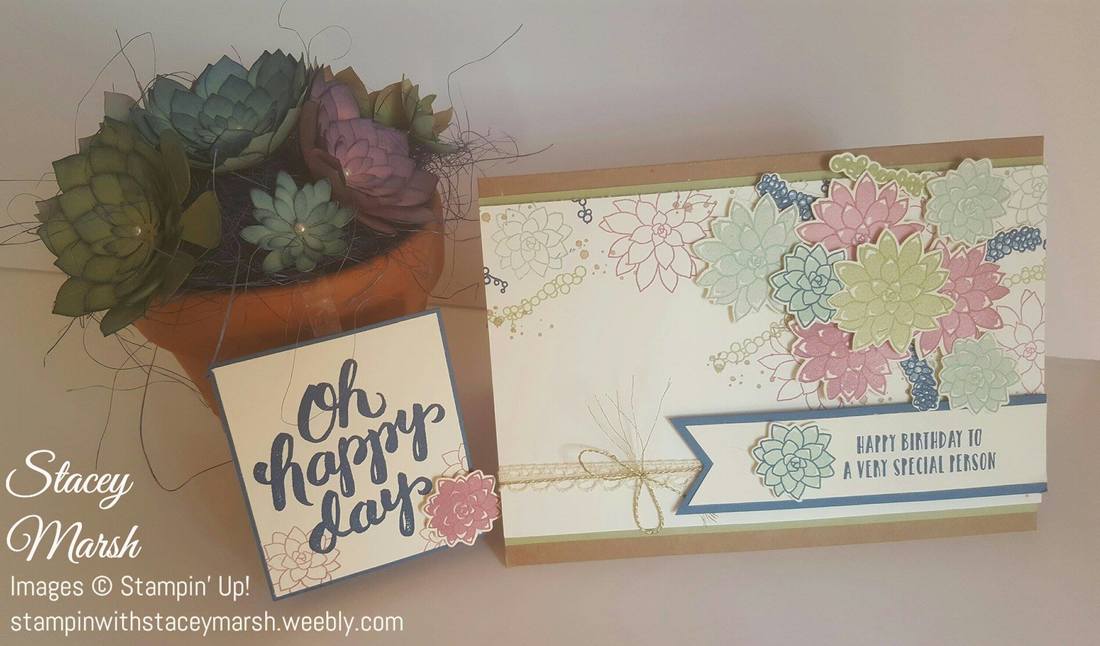 I picked the flower pots up from Wilkinsons and used some Sisal that I purchased from Hobbycraft and ordinary dressmaker pins with a pearl top. To order this stamp set, please click the online shop link below and don't forget with the current Sale-a-Bration promotion running until the end of March, you can choose a limited edition FREE item when you spend £45! Stacey xx Hi all, Hope you all had a fab weekend! I had a week off from this challenge last week but i've had some quality crafting time this weekend so i'm back on track! This weeks Global Design Project challenge is a colour palette challenge involving the following 3 colours!  And here's my entry... 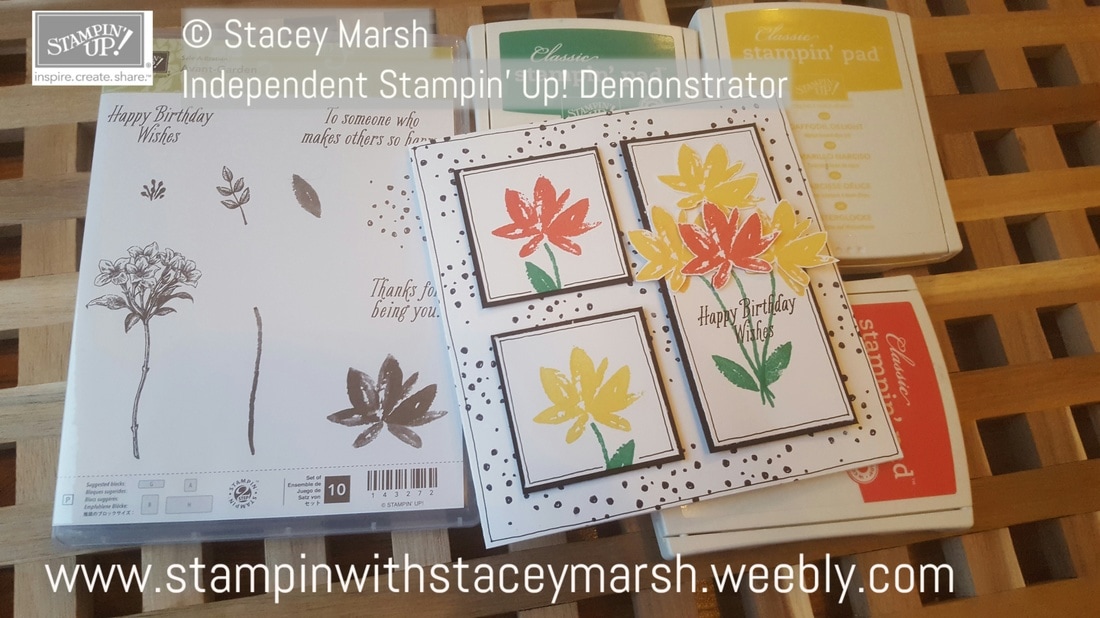 This stamp set is one of the FREE stamp sets currently available on this years Sale-a-Bration promotion. Please click here to visit my online shop! Thanks for reading!
Stacey xxx |
About Me
Hi there! Shop With Me
Order Online
Shop 24/7 by clicking on the logo above and get Stampin’ Up! products delivered directly to your door for a flat postage rate of £4.95 Browse the
|


 RSS Feed
