|
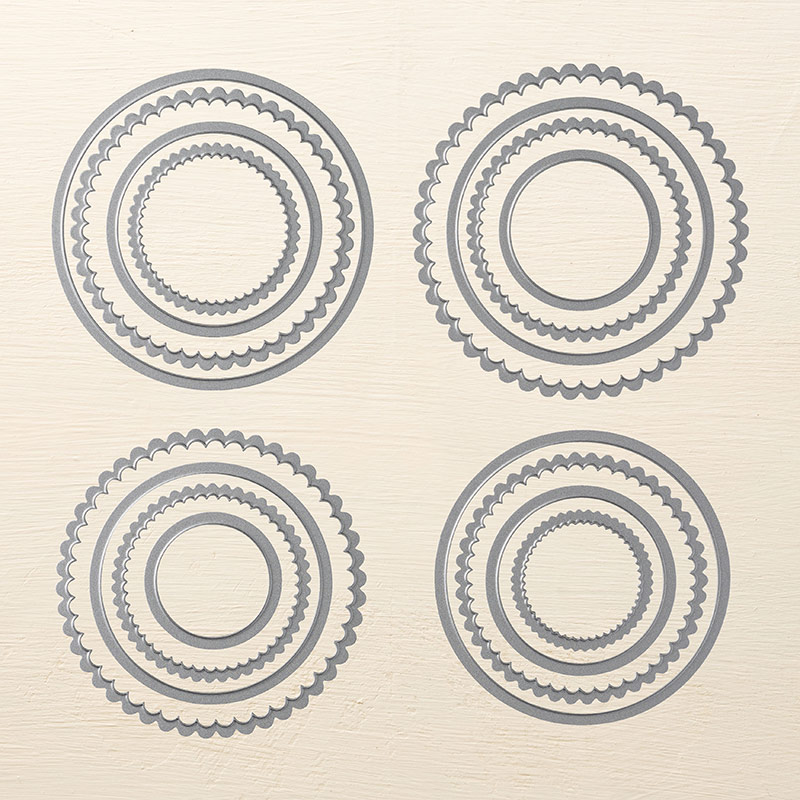
Hi all, One of my favourite things to do at this time of the year is to make desk/hanging calendars. You can pick up the calendar tabs from most card shops, and craft stores at this time of the year, or if you are really clever, make your own! (I'm not that clever so I bought mine!) I also love to put into my catalogue mailings little gifts, be it a card, or something like this! 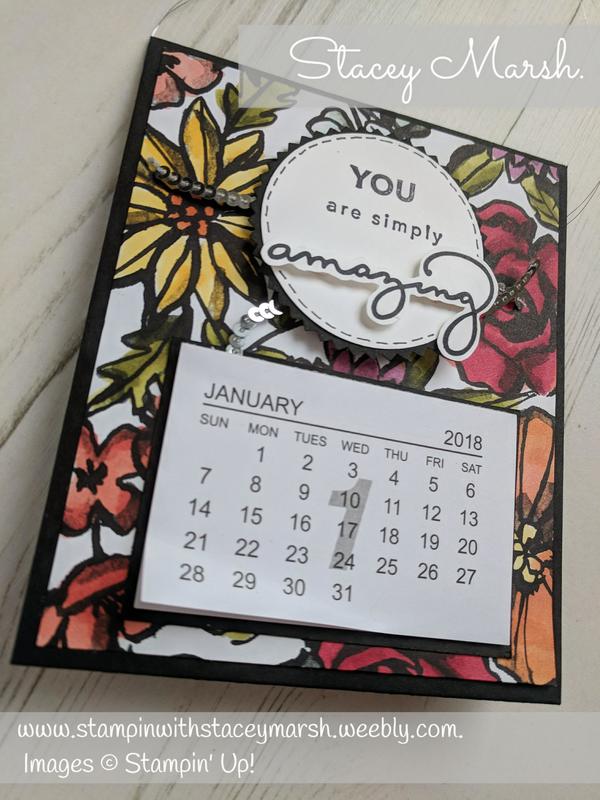 These calendars really are so simple to make and took me hardly any time at all to put together. You can even get 2 out of an A4 sheet! The base is made from Basic Black cardstock measuring 4, 1/8" x 11, 1/2". With the card base placed lengthways in your scorer, score at 5", 5, 1/2", 6" and 11". Fold around and secure with the left-over tab at the end. I have used DSP from a new collection called "Petal Passion" which is actually just a black and white monochrome DSP, but I have added colour with the new Stampin' Blends to lift it off the page. (I'm actually quite impressed with my colouring too!). The stamp is from a new Sale-a-Bration freebie set called "Amazing You" and I have punched it out with a 2" circle punch and the Starburst Punch to lift it off the DSP. I hope you like! All the products are available now, and remember with Sale-a-Bration you can earn stamp sets, DSP, embellishments and Dies all for FREE!! Stacey xx 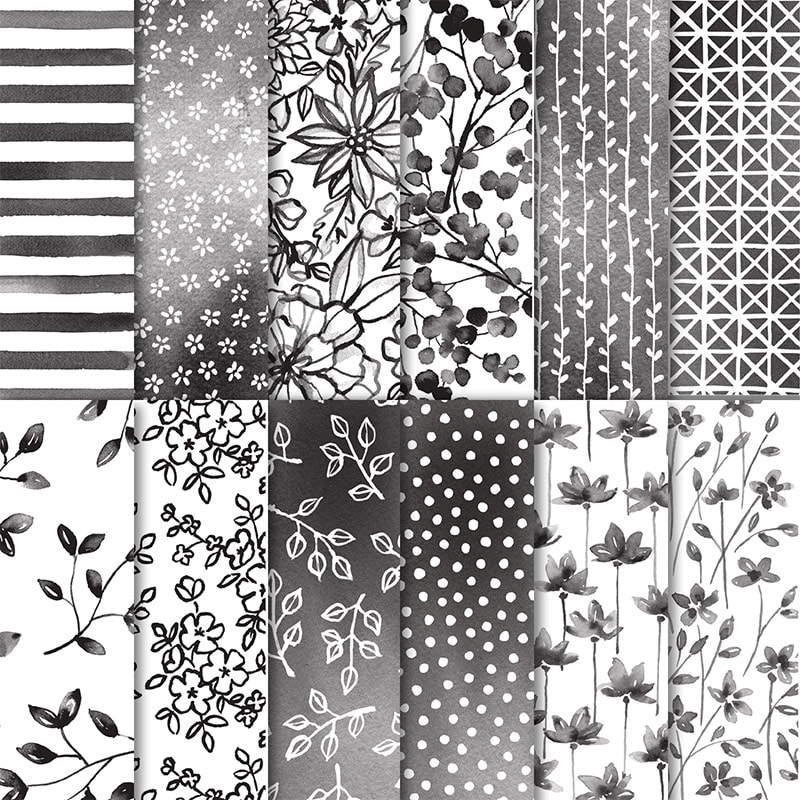 Petal Passion Designer Series Paper 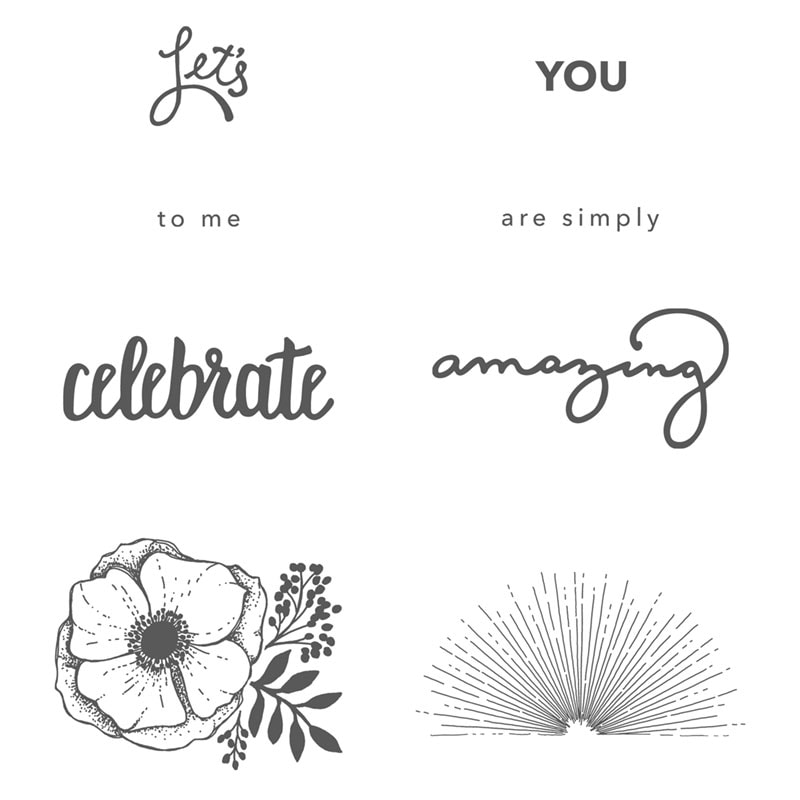 Amazing You FREE Sale-a-Bration Stamp Set 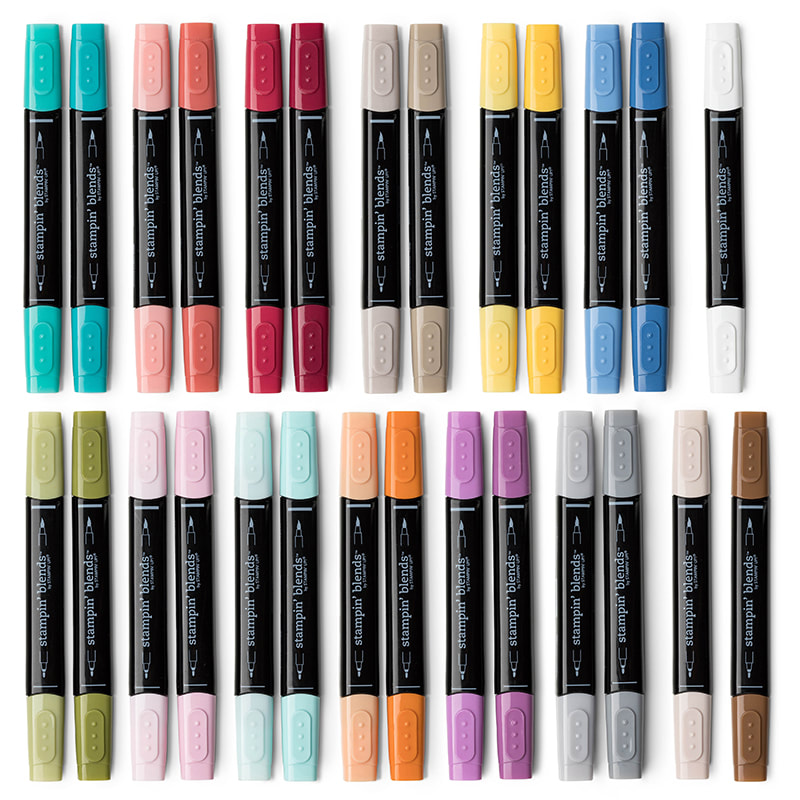 Stampin' Blends 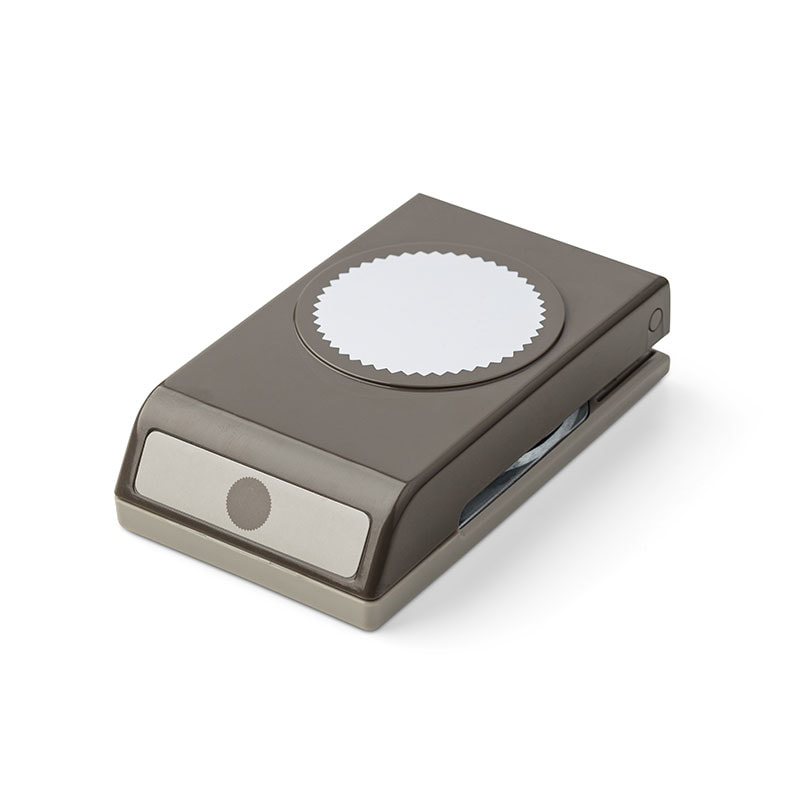 Starburst Punch 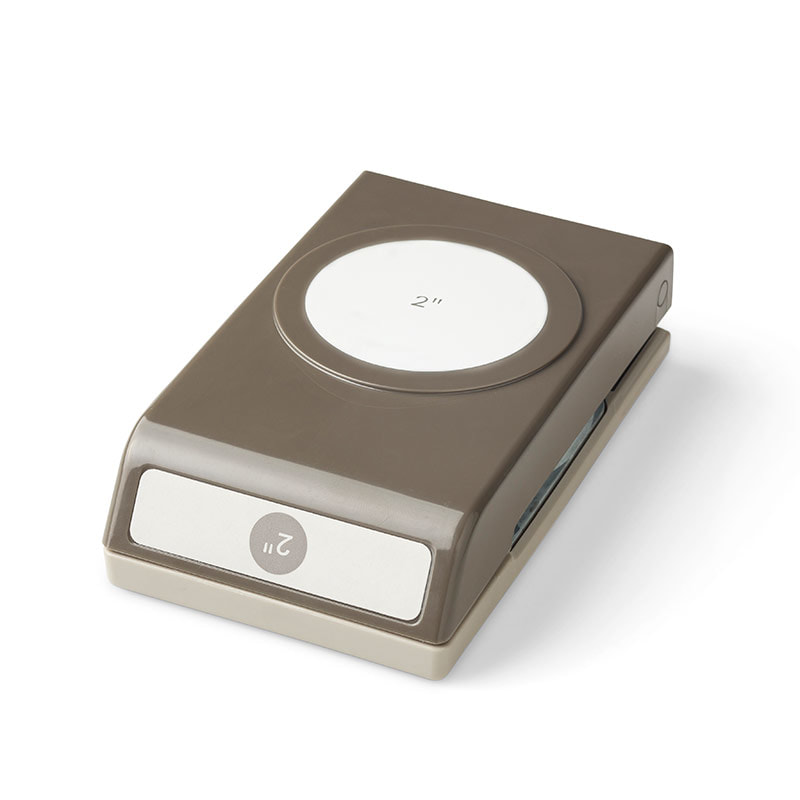 2inch Circle Punch 
0 Comments
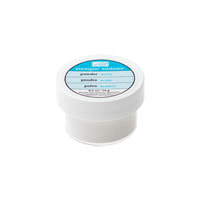
Hi all, Hope you're managing to stay safe and warm from the horrible weather we are experiencing! I very nearly got blown away on the school run today! Today I am bringing you a 3d project instead of my usual card! Stampin' Up! offer a wide range of gift packaging items and one of the things that I really like are their clear acetate treat boxes. Measuring 2" square, these are great for filling with sweet things to share on a table, or just as a little "just because" gift.  This treat box is filled with mints, which is great for the non-chocolate lover, and great as a table gift if you are hosting! I have added some strips of DSP around the box, leaving the top clear so the receiver can see what's inside, and tied with some ribbon and bakers twine to secure. To create the tag, I have used a selection of punched shapes and a sentiment which is just perfect for these things, "Treat Yourself". All of these products are currently available to buy now and with Sale-a-Bration under way right now, you can choose a FREE Sale-a-Bration item with any order of £45! 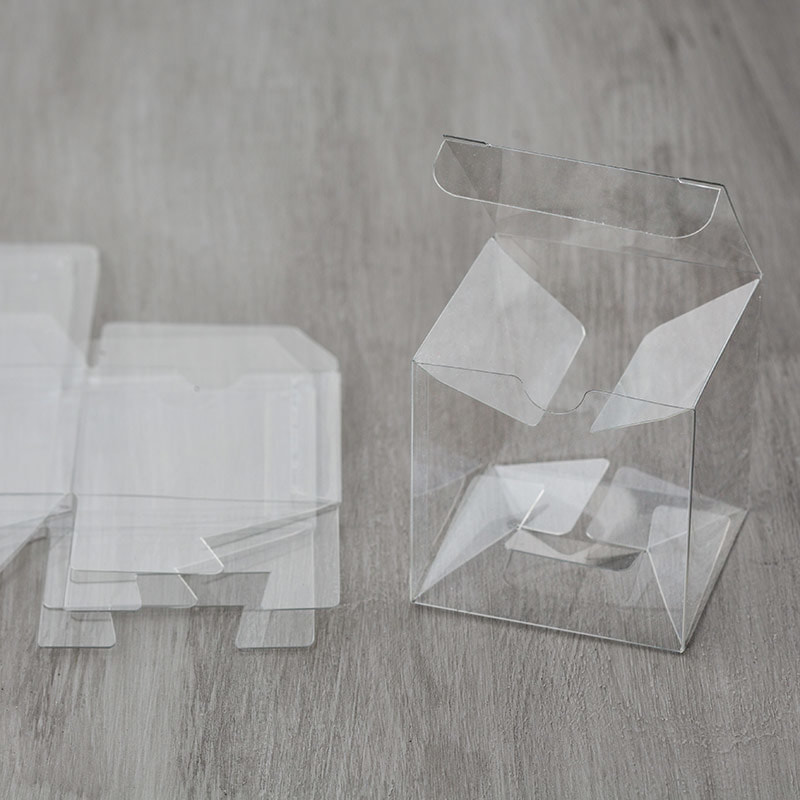 Clear Tiny Treat Boxes 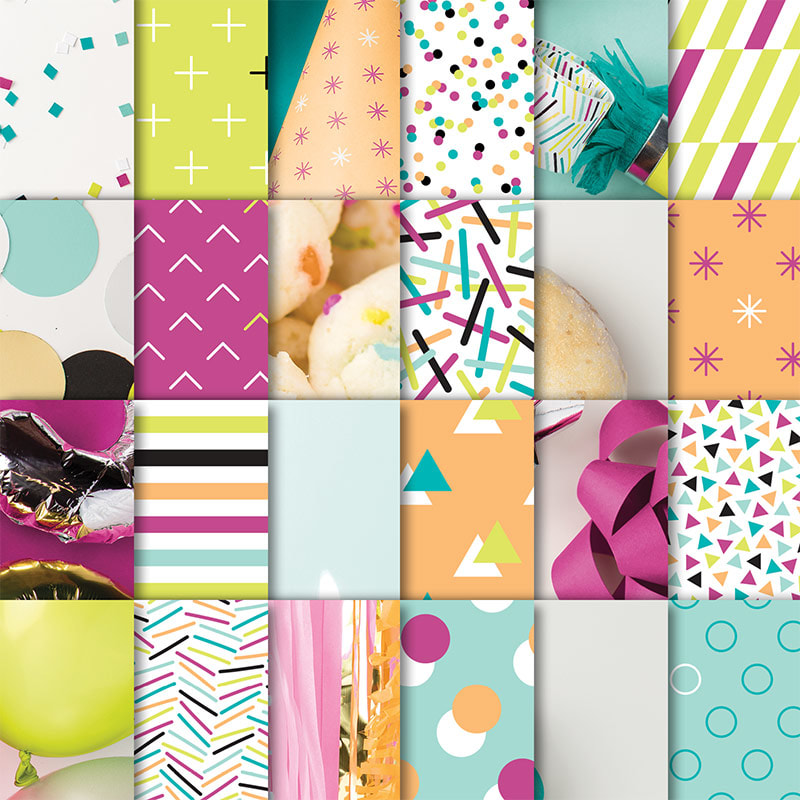 Picture Perfect Party 6" x 6" Designer Series Paper Stack 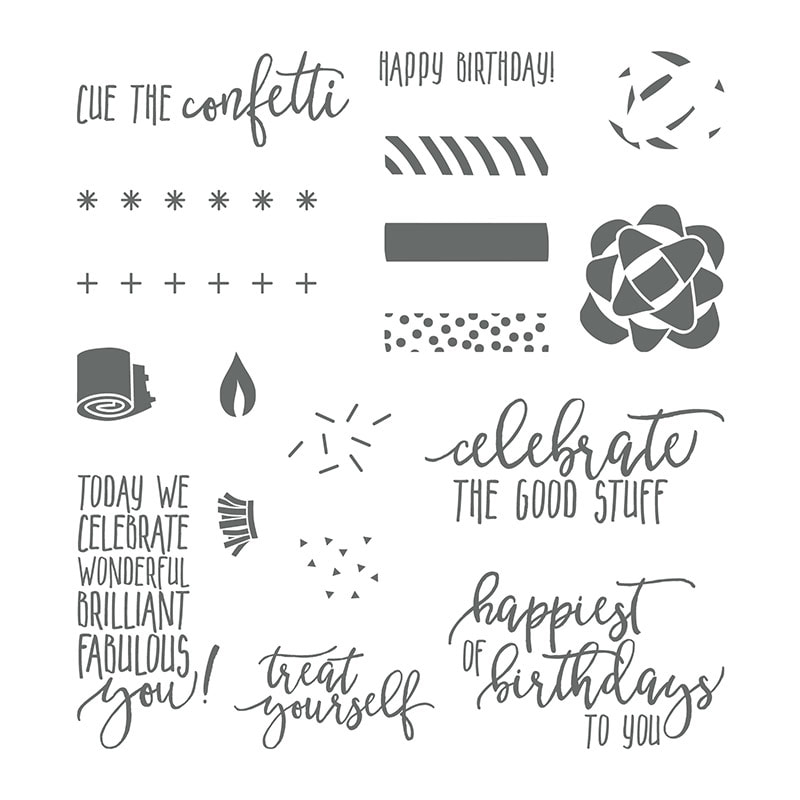 Picture Perfect Birthday Photopolymer Stamp Set 2 of these items are brand new in our Spring/Summer catalogue. If you would like a paper copy sent to you, leave your details in the comments.
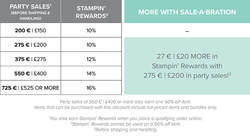
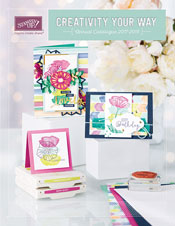
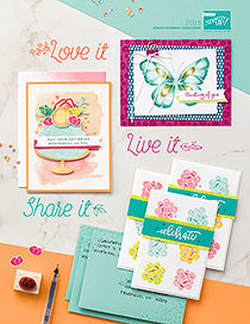
Thanks for reading. Stacey xxx Hi all, Now this is my favourite time of the year in the Stampin' Up! calendar... A shiny new Spring/Summer catalogue and the chance to earn free products with Sale-a-Bration! Sale-a-Bration runs from January through to March and basically means you get the chance to earn lots of free products! As a demonstrator, I got my hands on both of these new catalogues back in November and I am so excited to be sharing them with you today!
 The New Spring/Summer Catalogue! Click the catalogue image to view the catalogue online. This catalogue will run until the end of May and is full of all Spring/Summer related products from Valentines to Mother's Day, Easter and Father's Day plus lots of bright and exciting products! Thank you for reading, if you have any questions or would like more information please do not hesitate to contact me.
Stacey xx Hi all, First and foremost I want to say a Big HAPPY NEW YEAR to all my lovely readers. I hope you had an enjoyable Christmas and that 2018 brings you every happiness...and plenty of creative, crafting fun! There is lots about to happen in the Stampin' Up! calendar as we enter the wonderful world of Sale-a-Bration and the gorgeous new Spring/Summer catalogue! This is the one time of the year where you have the opportunity to earn lots of free products and extra special goodies! More about that later this week though... Here is a quick card to wish you all well, with a little bit of Spring/Summer DSP, and some new sentiments! 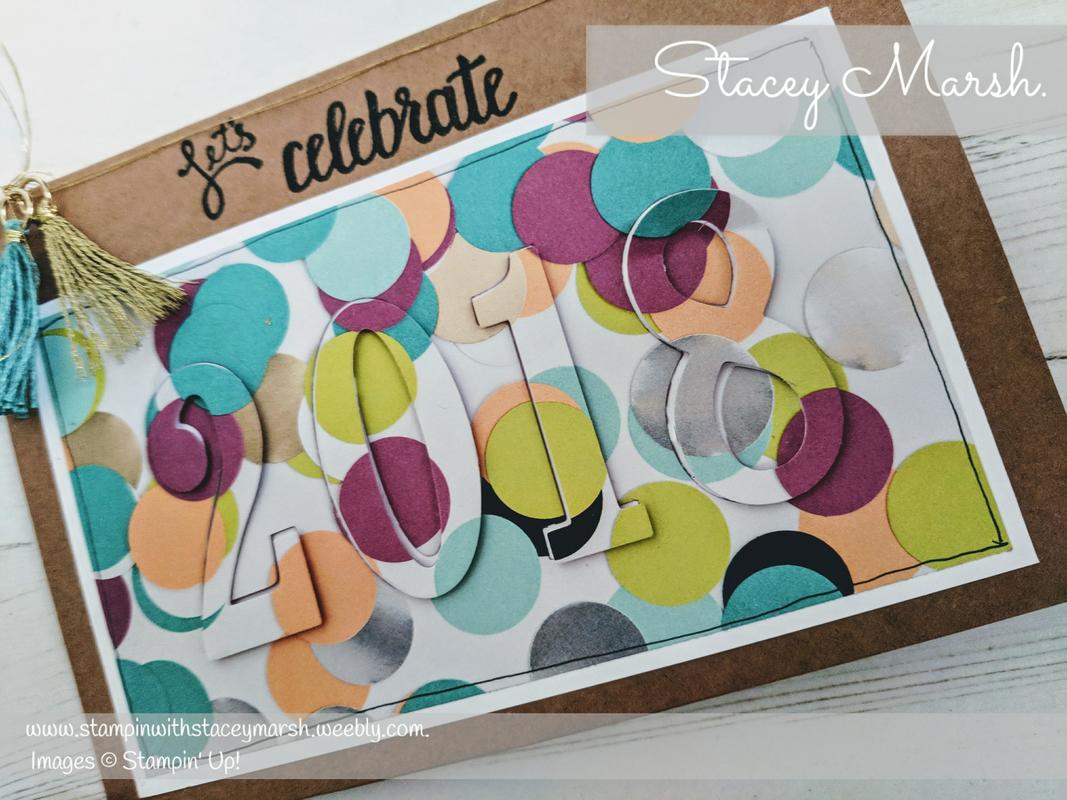 The DSP comes from a new paper stack called "Picture Perfect"
The sentiments are from a new Sale-a-Bration Stamp Set called "Amazing You" I have used the Large Numbers Framelits to create 2018 and added some "Gold Metallic Thread" tied around the fold of the card base, and finished with some Mini Tassel's. Thanks for reading! Stacey xx Hi all, When it comes to saying thank you nothing says it better than a handmade card and of course Stampin' Up! have bundles of products that make it so easy for doing just that! 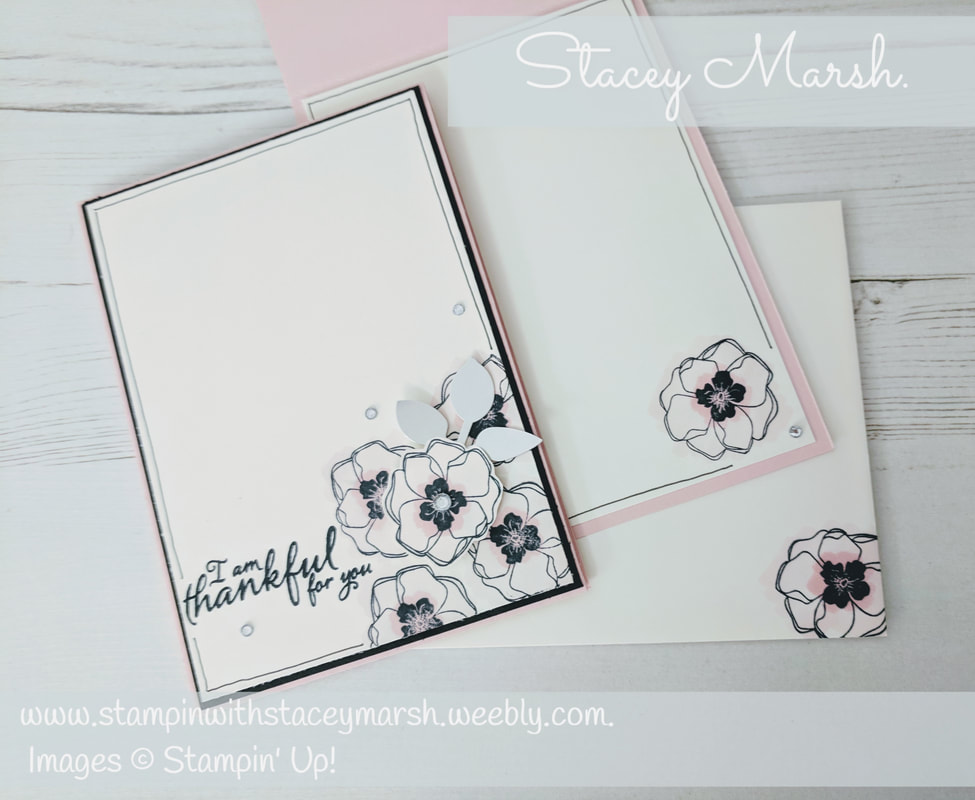 Keeping it simple, I have used just 4 colours to create a monochrome style look.
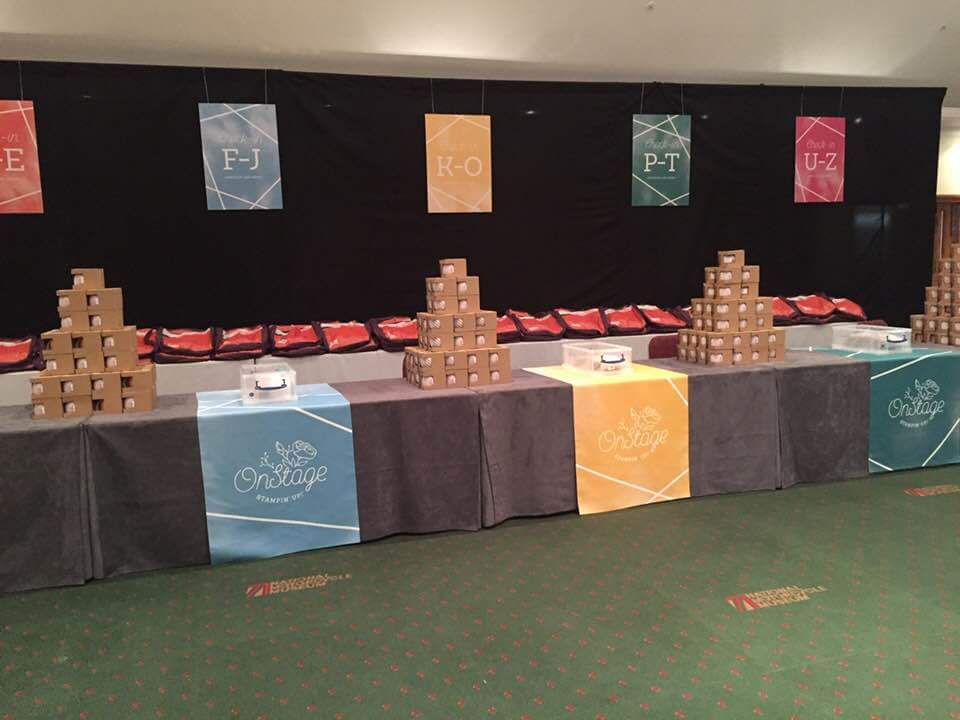
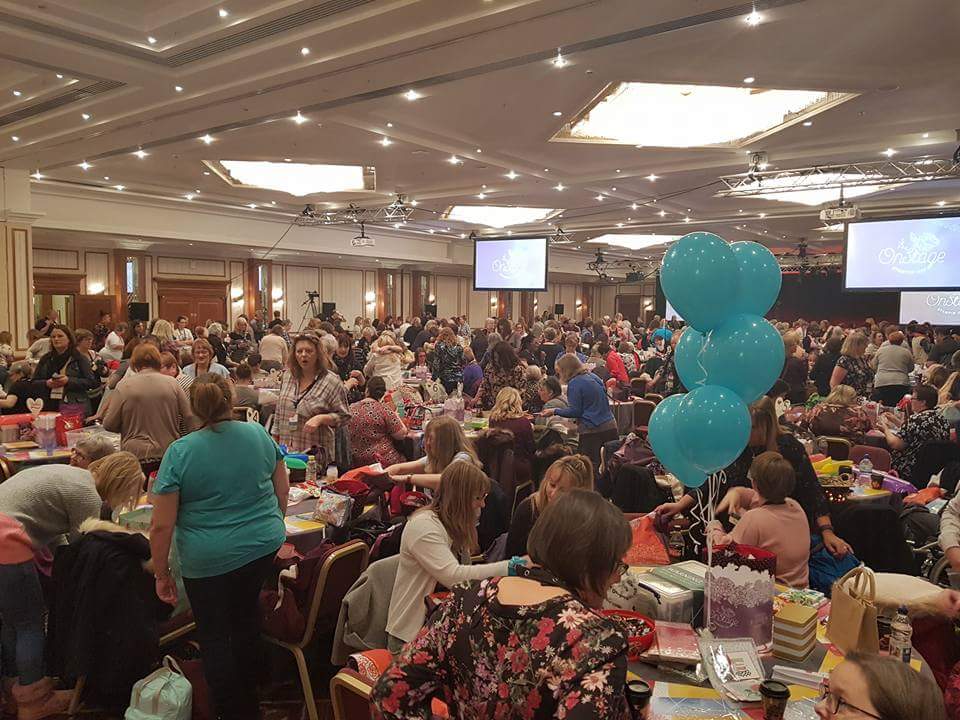
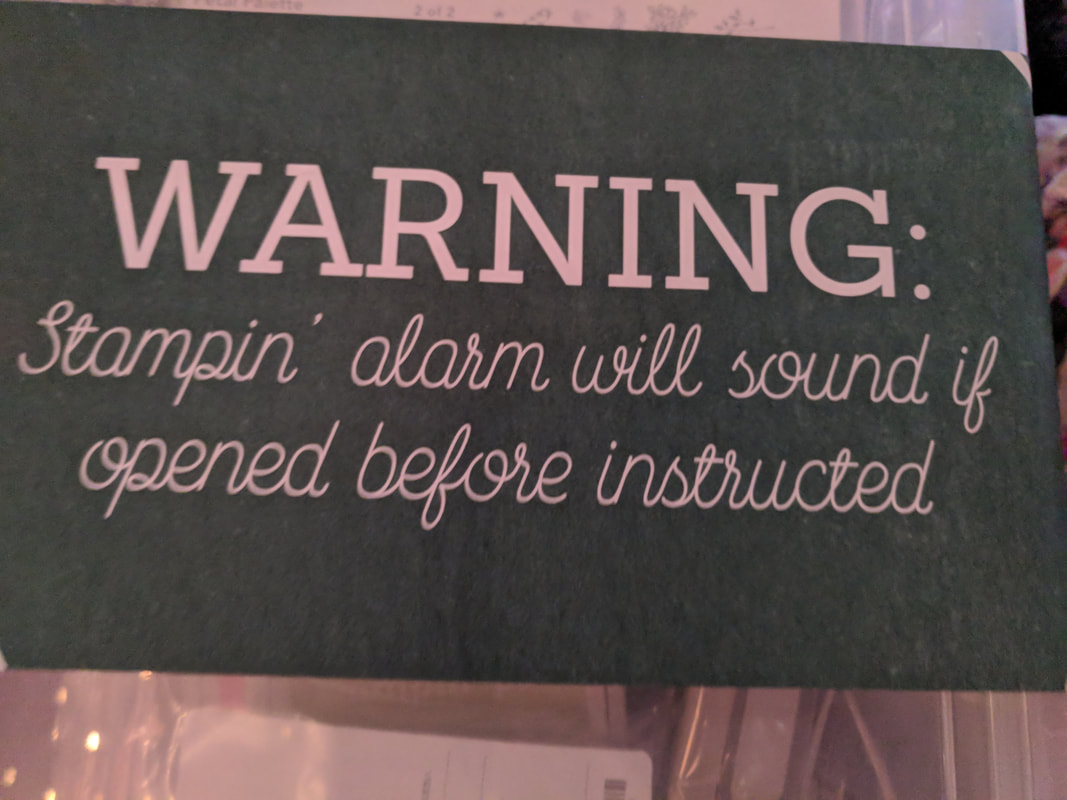
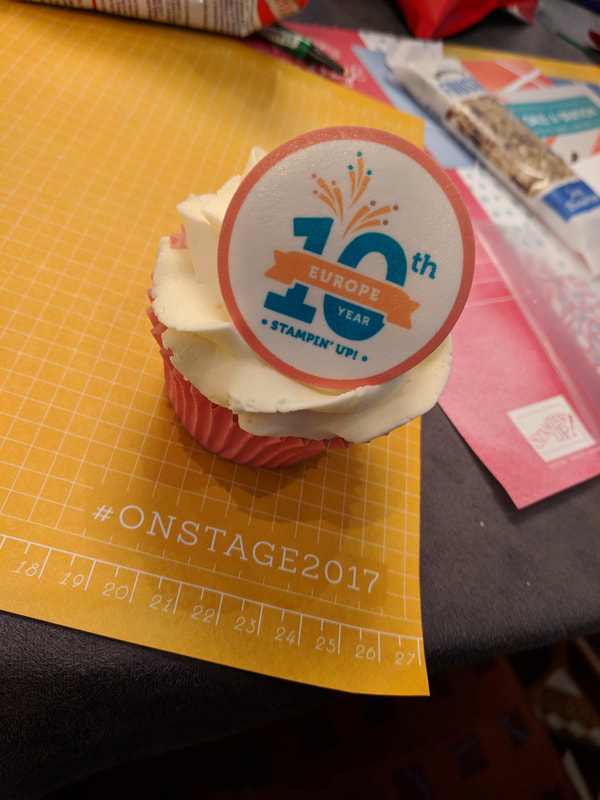
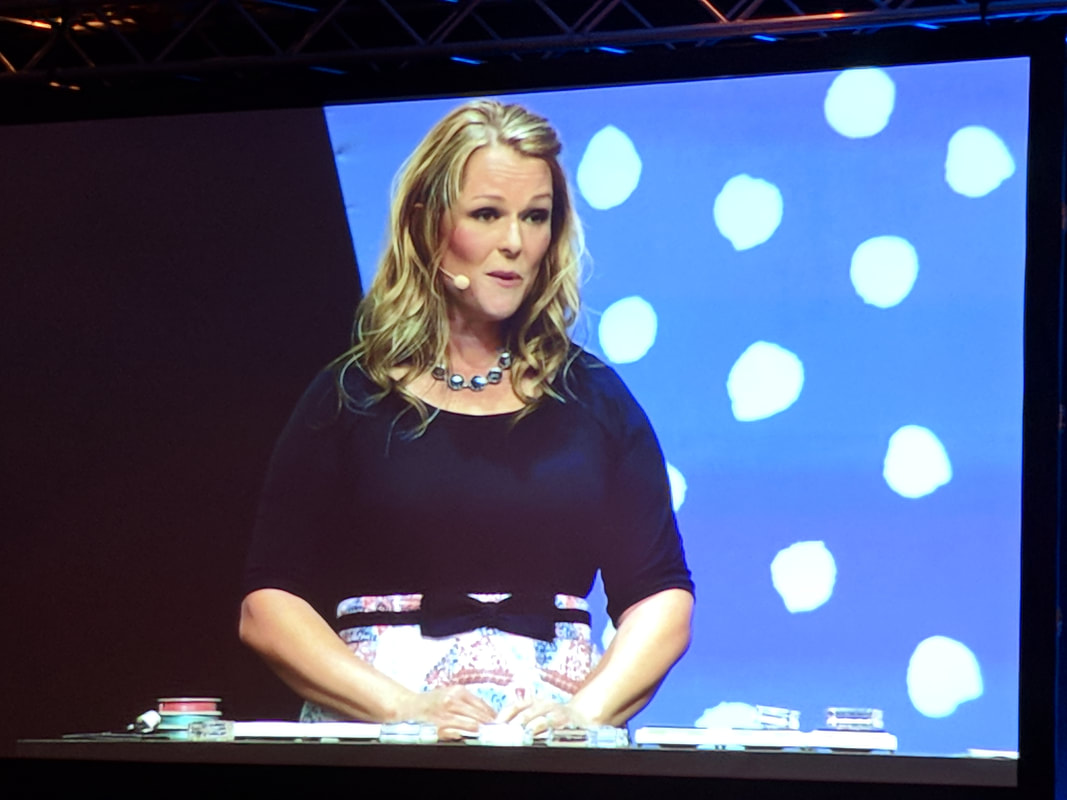
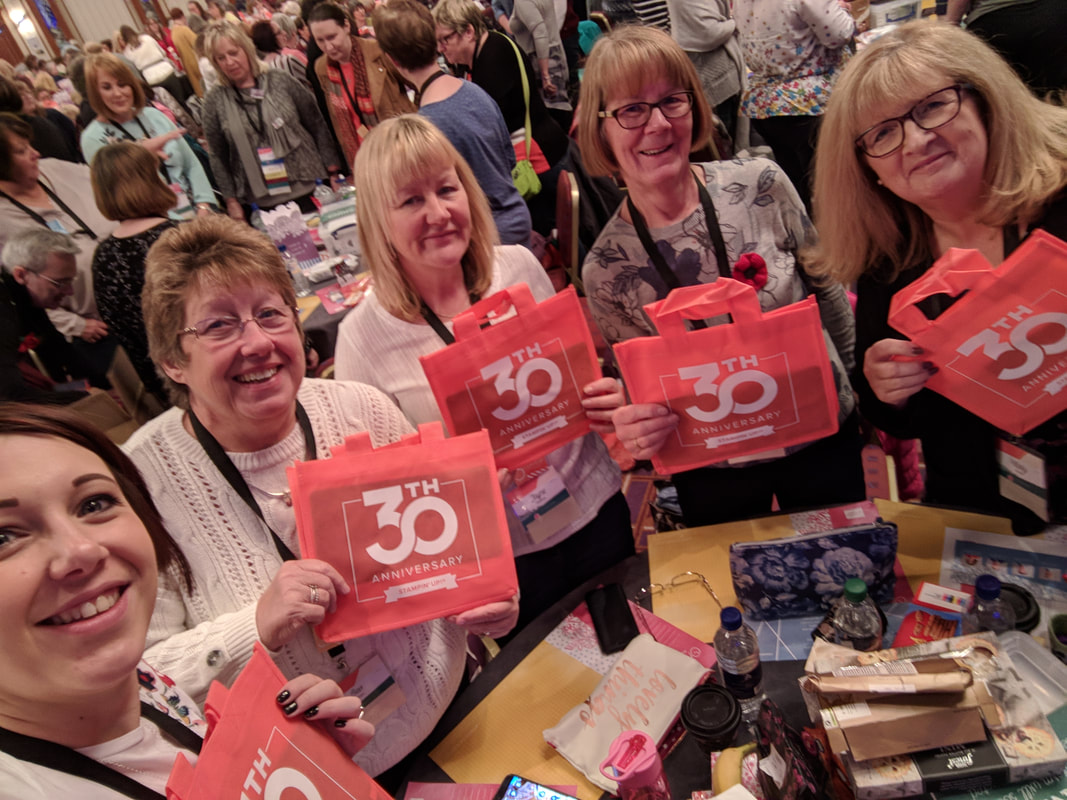
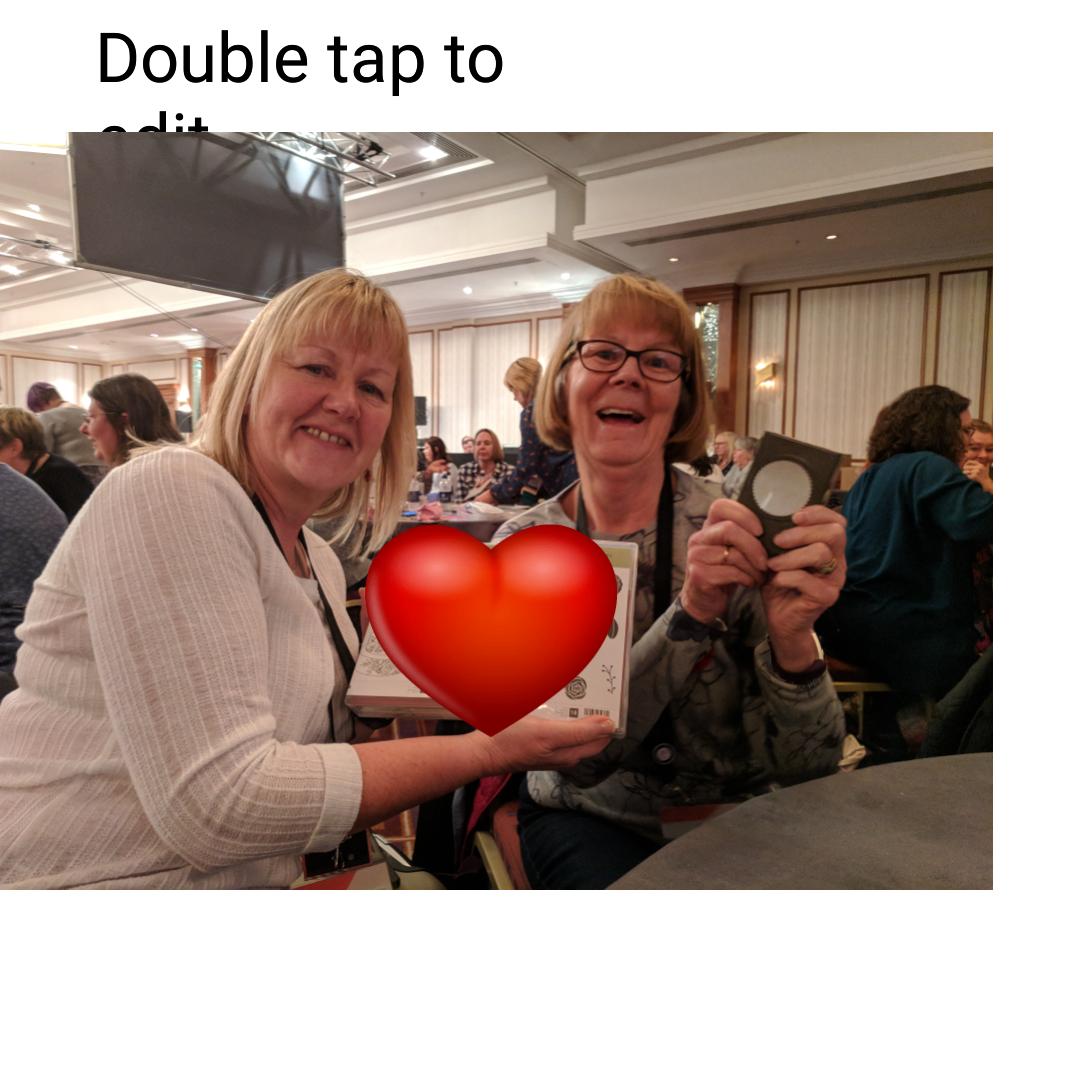
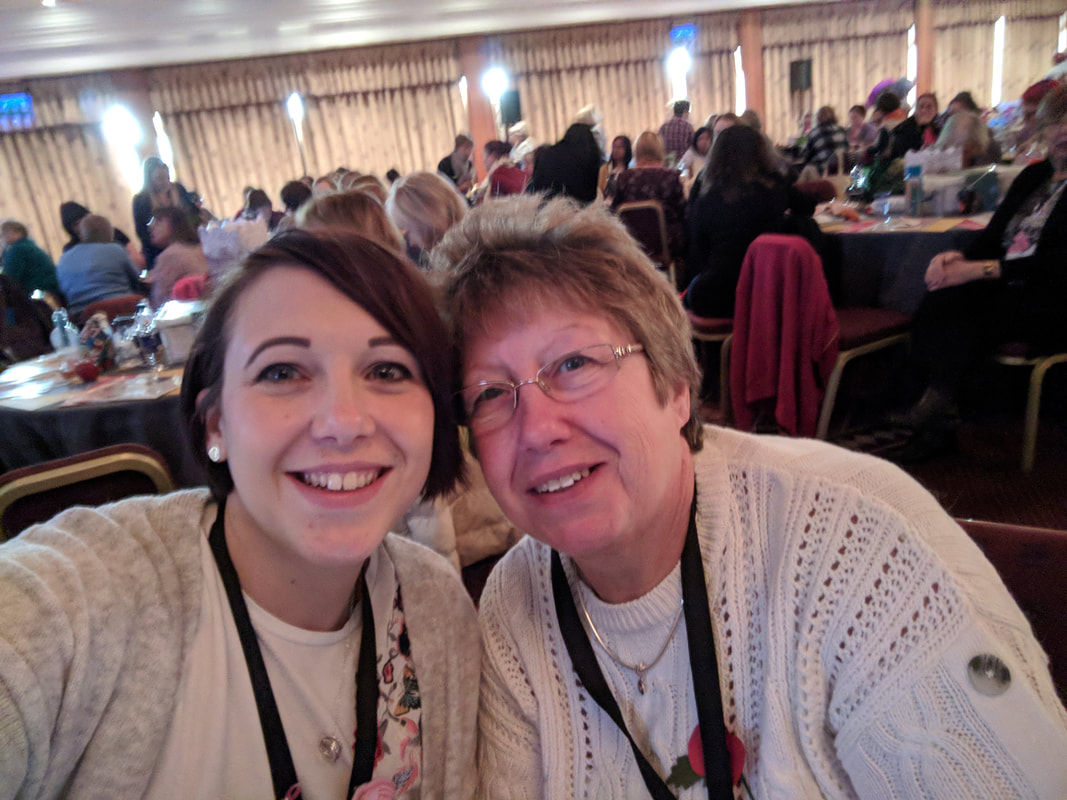
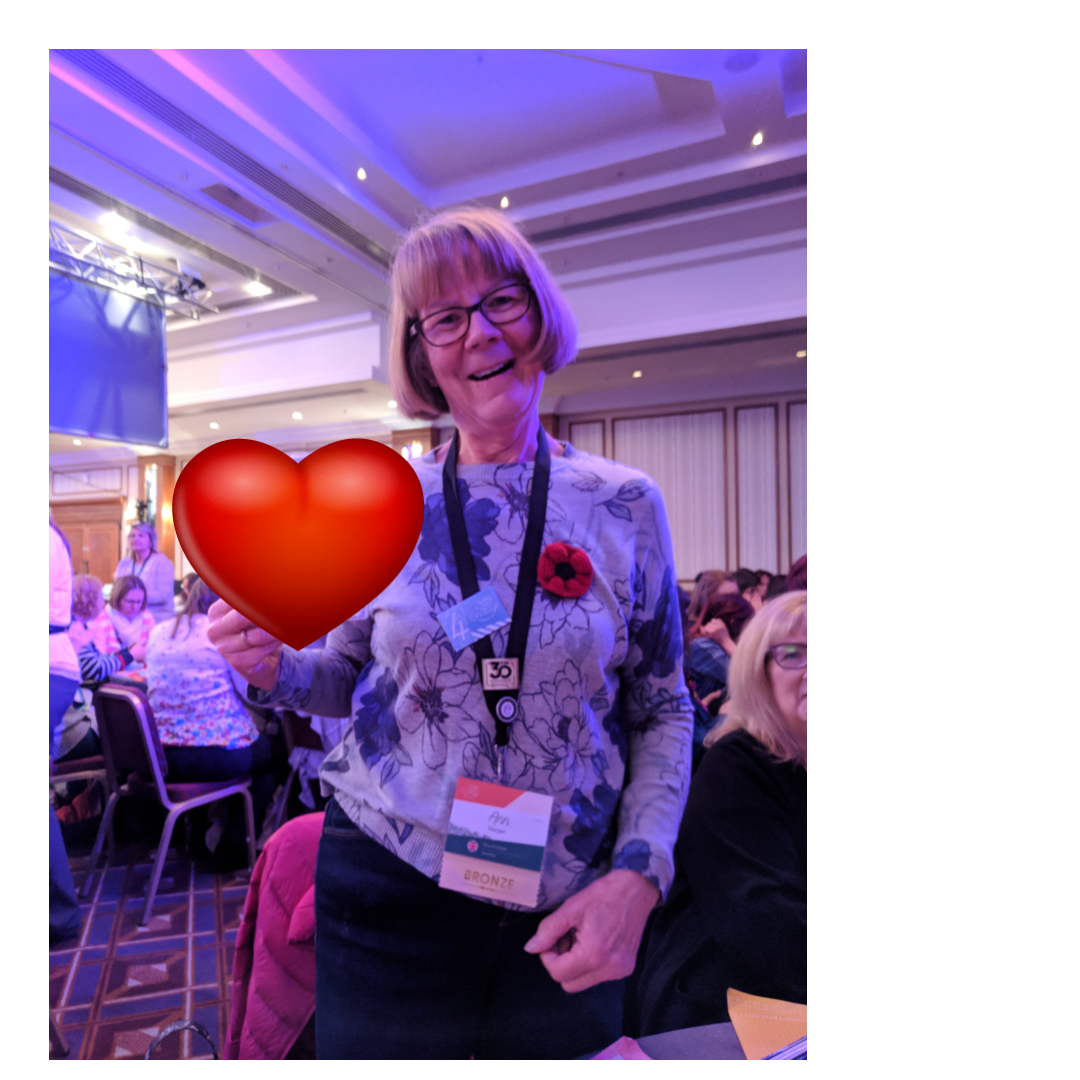
Very Vanilla cardstock Pink Pirouette cardstock and colouring Basic Black cardstock, stamping and doodling Silver cardstock and rhinestone jewels This card measures 4, 1/8" wide by 5, 1/2" tall. The Basic Black mat layer measures 4" x 5, 5/8" The Very Vanilla mat layer on the front and inside the card measures 3, 7/8" x 5, 3/4" I have used the new Stampin' Blends to add colour to the flowers. Rather than colouring in neatly, I have just added a wash of colour and some darker colour for the flower centres. Sometimes colouring outside the lines it's okay, it just depends on the look that you want to achieve. Although this card looks quite flat I have added some dimension by stamping a separate flower, cutting it out with scissors and attaching with a foam pad. The leaf attached underneath is cut using the new 'Leaf Punch' and although it isn't clear in the photo I have used Silver Foil Card to add some shine. To add some sparkle I have added some rhinestone jewels to the centre of the attached flower and some others at random in the Vanilla space. The line around the edges of the card is drawn freestyle with a Basic Black Stampin' Marker and I think it lift's the image off the page better than keeping it plain. To finish off this project I have stamped and coloured a flower inside the card and also on the envelope. The 'I am Thankful For You' sentiment comes from the 'Painted Harvest' stamp set and the flower comes from the new 'Colour Me Happy' stamp set. Stacey.xx Hi all! Every year Stampin' Up! hold 2 events called On Stage. This is for demonstrators from around the world to get together in one place to celebrate successes, craft, swap projects and hear about new products. The main event is held in Utah (usually) and then there are local events. I was lucky enough to attend one of these events at the weekend and boy did it live up to the hype!! The are many things I live about Stampin' Up! As I may have mentioned before but the main one is the people I have met asking the way that I get to call friends and spending time with them at these sort of events really is fab! We eventually come away with a few free things too!! Here are a few pics of things that we got up to... 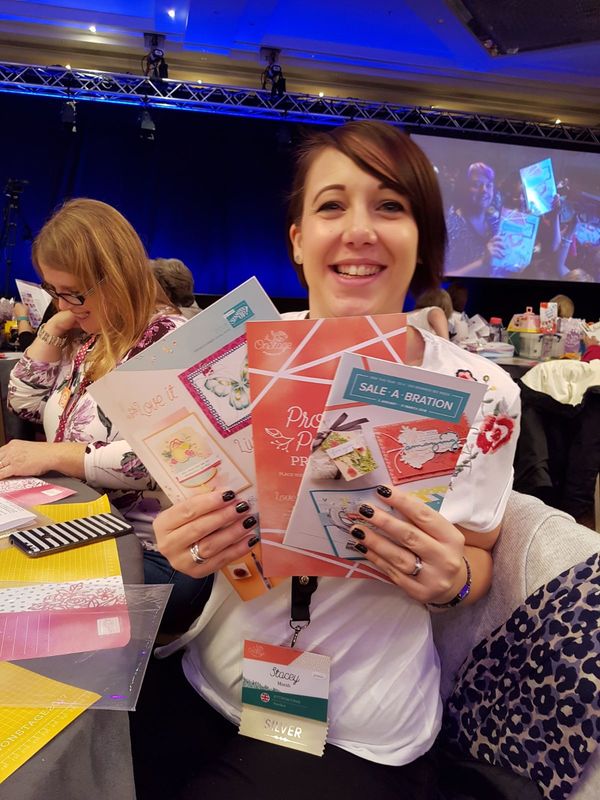 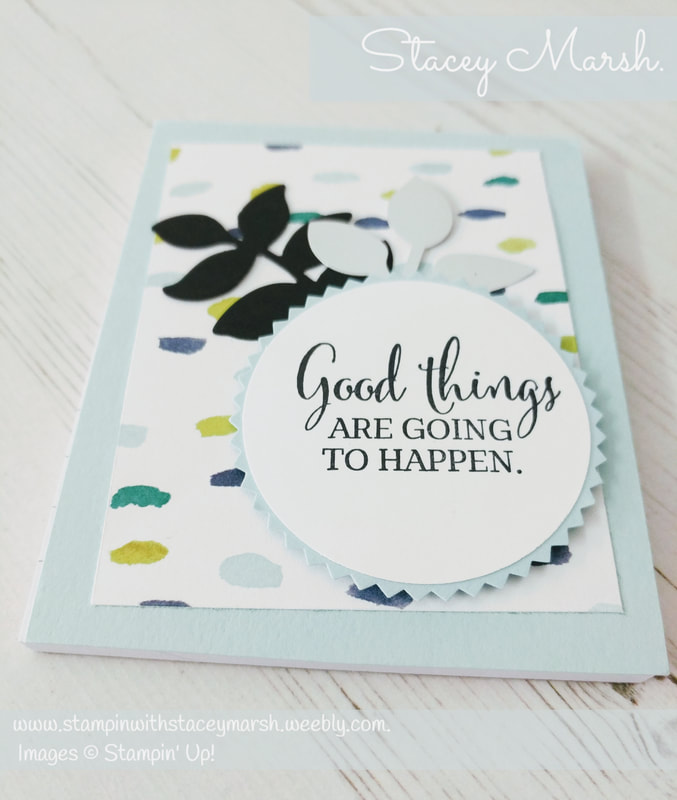 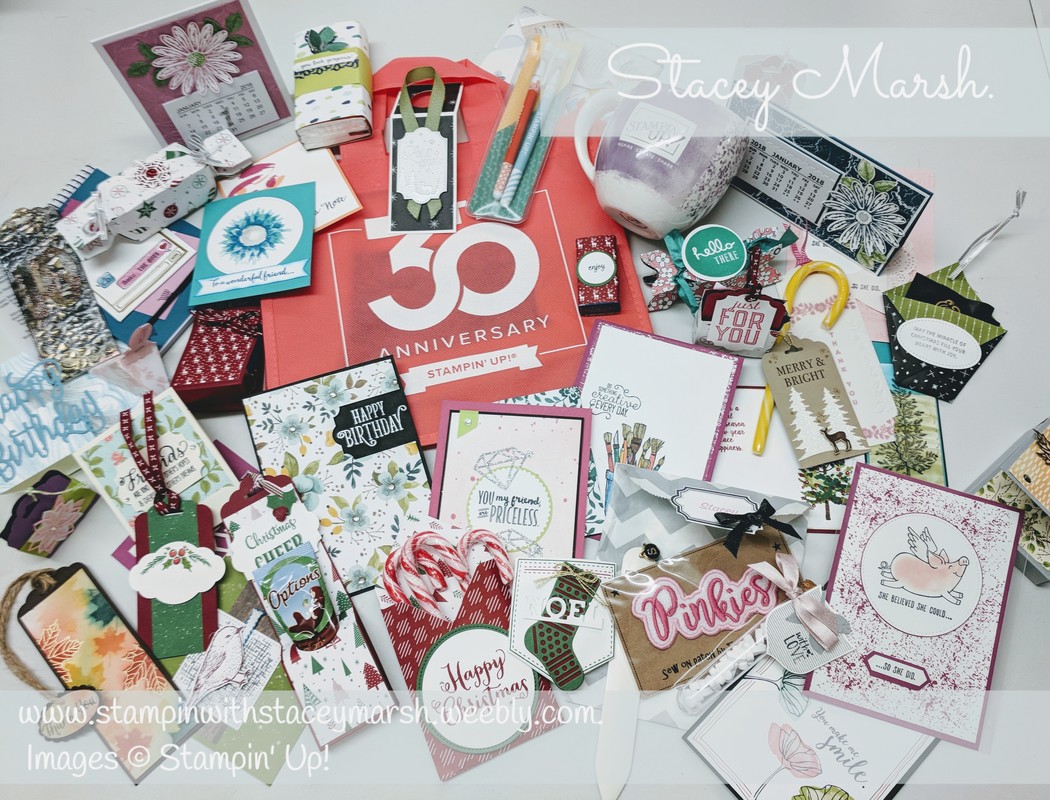 How amazing and there is so much inspiration here that I can't wait to get into my craft room and get making!!
I was so lucky to be joined by 4 of my wonderful team of Stampin' Stars and we had an absolute blast. So much laughter and sharing in the excitement of what's happened and what's coming up next! The next event takes place in April 2018 and you can be part of that too!! If you would like to find out how just send me a message or get in touch. Stacey xx Hi all, Hope you're all having a lovely weekend! This week I was asked to take part in a new challenge by "The Joy of Sets". This challenge is an alphabet based challenge and this week is all about the letter C!  Challenges are set every 2 weeks, and are for use with current and retired product so it really is a great one for all Stampin' Up! lovers out there! Anyway, the lovely Fiona Whitehead asked me to take part and how could I refuse?! So after a busy day with the girls and a curry, I thought who wants to clean the house on a Saturday night....?!! Looking through my stamp sets... I own 2 that I would have been suitable and I settled on the lovely Confetti Celebration which was a new set in last year's annual catalogue that is still current!
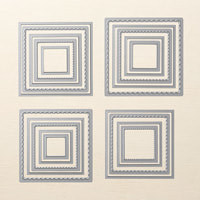
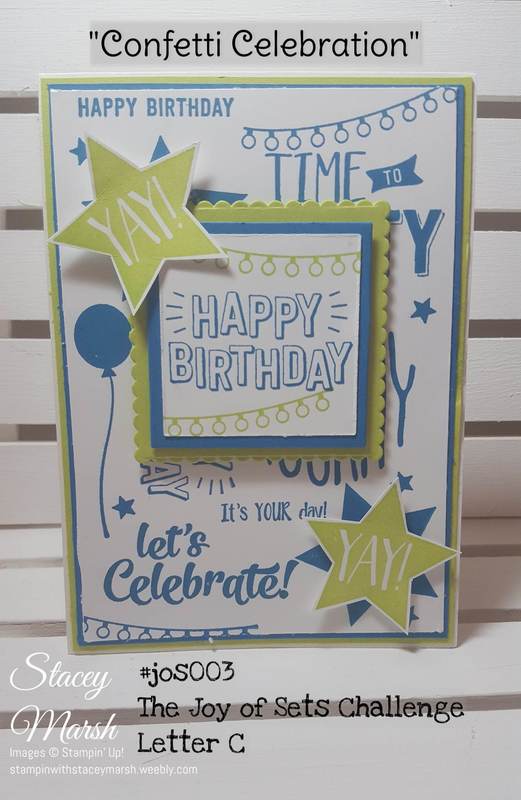 I have seen this background technique used quite a bit for this stamp set on Pinterest and I think it looks really effective. I have used every stamp in the set to create a background, and then chosen 1 sentiment to use as the centrepiece. On this card, I used the Layering Squares thinlit dies to mount the main sentiment and fussy cut the stars to add something extra. I found that using the Stamp-a-majig tool really helpeful for making sure that my stamping was straight and not wonky. This was a really quick card to put together and will be great for a male birthday card! These are the products that I have used: I enjoyed taking part in this challenge and I look forward to joining in next time when I'm guessing it will be the letter D....now what stamp set shall I use?!!7
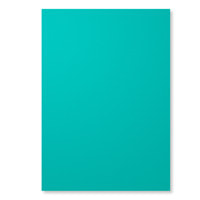
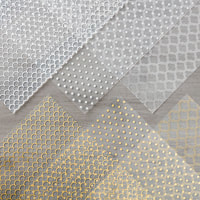
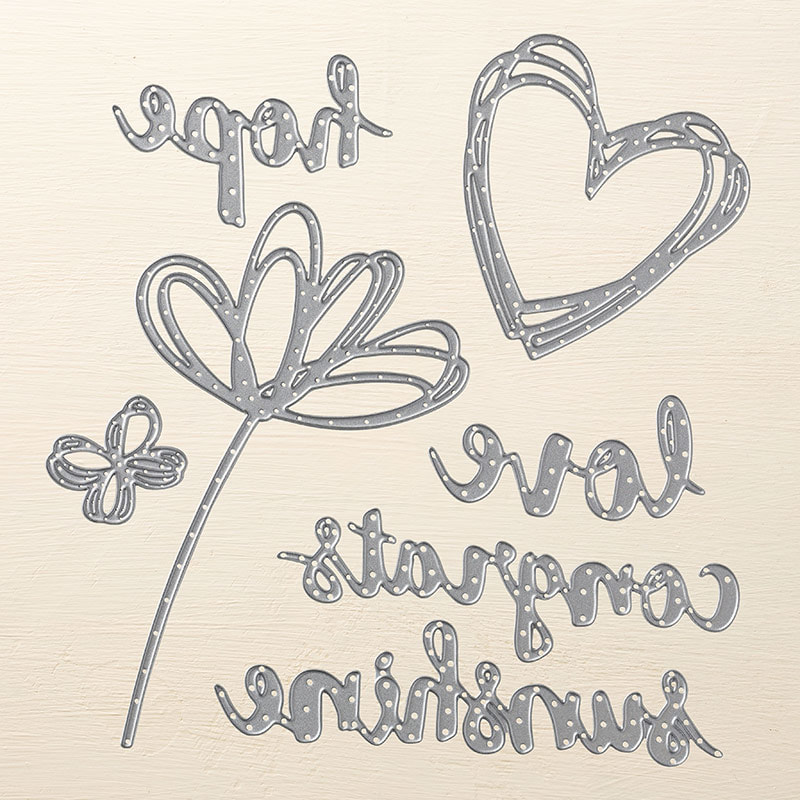
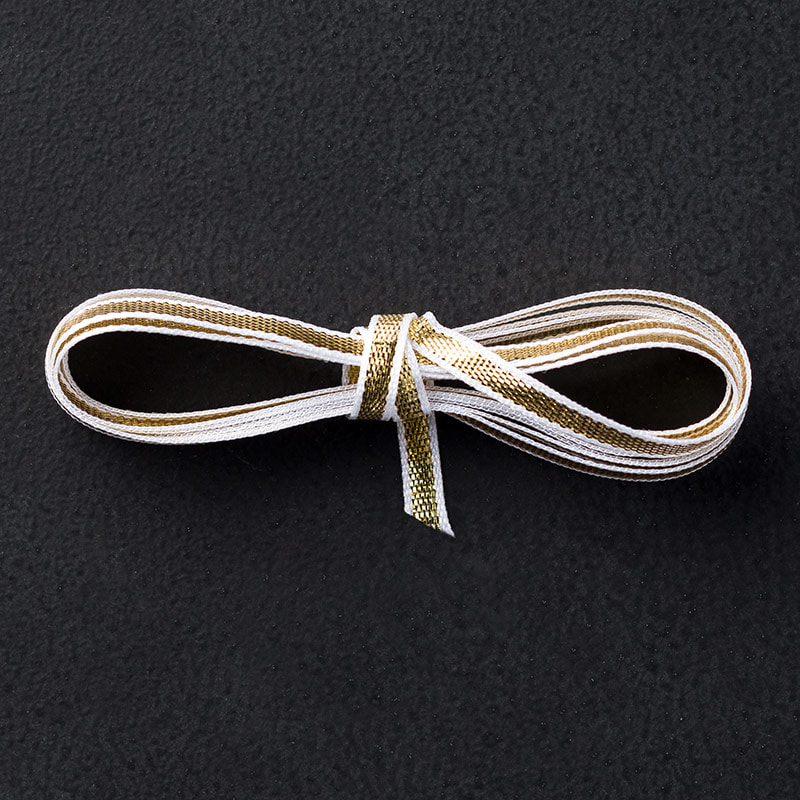
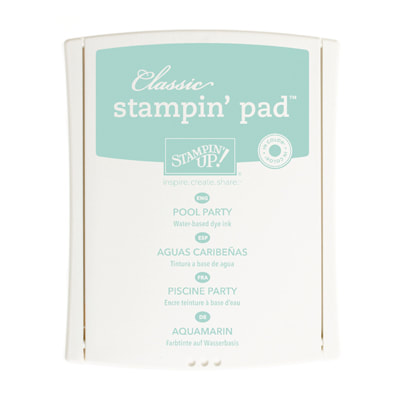
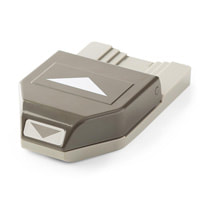
Stacey xx Hi all! Hope you're all enjoying a lovely week! This week I have picked up the Global Design Project after a little break from this challenge. This week is a sketch challenge and it's a simple one witha technique that I use alot for quick cards. 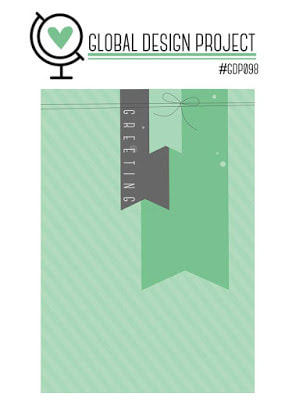 This challenge screams TRIPLE BANNER PUNCH which is actually one of my can't craft without items! It is a really versatile item that cute banners any length but in widths of 1/2", 1", 1,1/2" and 2". It is great for cards, tradition scrapbooking, pocket scrapbooking, 3d items and lots more! We are currently in the process of building a craft barn in the garden for me so I've not had a great deal of crafting time, plus the craft stuff is everywhere right now! For my challenge entry I decided to do some heat embossing....after I managed to find the heat tool! 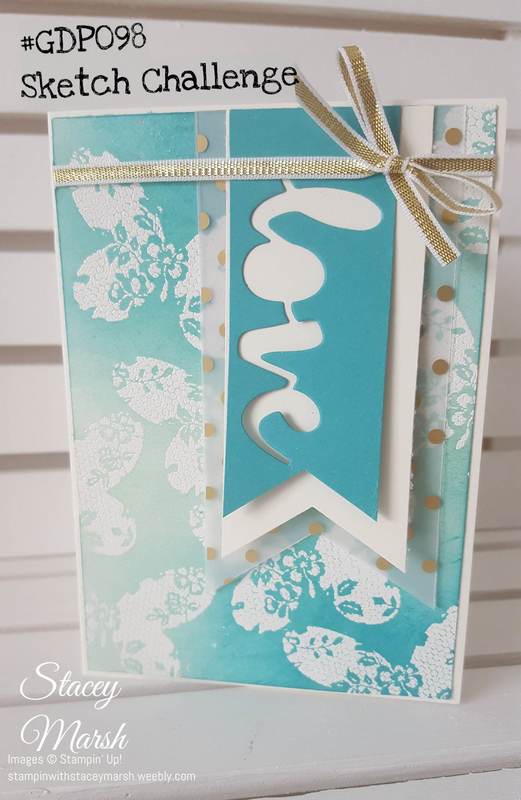 One of my most favourite and used stamp sets is called "Butterfly Basics". For this card, I used the butterfly stamp with white embossing powder to create texture to the cardstock I then used a sponge brayer with a mixture of Pool Party and Tempting Turquoise to create the colourful bakground. If you're not familiar with this technique, it really is a great way to add a different dimension to your cards, and building up your own backgrounds. I have cut 4 banners; one in Vellum, 1 in Fabulous Foil Designer Acetate (the same size as the Vellum), 1 in Very Vanilla and 1 in Bermuda Bay. Althought I haven't used Bermuda Bay ink, this is the cardstock colour that matches best with the background that I have created with the Pool Party and Tempting Turquoise inks). Using the "love" thinlit die from "Sunshine Wishes" set, I have cut out from the Bermuda Bay cardstock and used the negative image. I used the 1/8" Gold Ribbon to secure everything together. 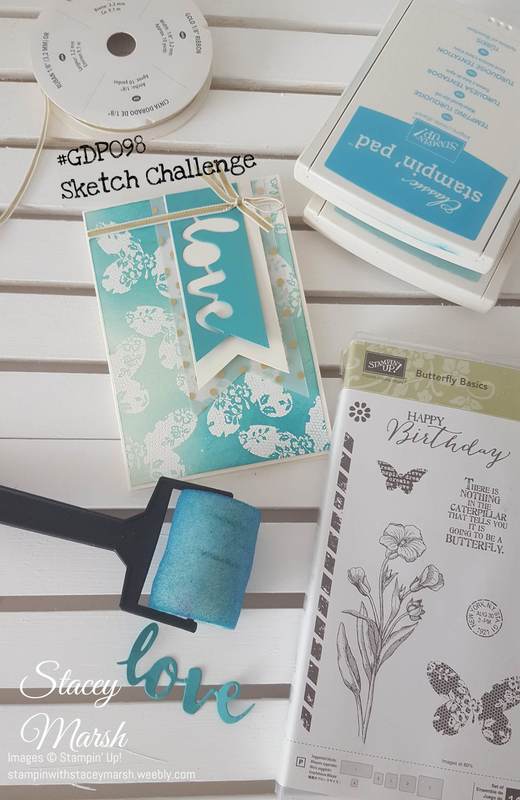 Here is the list of all the products that I used to make this card. Thanks for reading, I hope you like my entry to this week's Global Design Project!
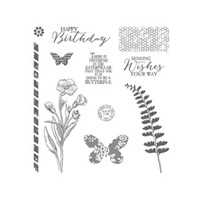
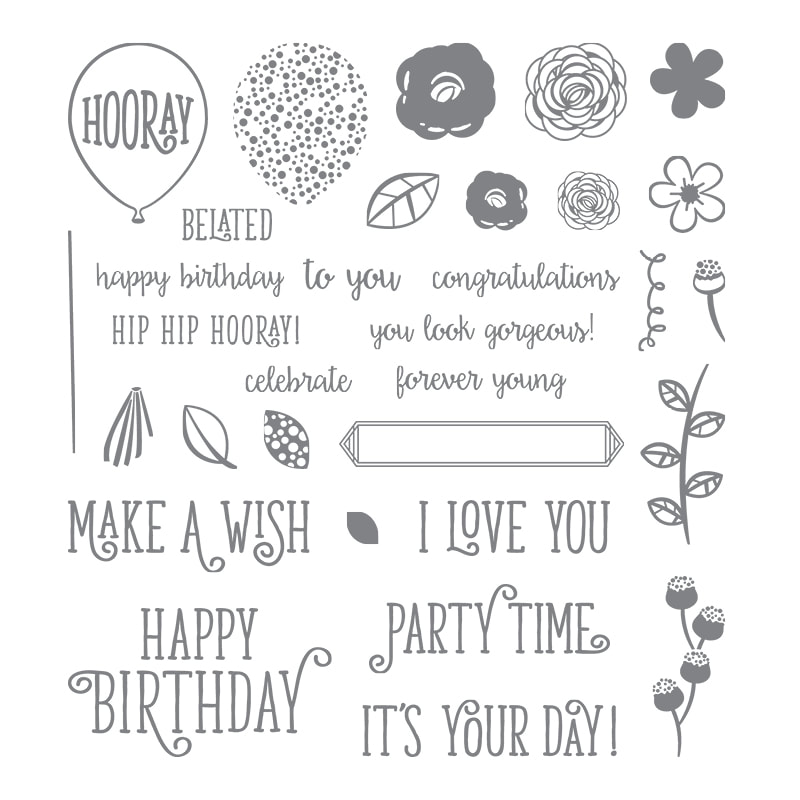
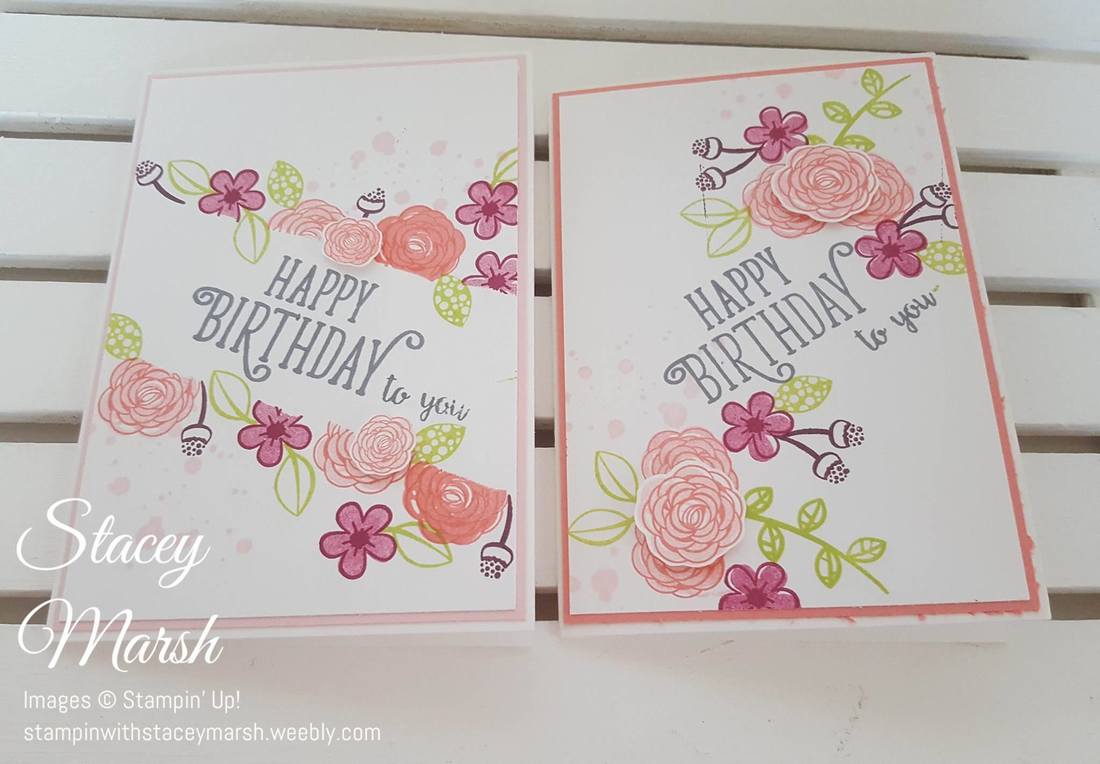
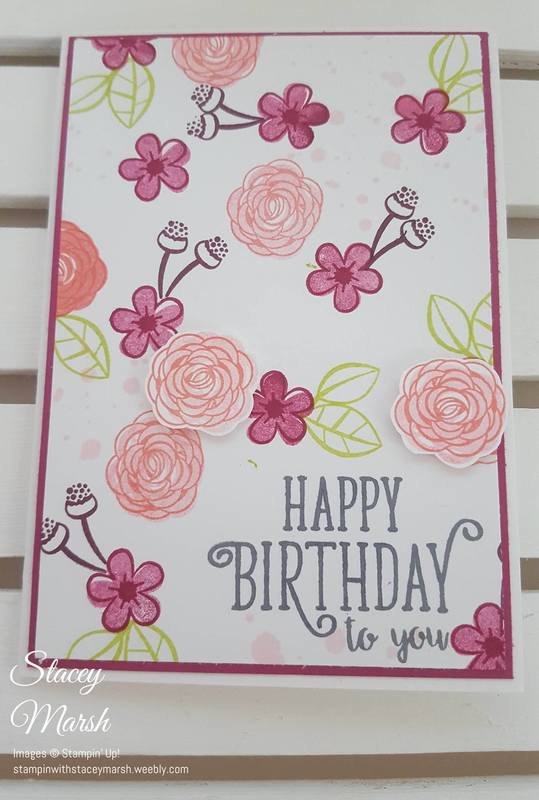
Stacey xx Hi all! After the excitement of my little girl's christening last weekend I finally got some crafting time in this weekend hooray! I will be doing a few craft fairs over the next few months and when I have done these in the past, sets of notecards always seem really popular! I'm still slightly lacking on the new product front from the new catalogue but one of my favourite new stamp sets is called Happy Birthday Gorgeous! 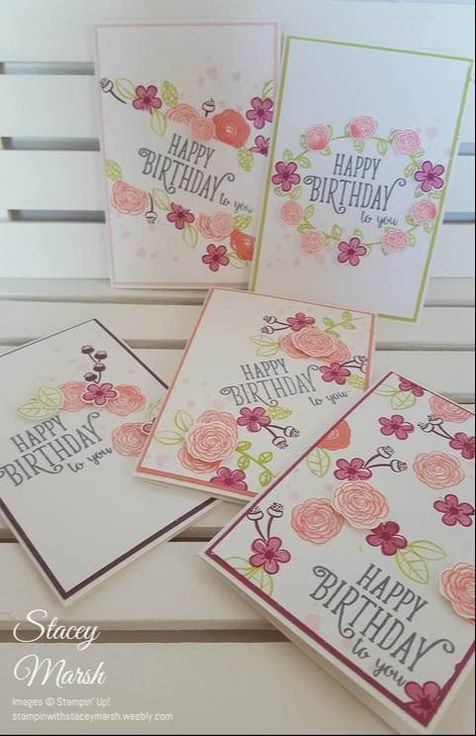
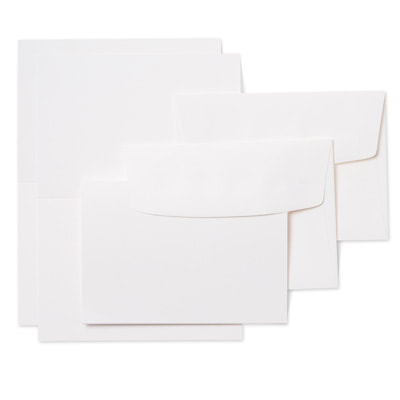
These cards are made using the Notecards and Envelopes that are available to purchase in sets of 20. They come in Whisper White and Very Vanilla options and I have used Whisper White for these cards These are the products that I used to make this Happy Birthday Gorgeous Notecards set... Thanks for reading!
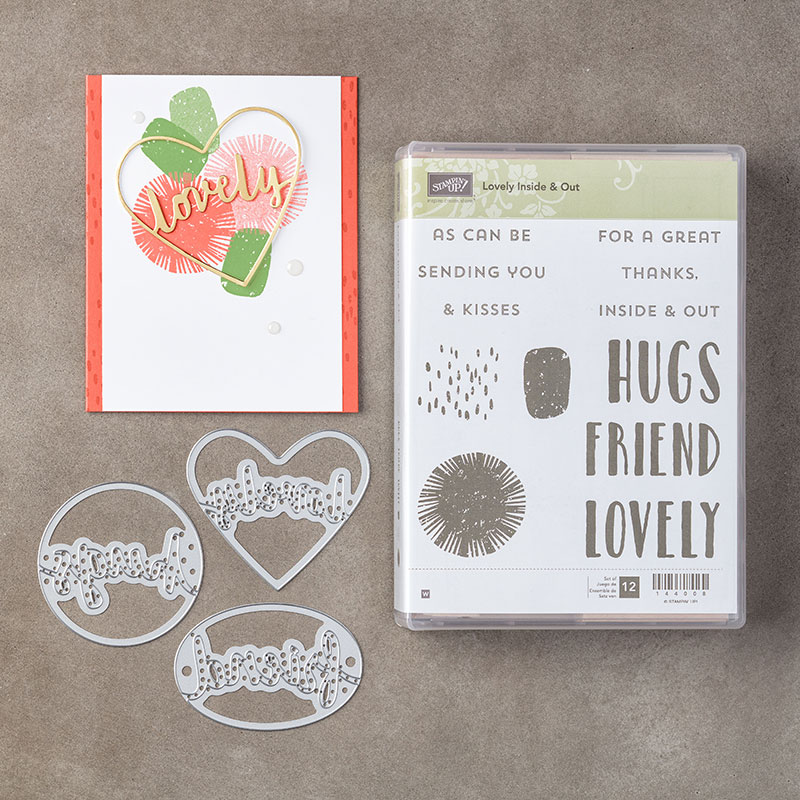
Looking forward to finishing off the Memories and More project sample to show you all ready for my taster class next week! Stacey xx Hi all, As promised, here is the 2nd class that we made at this month's card class. If you missed yesterday's post, the cards this month all focus on the inside of the card, rather than all the detail being just on the outside! I make so may cards that are quick and simple, but it was really nice to do something a bit more involved and have that wow factor when the recipient opens their card! 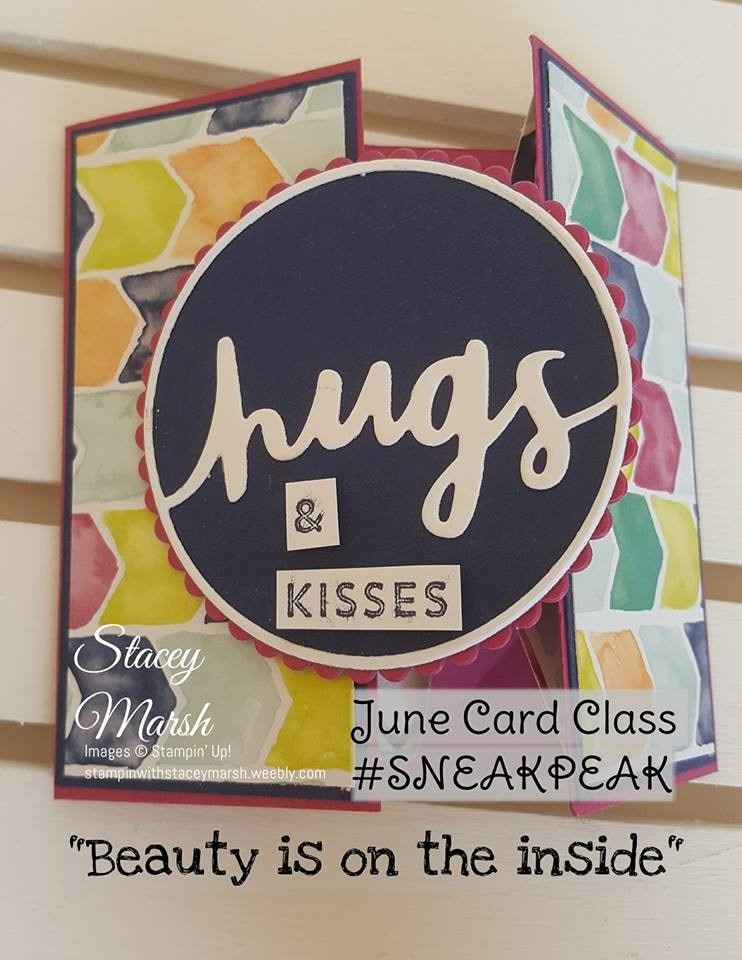 When closed this card measures 4" x 4" and is made from a 4" x 8" piece of cardstock. The arrows paper comes from the Naturally Eclectic Deigner Series Paper range and showcases some of the new 2017-2019 in-colours and previous 2016 - 2018 in-colours. I have also used the Lovely Inside and Out bundle which includes the Lovely Words Thinlit Dies and Lovely Inside and Out stamp set. . 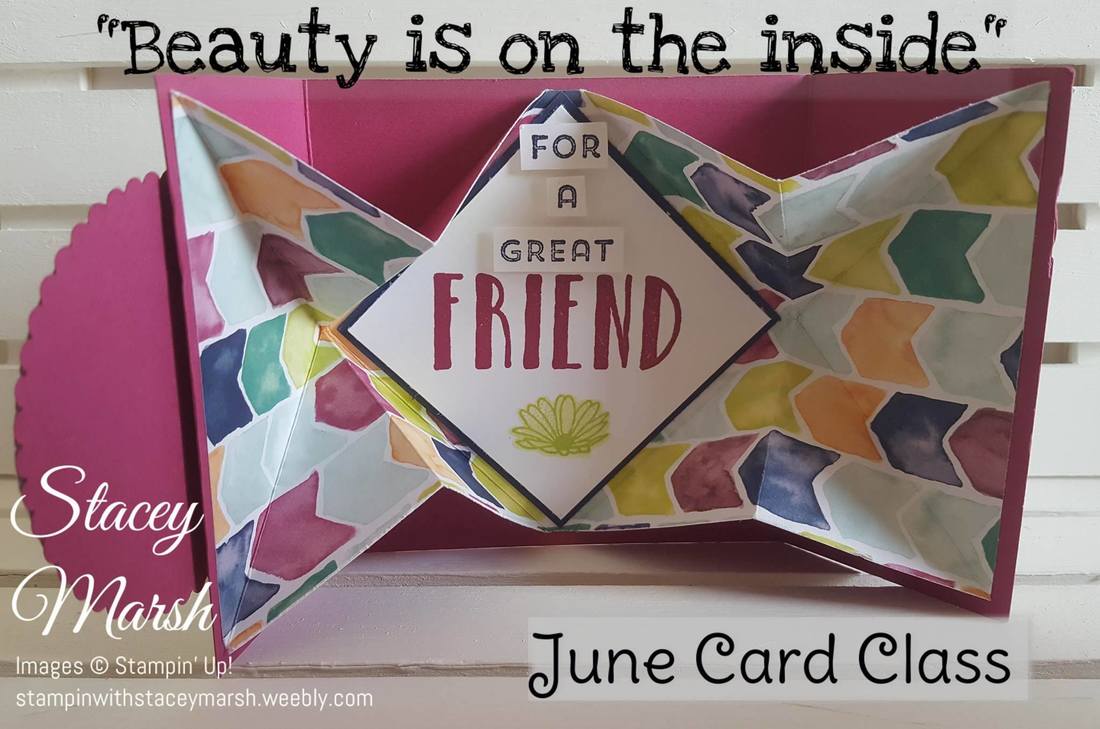 Now I will admit that this card doesn't photograph all that well and I'm still not confident enough to start videoing....but basically when you open the card it reveals diagonal folds with the diamond shape in the middle. It is very effective and provided some excellent sound effects from the ladies at class last night! These are the products that I used to create this card... Come back tomorrow to see the final of the 3 cards from this months card class...and my personal favourite!
Stacey xx |

About Me
Hi there! Shop With Me
Order Online
Shop 24/7 by clicking on the logo above and get Stampin’ Up! products delivered directly to your door for a flat postage rate of £4.95 Browse the
|


 RSS Feed
