|
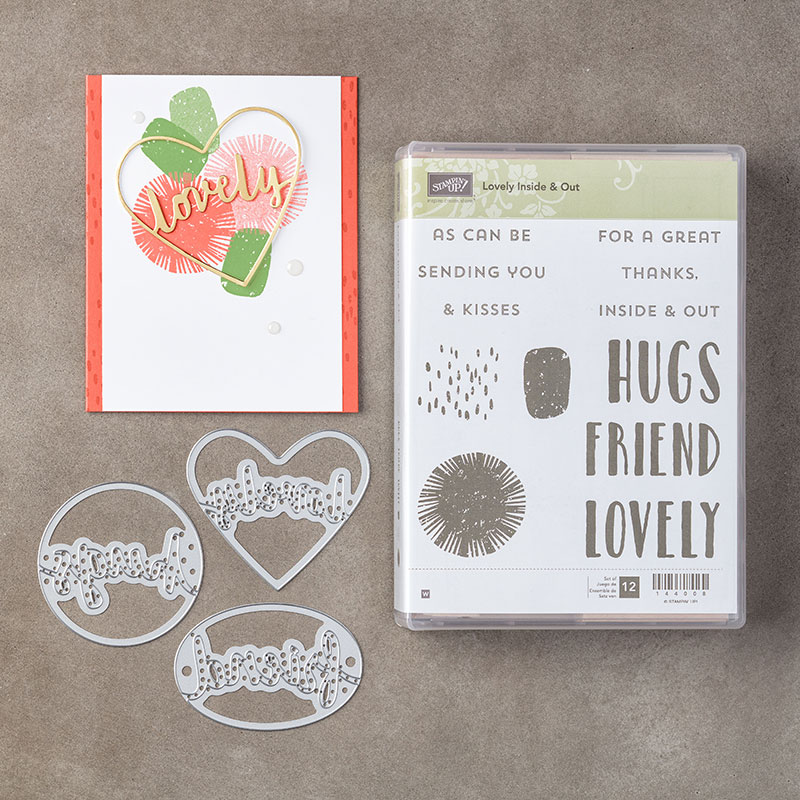
Hi all, As promised, here is the 2nd class that we made at this month's card class. If you missed yesterday's post, the cards this month all focus on the inside of the card, rather than all the detail being just on the outside! I make so may cards that are quick and simple, but it was really nice to do something a bit more involved and have that wow factor when the recipient opens their card! 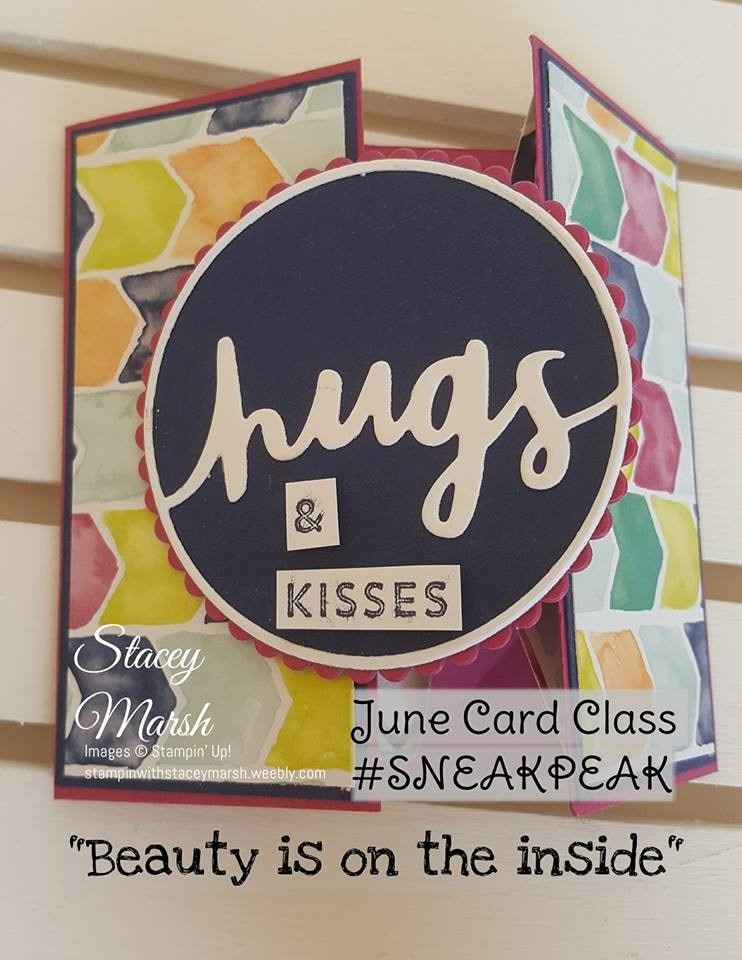 When closed this card measures 4" x 4" and is made from a 4" x 8" piece of cardstock. The arrows paper comes from the Naturally Eclectic Deigner Series Paper range and showcases some of the new 2017-2019 in-colours and previous 2016 - 2018 in-colours. I have also used the Lovely Inside and Out bundle which includes the Lovely Words Thinlit Dies and Lovely Inside and Out stamp set. . 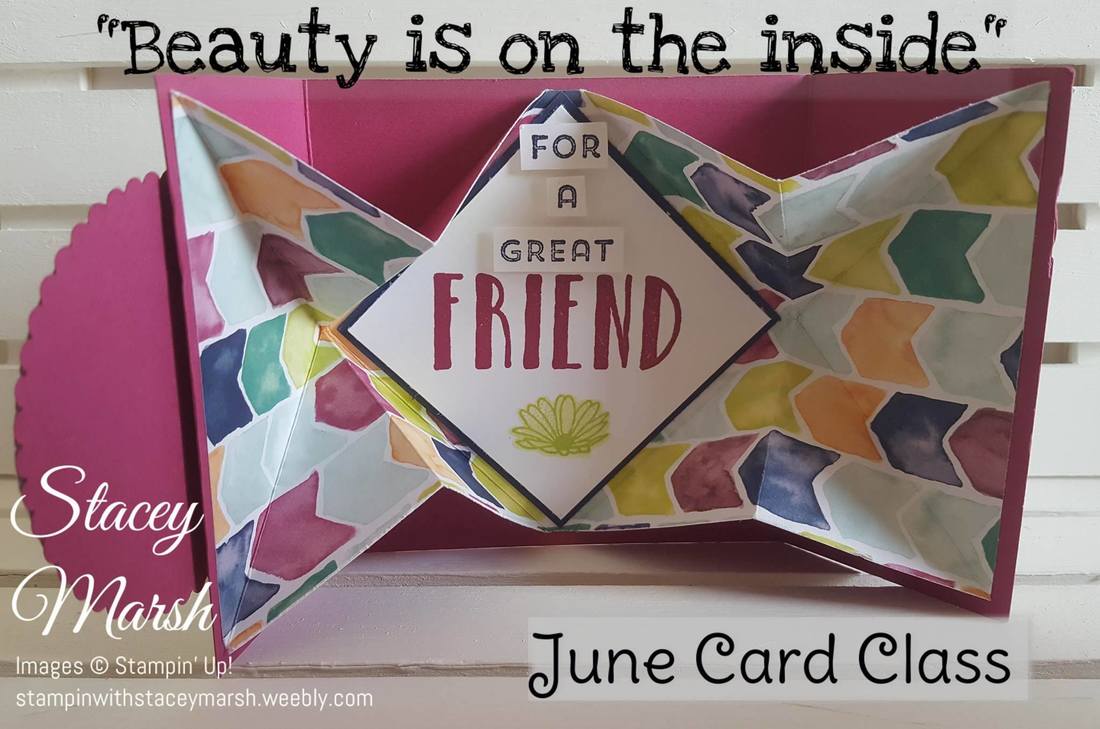 Now I will admit that this card doesn't photograph all that well and I'm still not confident enough to start videoing....but basically when you open the card it reveals diagonal folds with the diamond shape in the middle. It is very effective and provided some excellent sound effects from the ladies at class last night! These are the products that I used to create this card... Come back tomorrow to see the final of the 3 cards from this months card class...and my personal favourite!
Stacey xx
0 Comments
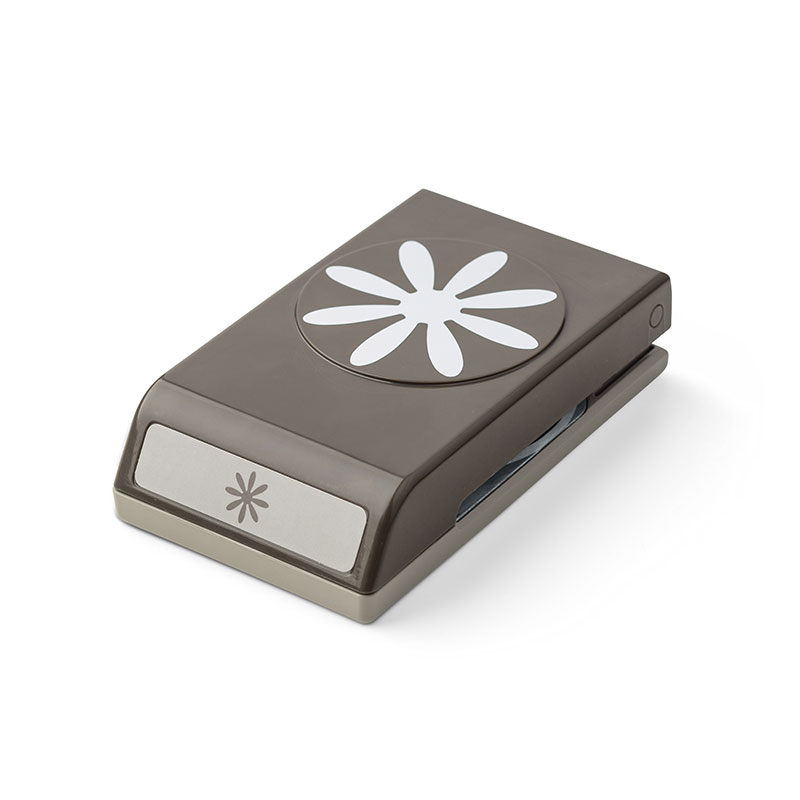
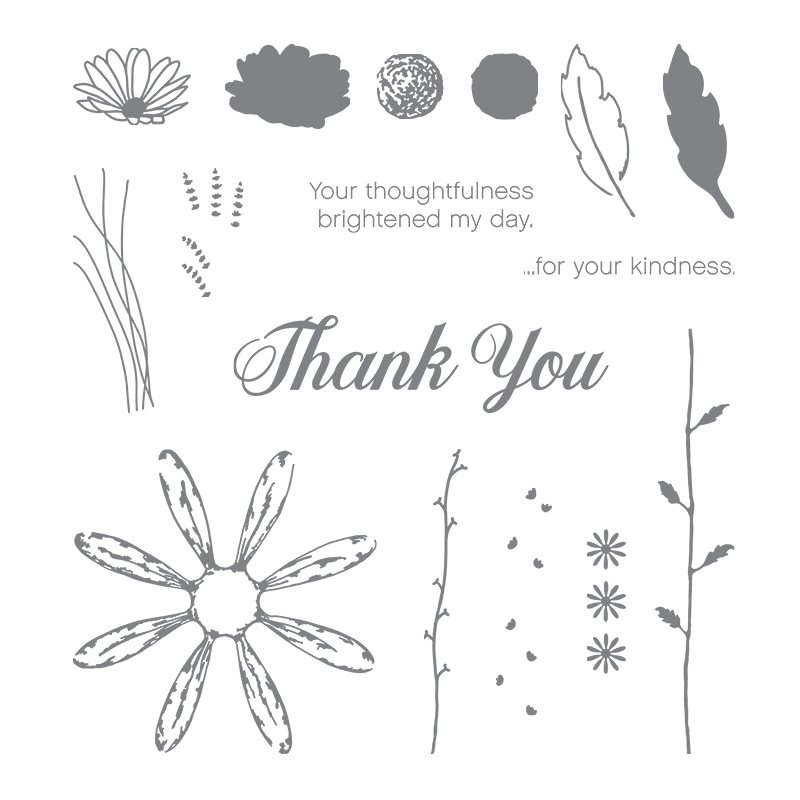
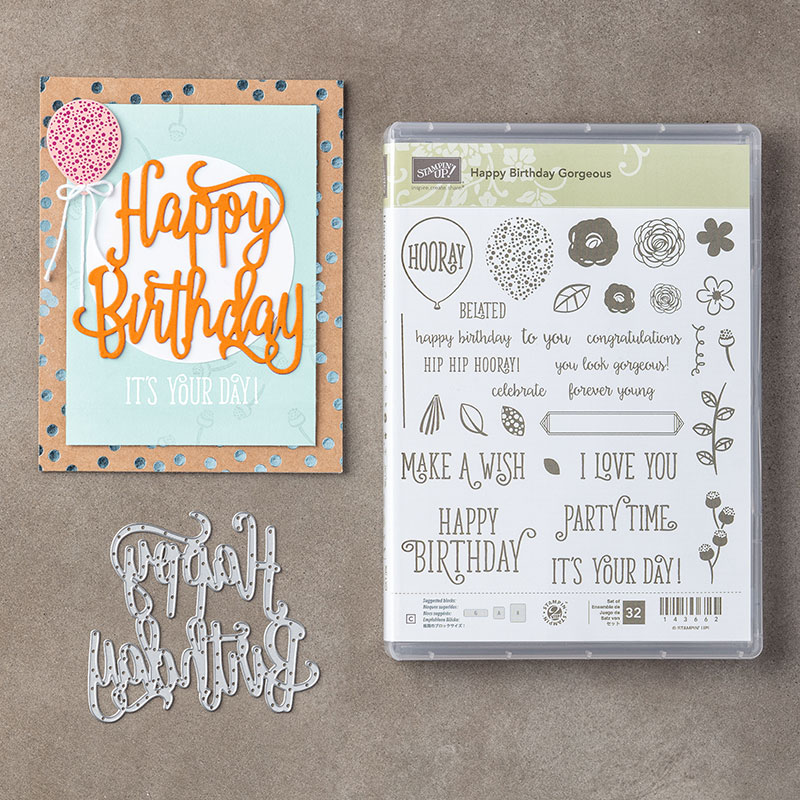
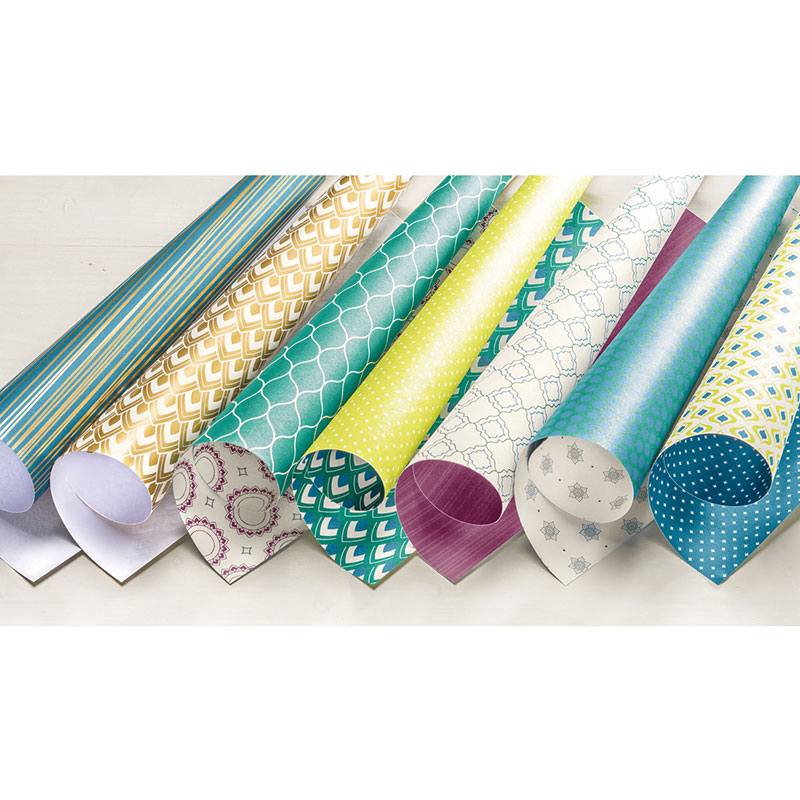
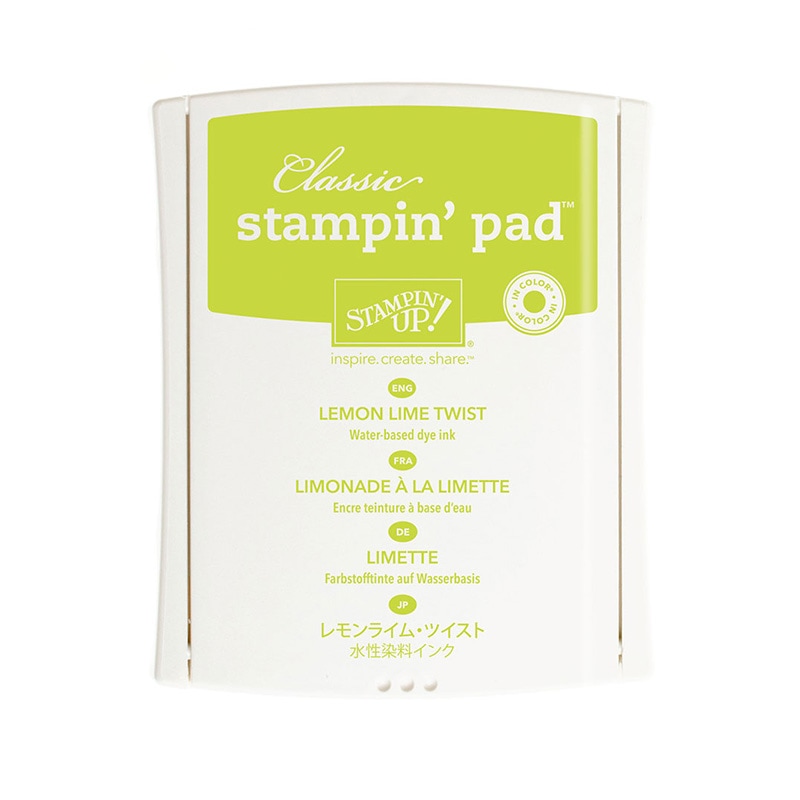
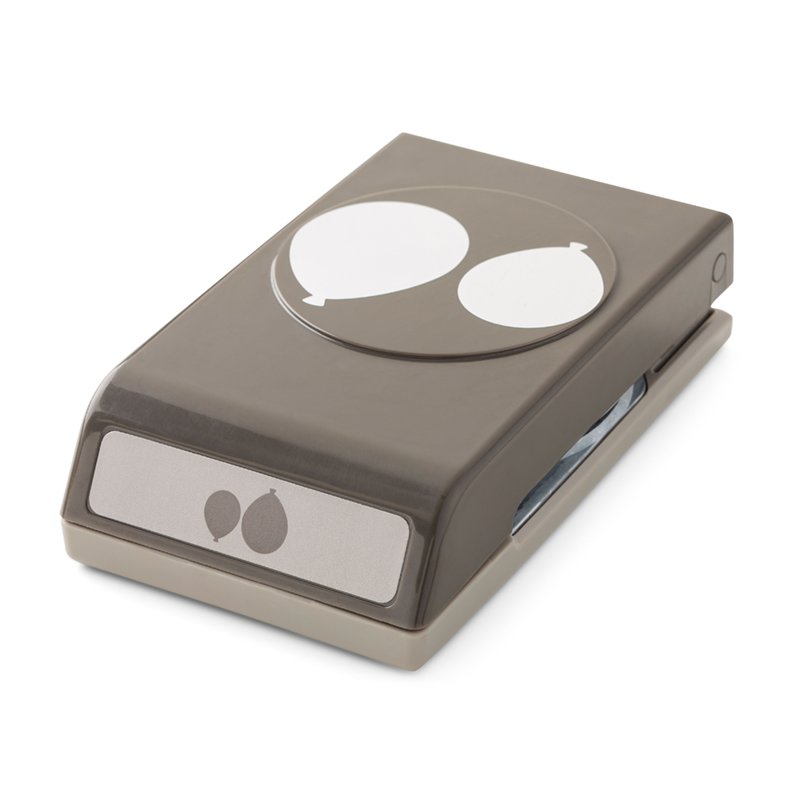
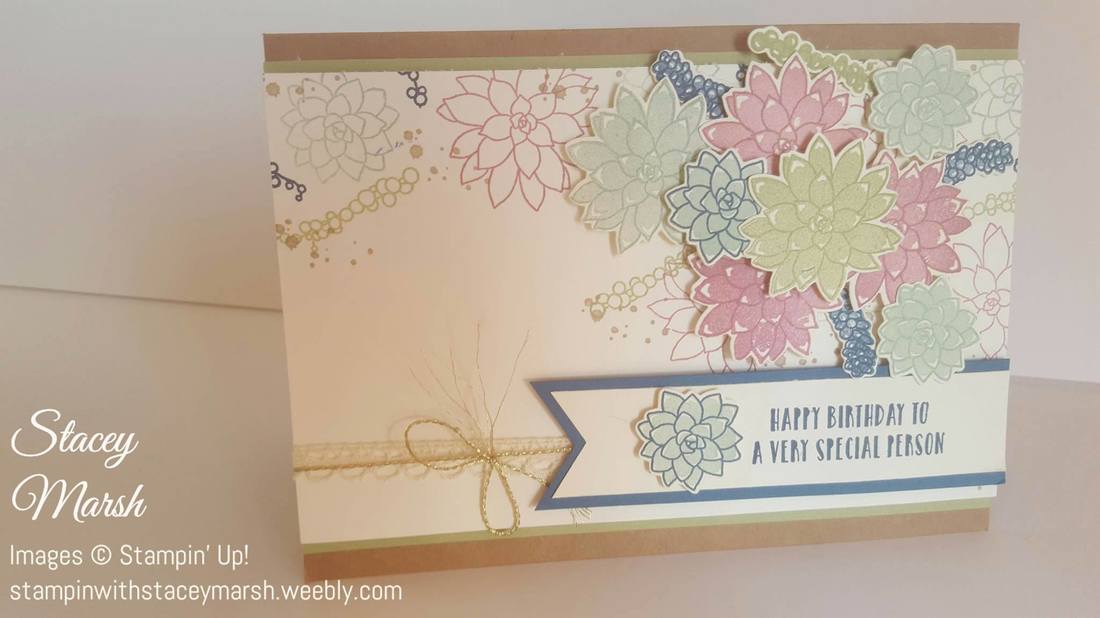
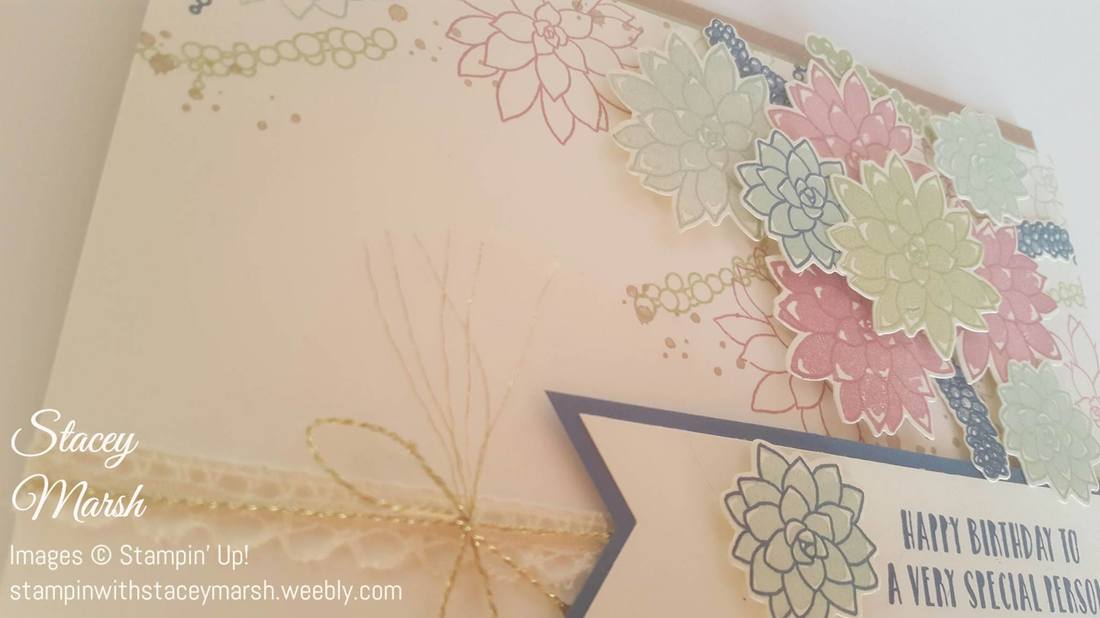
Hi all, So here we are...the final of the 3 card that we made at this month's card class all about Beauty on the Inside! It's always nice to make a really lovely card with just the front decorated but sometimes its nice to surprise your recipient with a little decoration on the inside! This is my favourite of the 3 that we made....just saying! 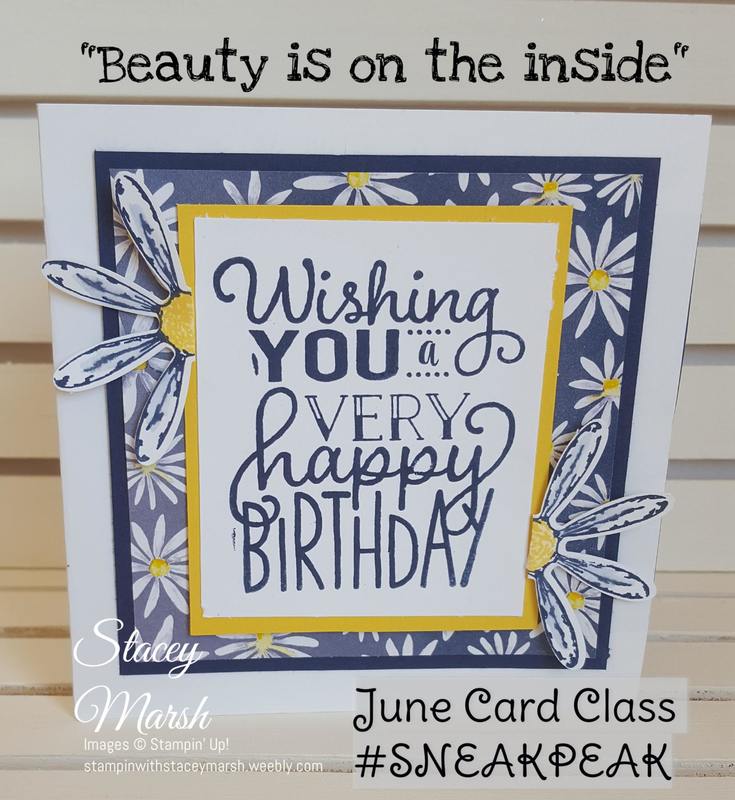 Apart from the gorgeous colours on this card (Night of Navy and Daffodil Deilight) I have used the new Daisy Delight stamp set and matching Daisy Punch which is sold out across the whole of Stampin' Up! right now which just shows how much people are loving this set! The papers come from the Delightful Daisy Designer Series Paper set and this is the one that jumped out at me first...and I found it really hard to cut (ha!) The sentiment comes from the Big on Birthdays stamp set and is such a nice size to use! I added the daisy's for that extra something! And for the Beauty on the Inside... 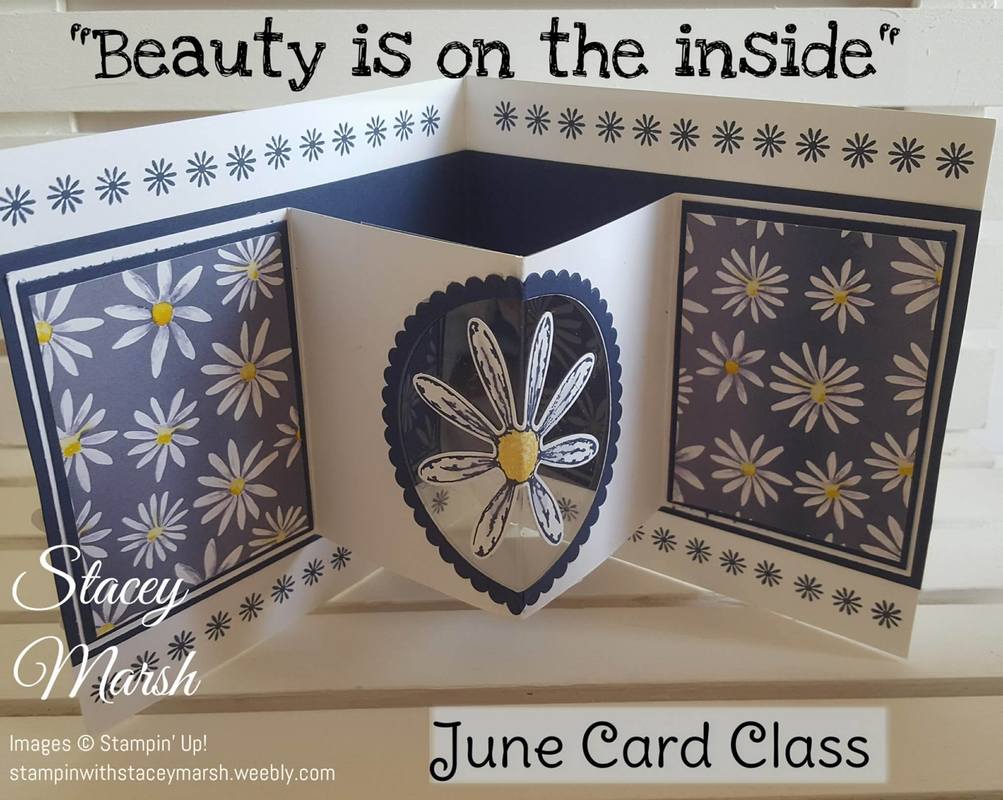 So within this card, I have added an extra fold out panel with a window sheet used underneath the circle apperture and added another daisy as the centre piece. It doesn't fold well but the inside really is so pretty! It definitely looks more complicated than it was to put this one together but I think its quite effective! You could add anything to the centre...maybe for a christmas card, a christmas tree or a snowflake?! (Yes I'm starting to think about Christmas!) These are the products that I used to make this card... Hi all! I can't believe it's been 3 weeks since I last wrote on here! It's been quite manic here at the manor with cars breaking, getting ready for a christening and general busy life! This card class was meant to take place in June but with the hubby being away for work, it didn't actually happen until July! This month I chose to do a card class all about the inside of the card! We make so many cards where all the detail is on the outside, we often leave the inside blank or just add a sentiment. At this card class we made 3 totally different cards where the front was pretty....but the insides are BEAUTIFUL! 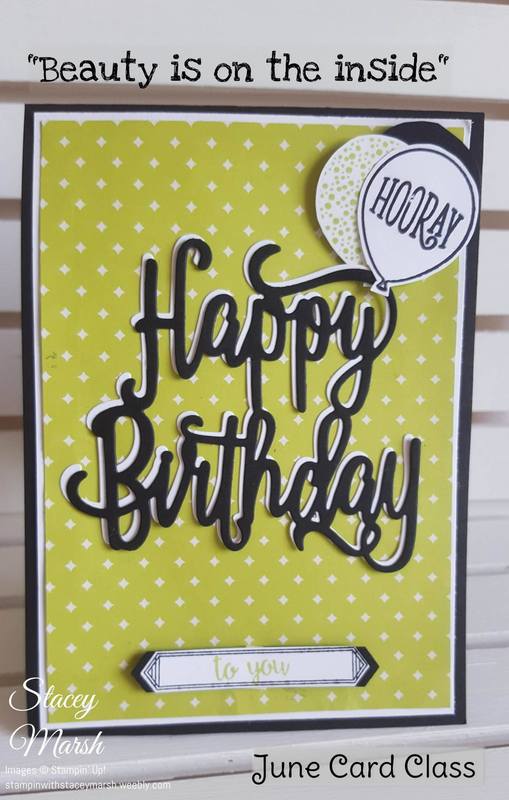 This card measures 4, 1/8" x 5, 3/4" and uses DSP from the Medallions collection, in my fabourite new colour Lemon Lime Twist! I have kept it very simple by using the new Happy Birthday Thinlit cut in White & Basic Black then layered to give a shadown effect. As nice as this die looks when cut in one colour, I prefer to use it this way as it really does pop off the page! The balloons and sentiment at the bottom come from the coordinating stamp set, Happy Birthday Gorgeous. 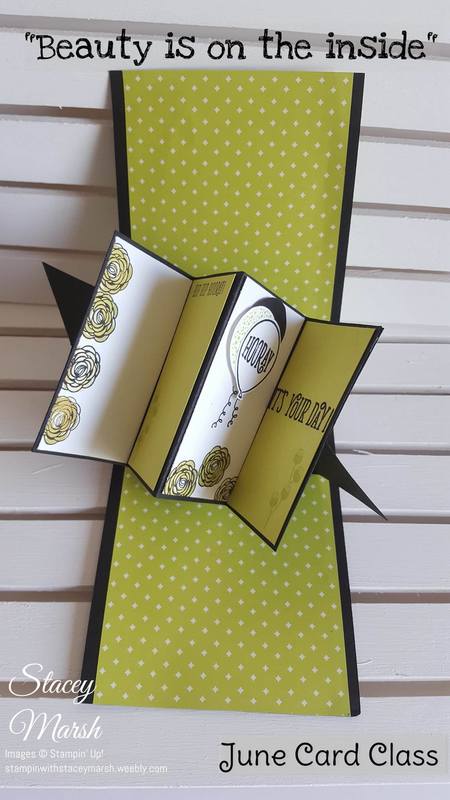 The inside is definitely more glamourous! This card is known as the "Twist and Pop" card as the centre of it lies flat when the card is closed (obviously!) and as you open the card, the centre part twists and pops out! I have decorated the individual panels using the coordinating cardstock and ink, and used more stamps from the Happy Birthday Gorgeous stamp set. This card was really fun to make, and looks alot more complicated than it actually is. If you would like to learn how to make this card, or would like to order any of the items we used, please do get in touch. Looking forward to showing you Part 2 tomorrow....! Stacey
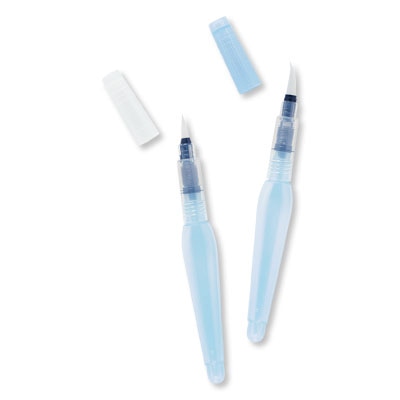
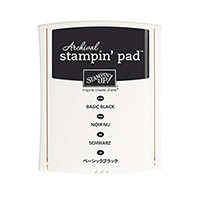
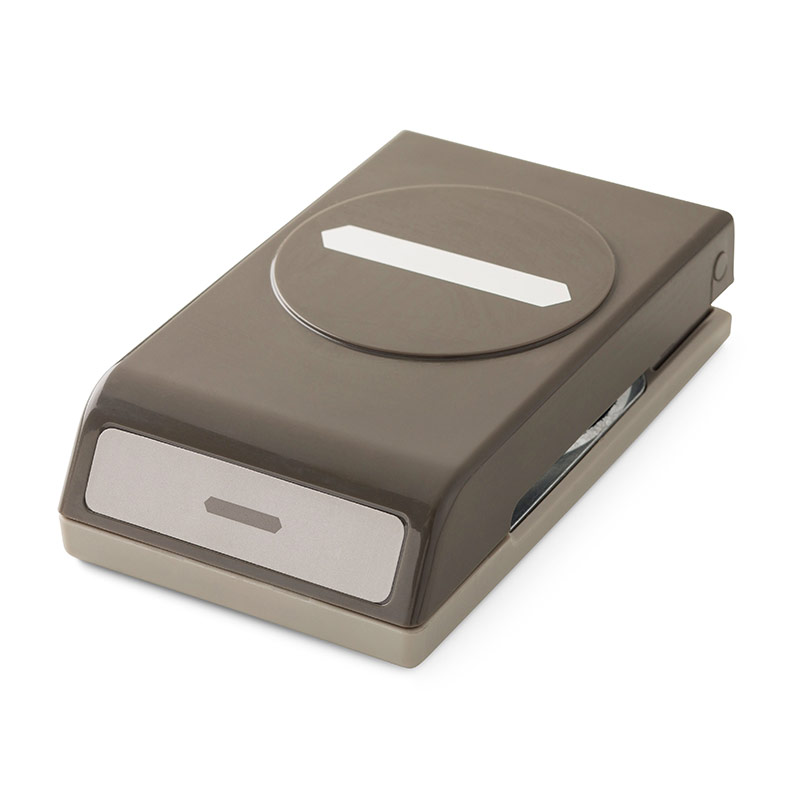
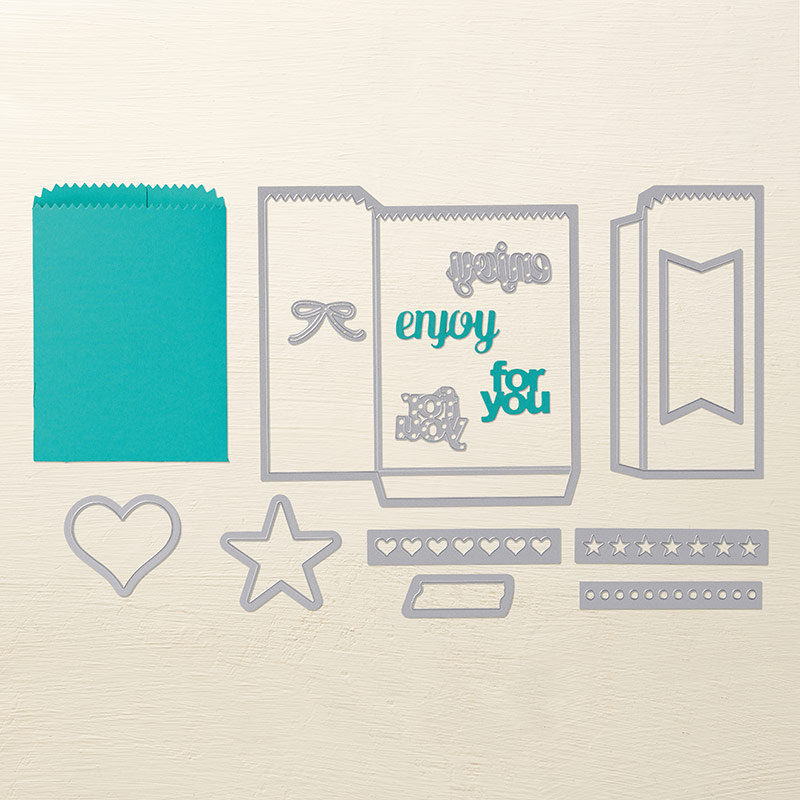
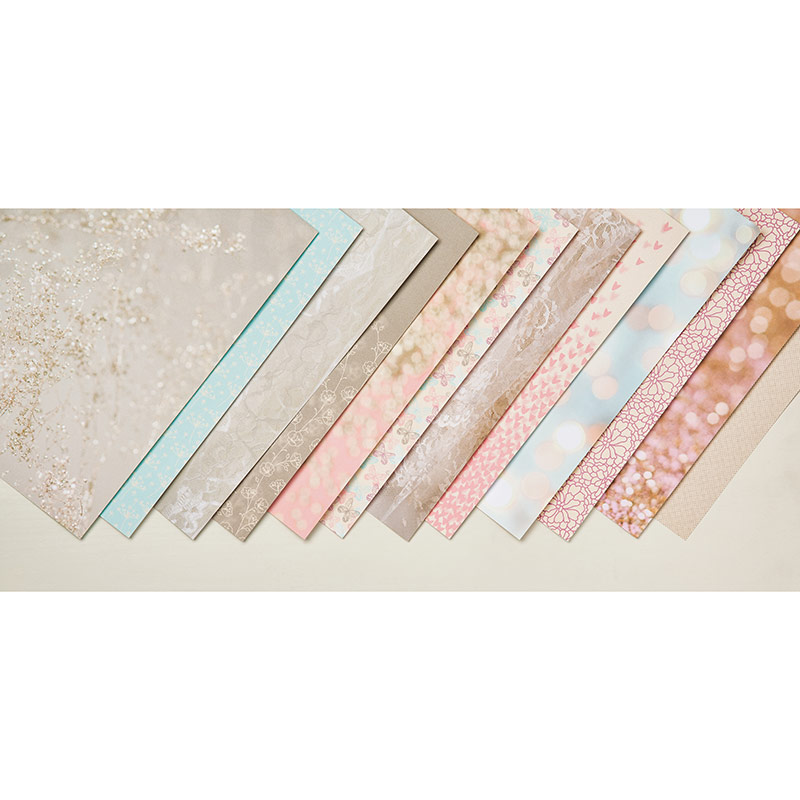
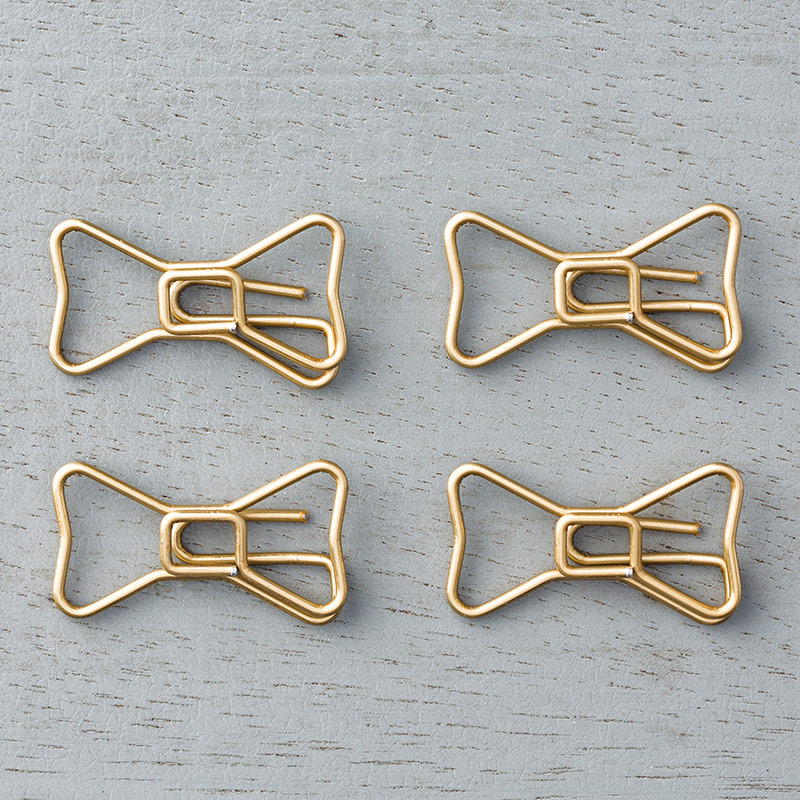
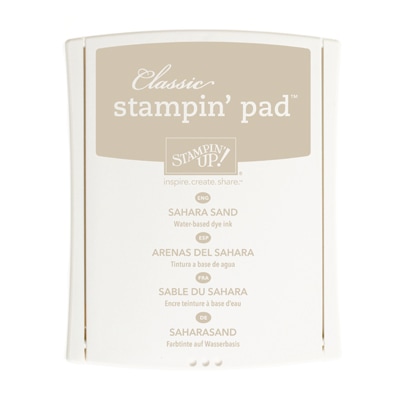
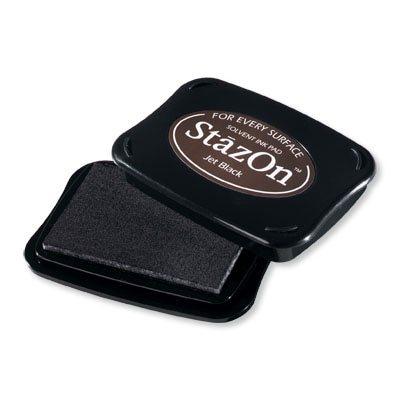
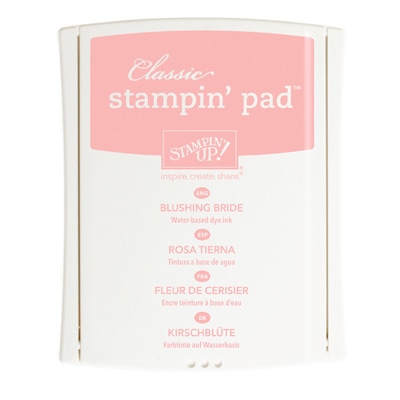
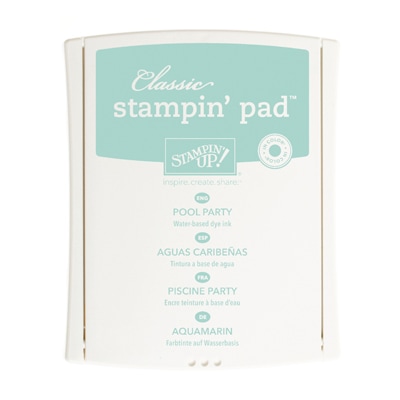
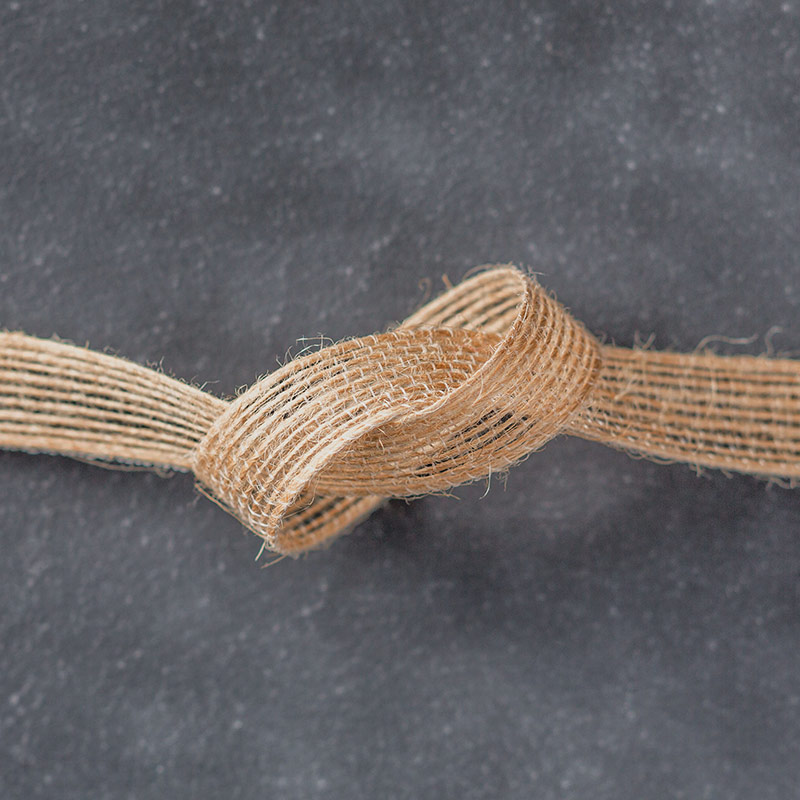
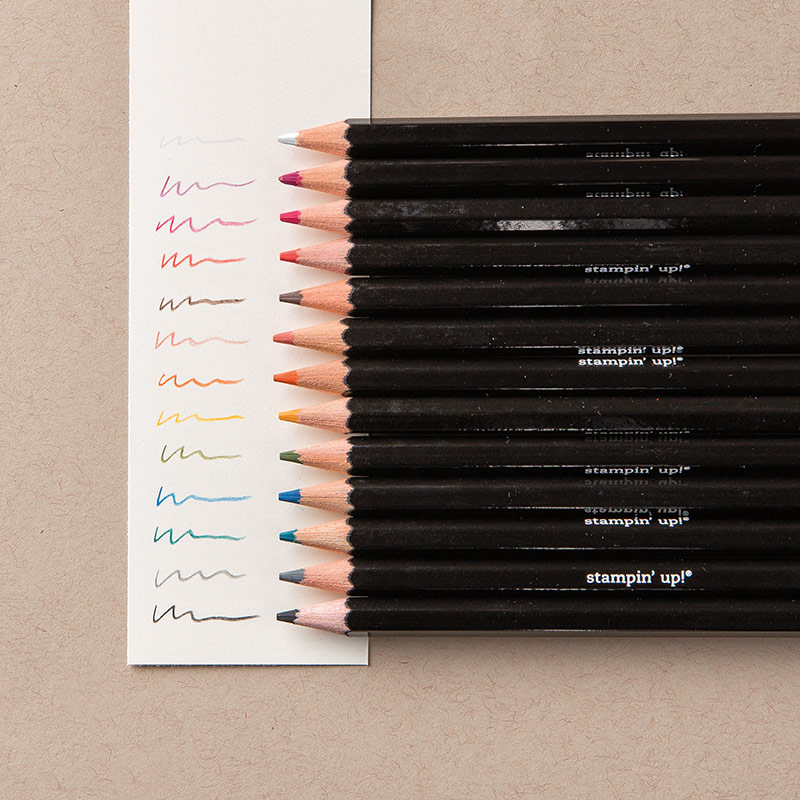
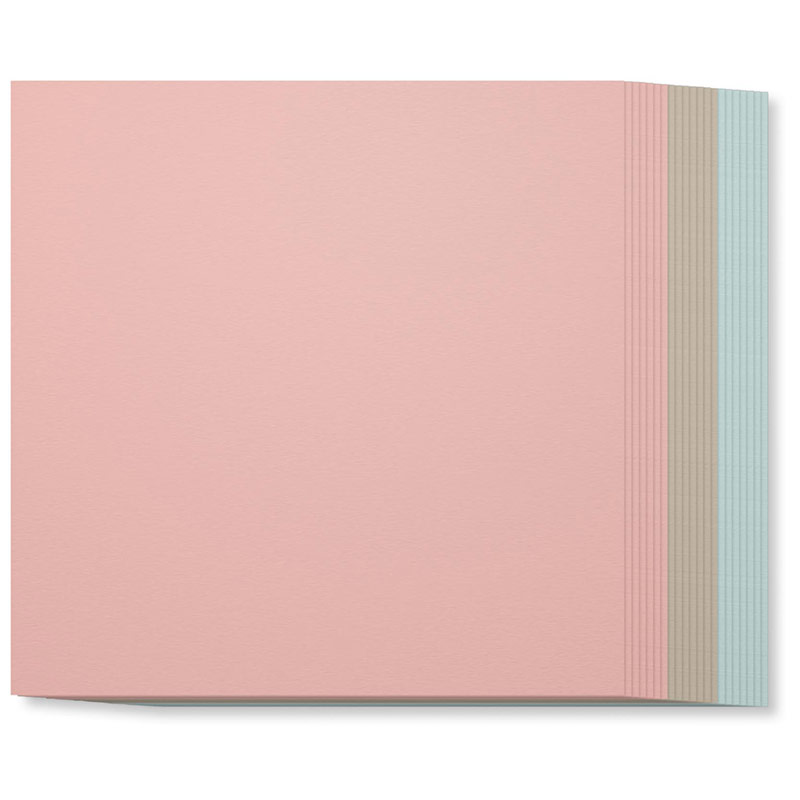
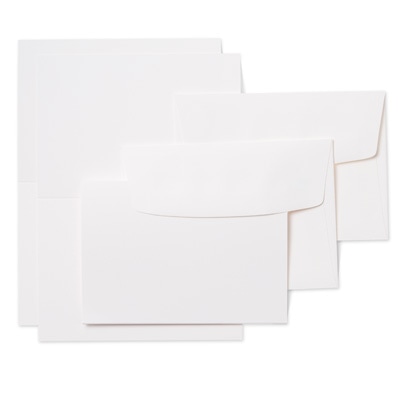
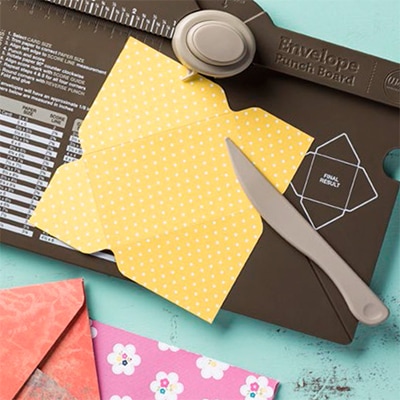
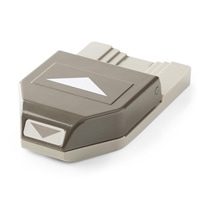
xx Hi all, Hope you're all having a good week! March's classes are all about the Beautiful You Stamp Set which is definitely the most popular stamp set from the Spring/Summer seasonal catalogue. If you've looked at Pinterest, you will see this stamp set being used alot! It is such a versatile set and looks fab however it is used! 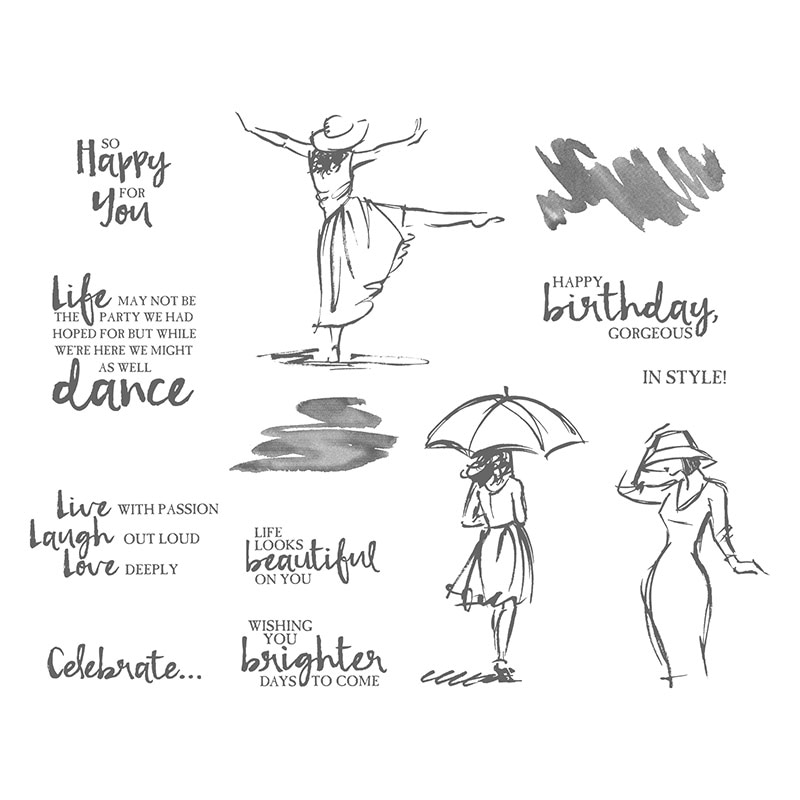 Alot of my customers have bought this stamp set so I thought it would be a good idea to put together a class. I love to make sets of coordinated notecards. They make for great gifts and always go down very well at craft fairs! 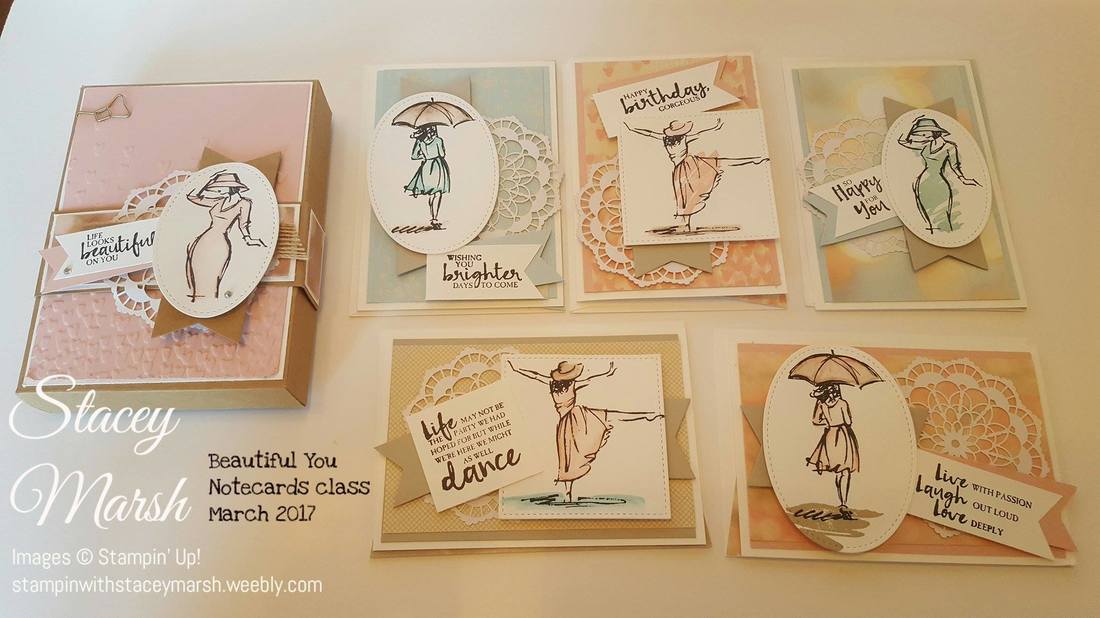 The box contains 5 notecards/envelopes which have been decorated with the Falling in Love Designer Series Paper set which is gorgeous pastels and really compliments the sentiments in the stamp set! The lady images have been coloured in using the new Watercolour Pencils and wash stamps from the set. 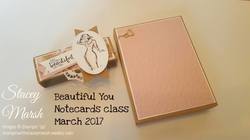 I made the box from Kraft card using the Envelope Punch Board. Starting with a 9"x9" piece of card, line the card up at 3, 1/8" and punch/score on all 4 sides. Then using the same piece of card, punch/score again with a starting point of 4,5/8". The box is then secured closed with the belly band. I used the following products to create this set: Watercolour Pencils & Aqua Painters Dies - Stitched Shapes Framelits & Mini Treat Bag Thinlits (banner die) Beautiful You stamp set Basic Black Stazon Ink, Blushing Bride, Pool Party & Sahara Sand Falling in Love DSP & cardstock Whisper White Notecards & envelopes Falling Petals Textured Impression Embossing Folder Triple Banner Punch & Envelope Punch Board Burlap Ribbon Gold Bow Paper Clip If you would like to order any of these products or find out about classes that I offer, please message me!
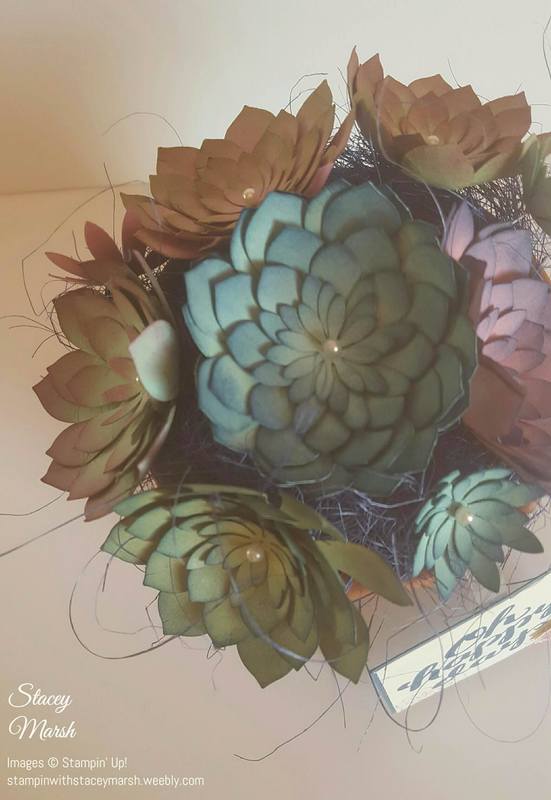
Stacey xxx Hi all, This months' project class was based around the Succulents Bundle that is one of the new products available in the Spring/Summer seasonal catalogue. 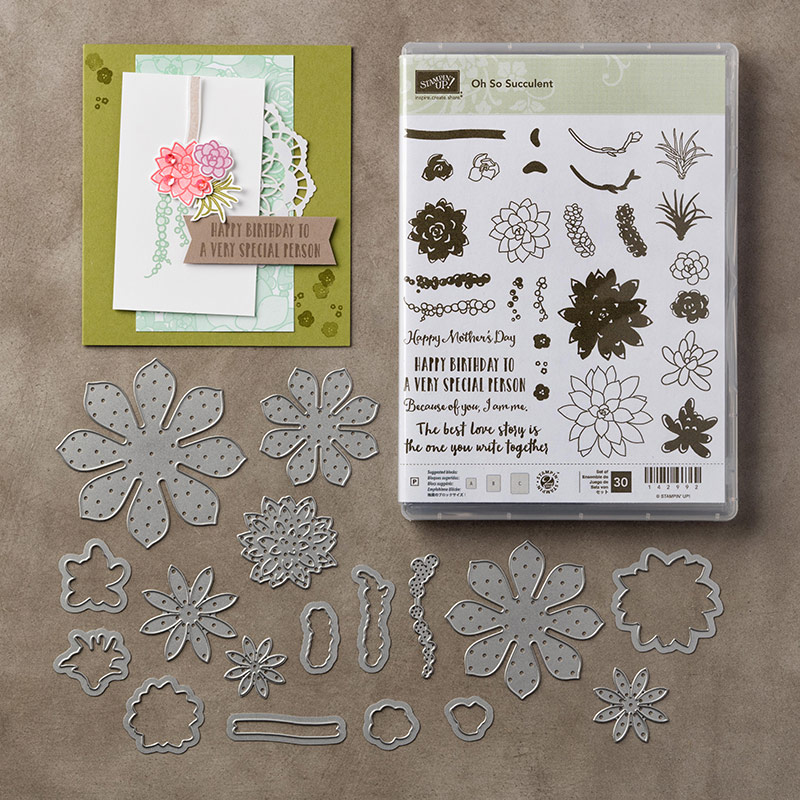 This set jumped out of the catalogue at me as it screams Spring and who doesn't love spring?!! For this class I wanted to make something more than a card as the large flower dies make the most beautiful 3D flowers....and this is what they made! 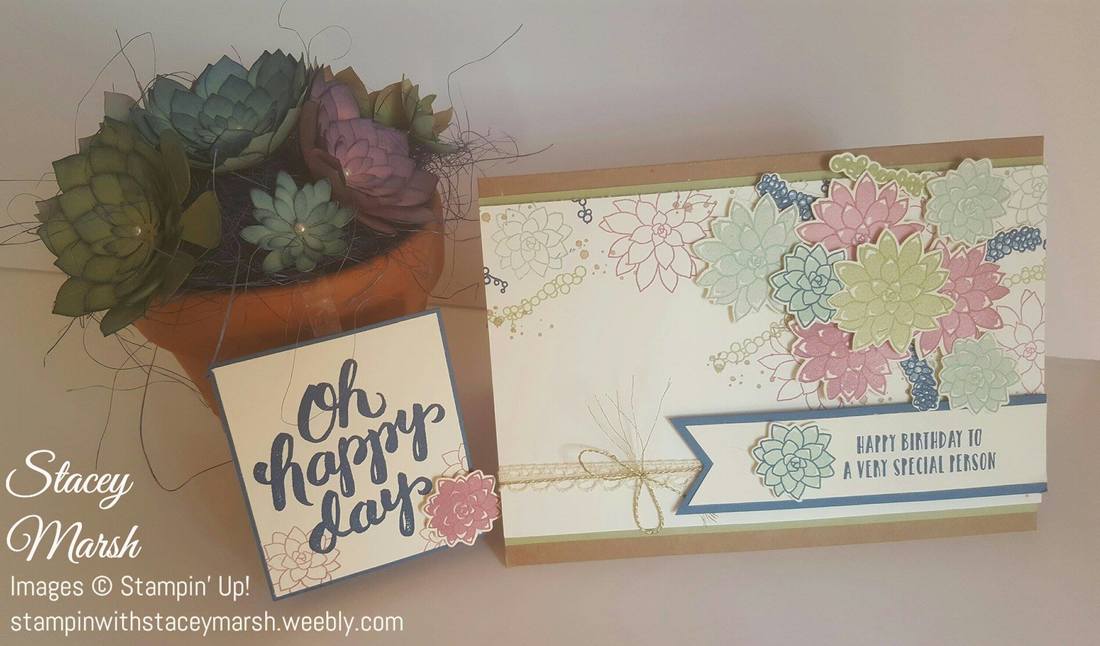 I picked the flower pots up from Wilkinsons and used some Sisal that I purchased from Hobbycraft and ordinary dressmaker pins with a pearl top. To order this stamp set, please click the online shop link below and don't forget with the current Sale-a-Bration promotion running until the end of March, you can choose a limited edition FREE item when you spend £45! Stacey xx  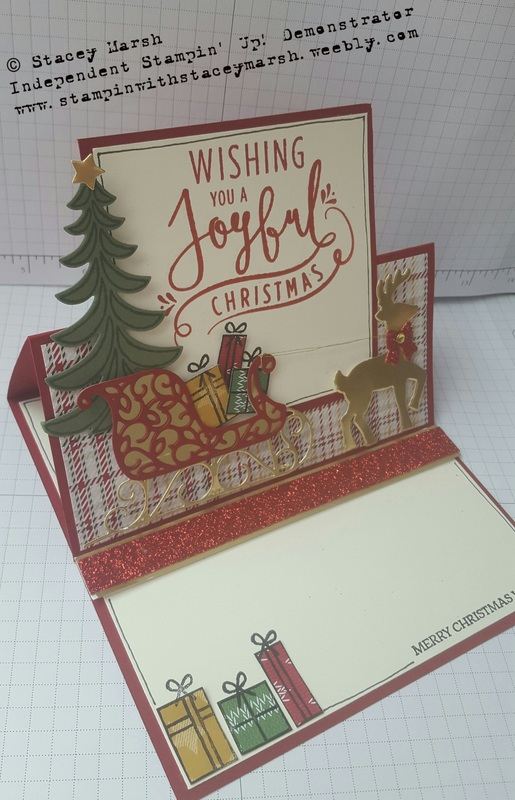 This card is a standard 6" x 6" square base and I have used
Hi all, Here we are for part 2 of my September card class post and the last 2 cards that we made together using the Jar of Love stamp set and Everyday Jars Framelits bundle. The first of the 2 is a shaker card which are proving rather popular recently and these jars are perfect for creating really effective and fun shaker cards! 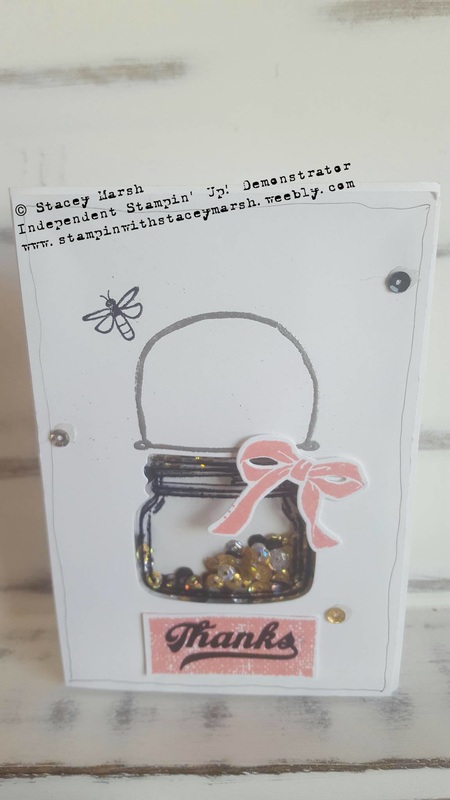 To create this card:
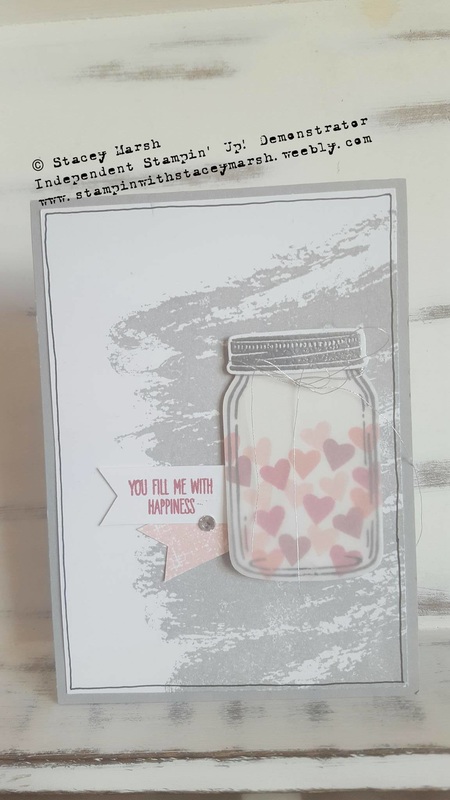 The last card is a standard 4" x 6" card base.
I'm sure this won't be the last time you see the Jar of Love stamp set bundle used by me as it is so effective and has so many options! Thank you for reading, hope you have a good week! Stacey xx Hi all! It's been a very busy summer here for me, and I can't believe how quickly time has passed! I have had a wonderful summer full of days out, catching up with friends and family, celebrating birthdays (including mine!) and even a holiday to North Devon/Cornwall! Sadly I didn't achieve much crafting and my blog has become rather neglected! Fingers crossed that now we are back into routine of school being back I will be able to find some time to craft! Over the last 2 weeks I have held my regular monthly card class and repeat session so I am excited to share with you what we made.... This month I focussed on using the Jar of Love stamp set and Everyday Jars Framelits bundle which is simply gorgeous and the options are endless from jars of flowers, wasps, fireflies, fish, paint pots, and anything else that you can fit in them! This bundle really is excellent value for money - there are 37 stamps in the set and 17 framelits! It is proving to be one of our best sellers since the launch of this catalogue in June and you will see Pinterest flooded with ideas of how to make stunning projects and cards with this set. Click here to view the stamp set in more detail. 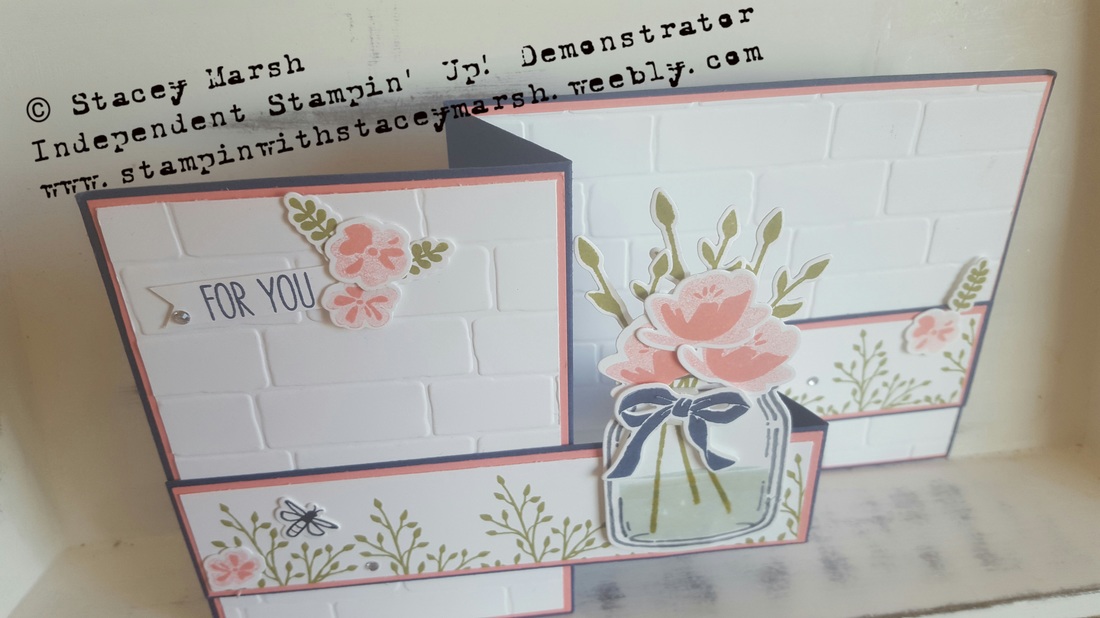 I originally saw this card fold on Pinterest but the layout and the colour combination are all from my little brain....
The card base is made from a piece of A4 card scored along the long edge at 6" & 8". I have then cut the card at 5" wide, and abother strip of 1.5" wide. I have layered the card using Flirty Flamingo cardstock and Whisper White which I have embossed using the Brick Wall embossing folder. I have added some Glossy Accents to the water in the jam jar to give a wet-like finish. Thanks for looking! Feel free to let me know your thoughts! xx Hi all! Hope you're having a good week so far! We found out yesterday we're expecting another little girl in november sk it's smiles all round at the manor especially for little Florence who has been adamant that she's having a sister right from the start! Bringing you the final card from this month's card class...and the fancy fold instalment! Each month i try to include a card that is folded slightly differently than the normal style. Sometimes they're reallt fancy and other times they're just slightly fancy! 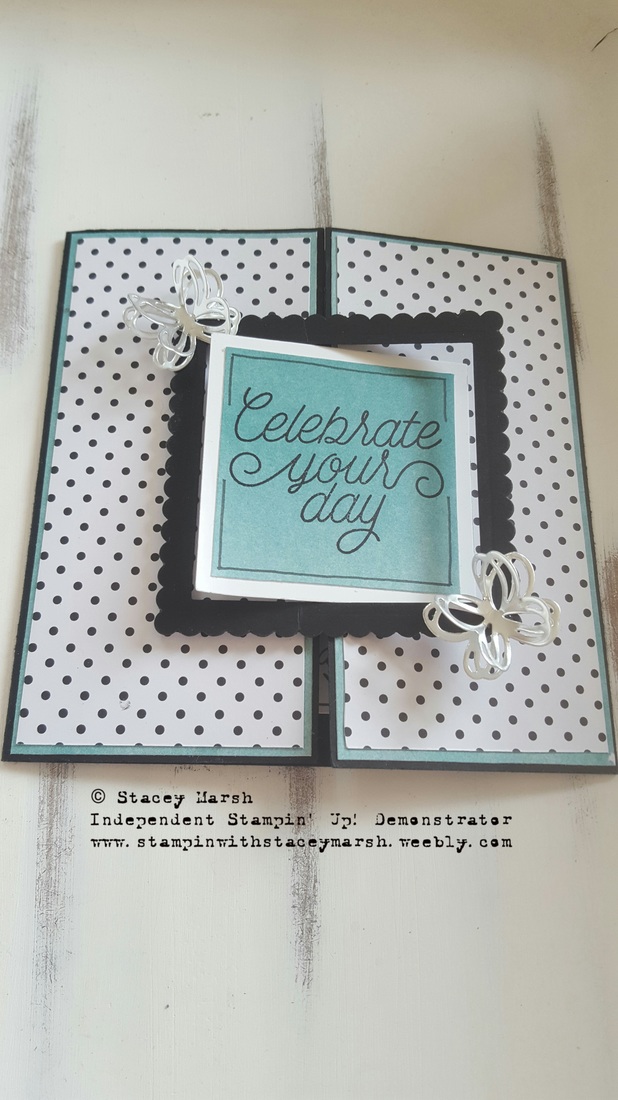 Once the card has been folded it makes a 5" x 5" square card. To create this style of card, rather than scoring in the middle of the card, score it at 2.5" from either end. I have added some DSP to the side panels of the card from the Pop of Pink range. For the cross-over section in the middle I have used the Layering Square Dies to create a frame effect and layered using the new Foam Adhesive Strips. The sentiment comes from the Designer Tin of Cards set and the silver butterfly shapes are cut from the Sunshine Wishes Framelits Dies. 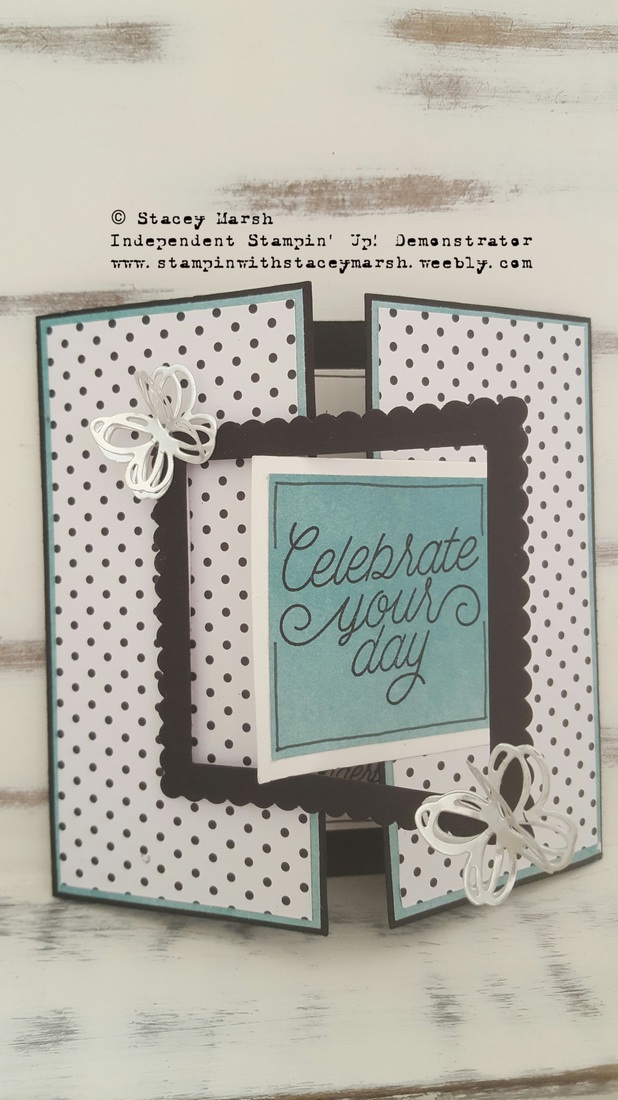 I liked this "fancy fold" card as it looks effective but is so easy to make and could be great for using up all those off-cuts of DSP we all keep!
Thay concludes our card class set for July. I hoped you liked the cardsm Next month I will be doing a notecard and box set at the card class...dates to follow! Have a great week! Stacey xxx Hi all I hope you're all enjoying the weekend! As promised here is the 2nd card from my July card class... 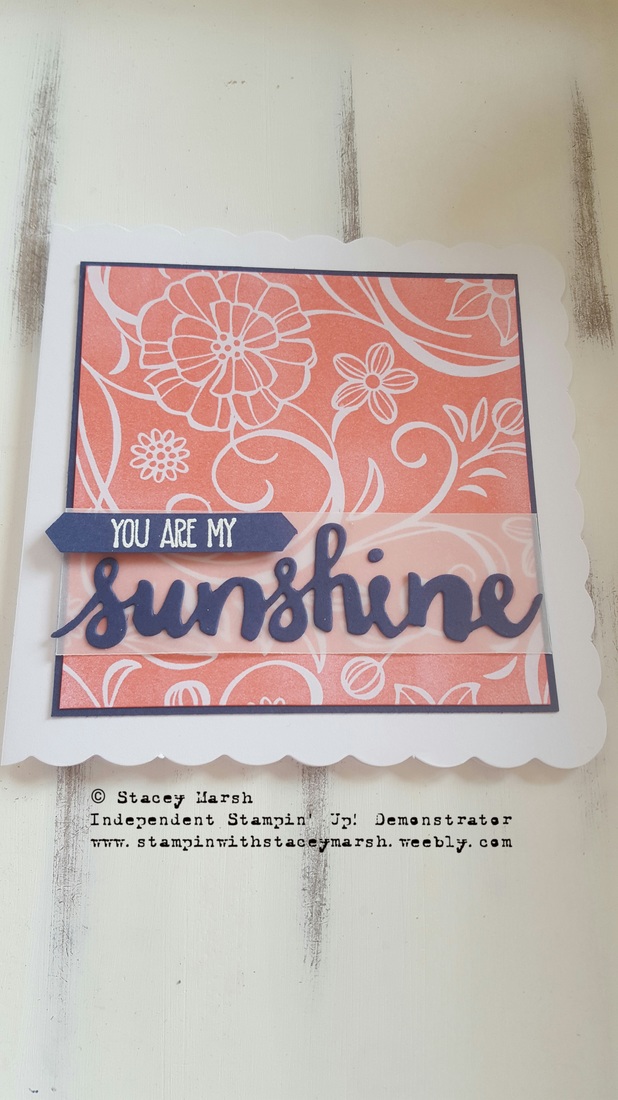 To make this card I have used a scallop edge card base and added a Night of Navy card mat to bring in another colour. I have used a 4" x 4" piece of the Irresistably Floral Speciality Designer Series Paper which are all white and used a sponge brayer to add the colour. These papers are really fab because they have a shiny embossed finish but you can add as much or as little colour as you wish! "Sunshine" has come from the Sunshine Wishes Framelits dies and added to a strip of Vellum to add another texture. 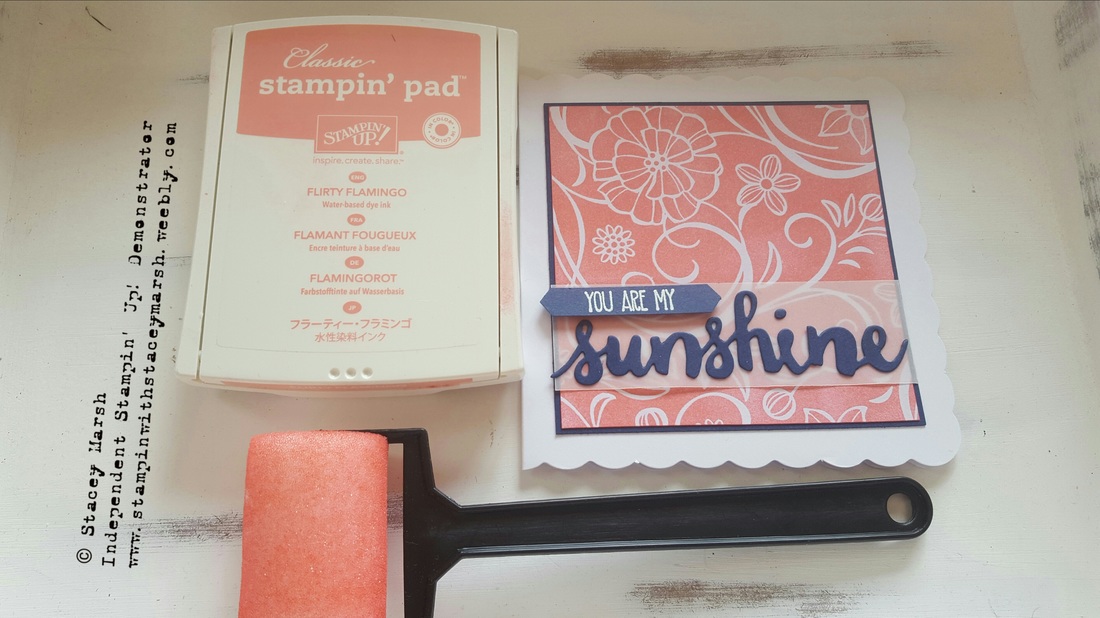 I enjoyed using the sponge brayers because they don't leave any mess and can be washed (gently) ane re-used after!
This afternoon I shall be watching the Wimbledon final and hopefully doing some crafting! Stacey xxx |
About Me
Hi there! Shop With Me
Order Online
Shop 24/7 by clicking on the logo above and get Stampin’ Up! products delivered directly to your door for a flat postage rate of £4.95 Browse the
|


 RSS Feed
