|
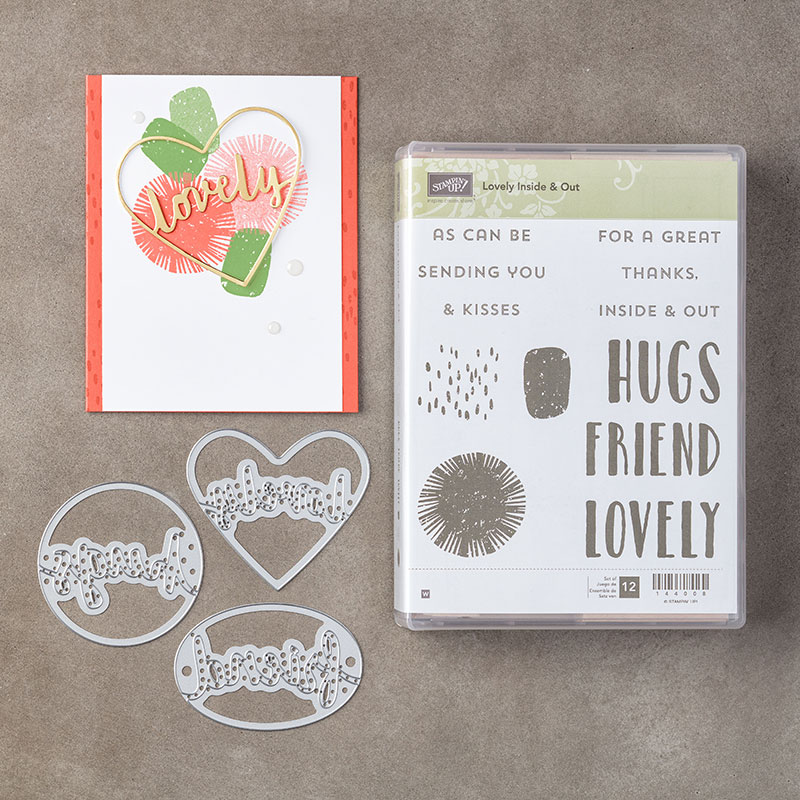
Hi all, As promised, here is the 2nd class that we made at this month's card class. If you missed yesterday's post, the cards this month all focus on the inside of the card, rather than all the detail being just on the outside! I make so may cards that are quick and simple, but it was really nice to do something a bit more involved and have that wow factor when the recipient opens their card! 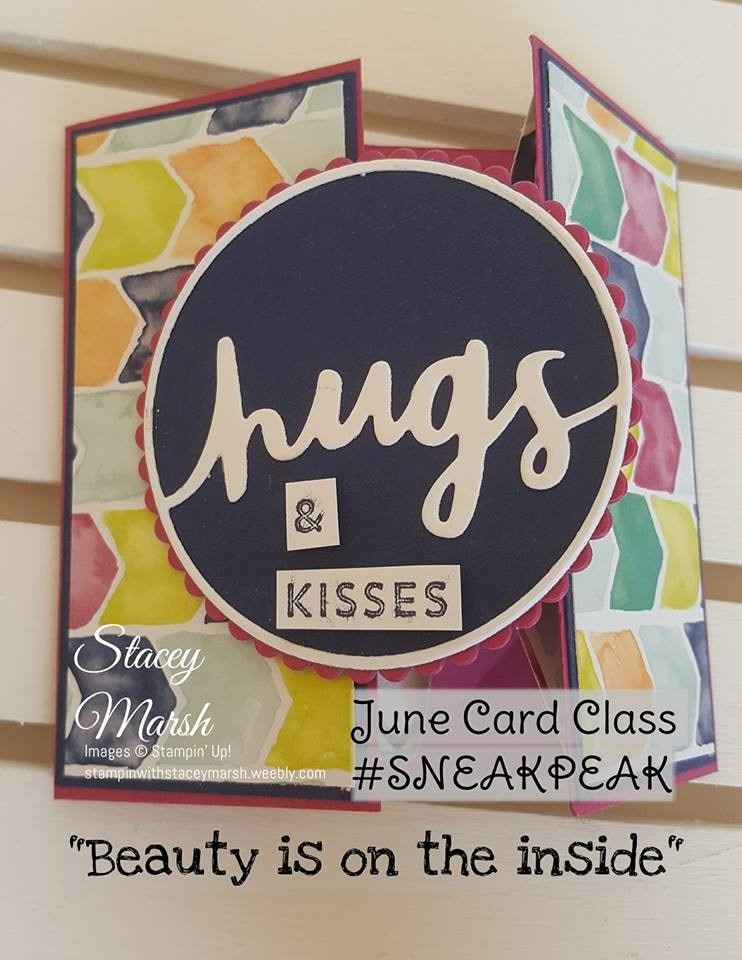 When closed this card measures 4" x 4" and is made from a 4" x 8" piece of cardstock. The arrows paper comes from the Naturally Eclectic Deigner Series Paper range and showcases some of the new 2017-2019 in-colours and previous 2016 - 2018 in-colours. I have also used the Lovely Inside and Out bundle which includes the Lovely Words Thinlit Dies and Lovely Inside and Out stamp set. . 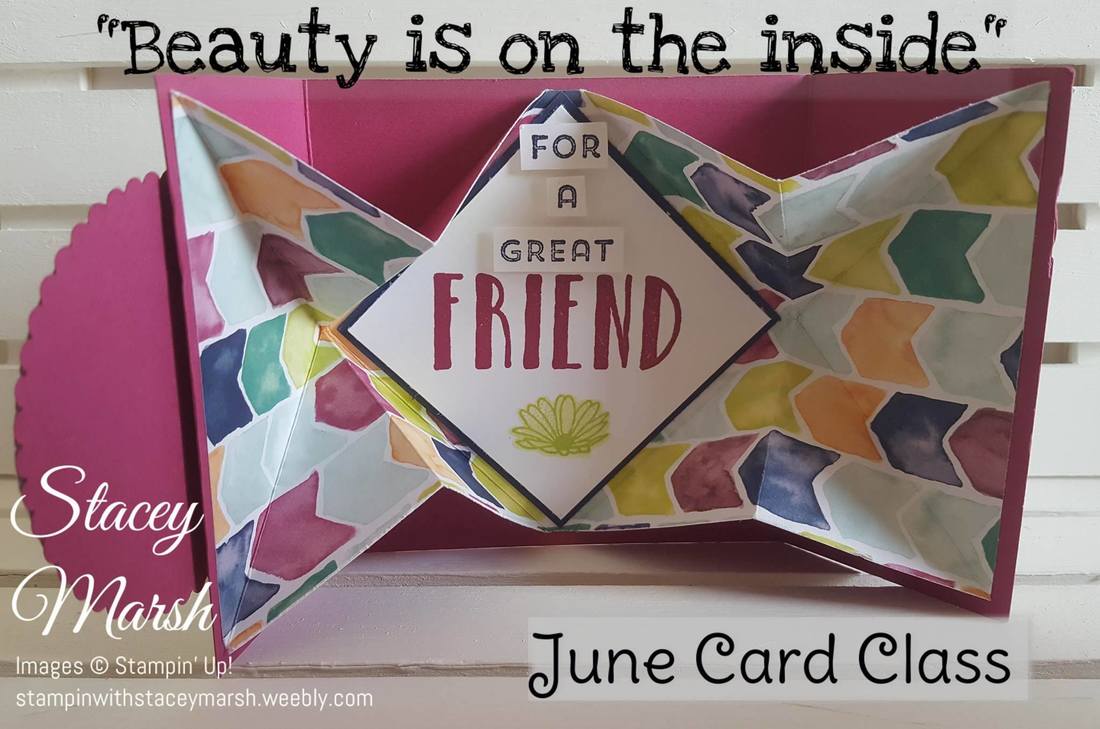 Now I will admit that this card doesn't photograph all that well and I'm still not confident enough to start videoing....but basically when you open the card it reveals diagonal folds with the diamond shape in the middle. It is very effective and provided some excellent sound effects from the ladies at class last night! These are the products that I used to create this card... Come back tomorrow to see the final of the 3 cards from this months card class...and my personal favourite!
Stacey xx
0 Comments
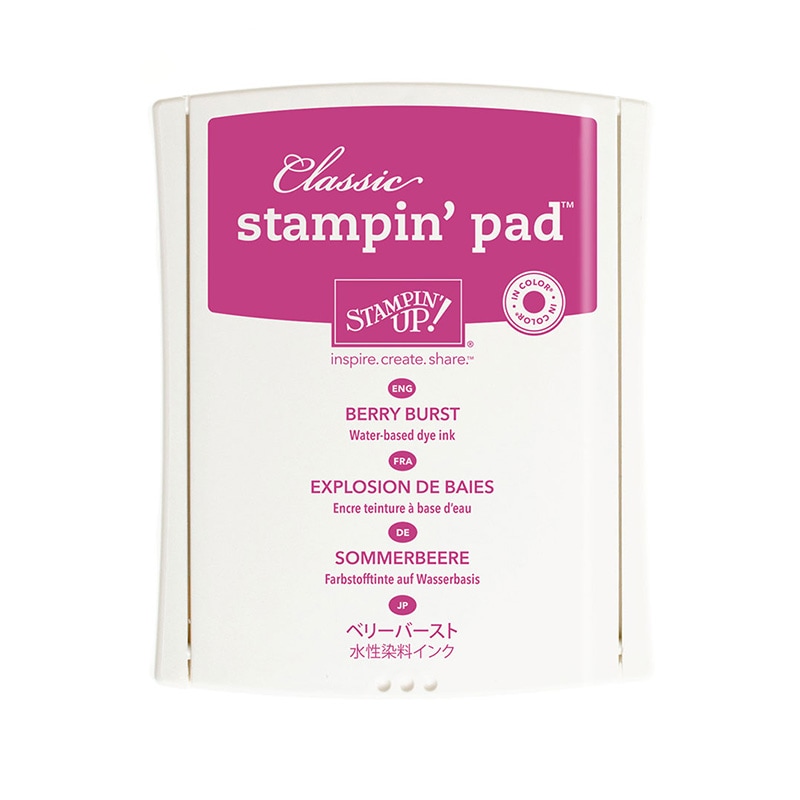
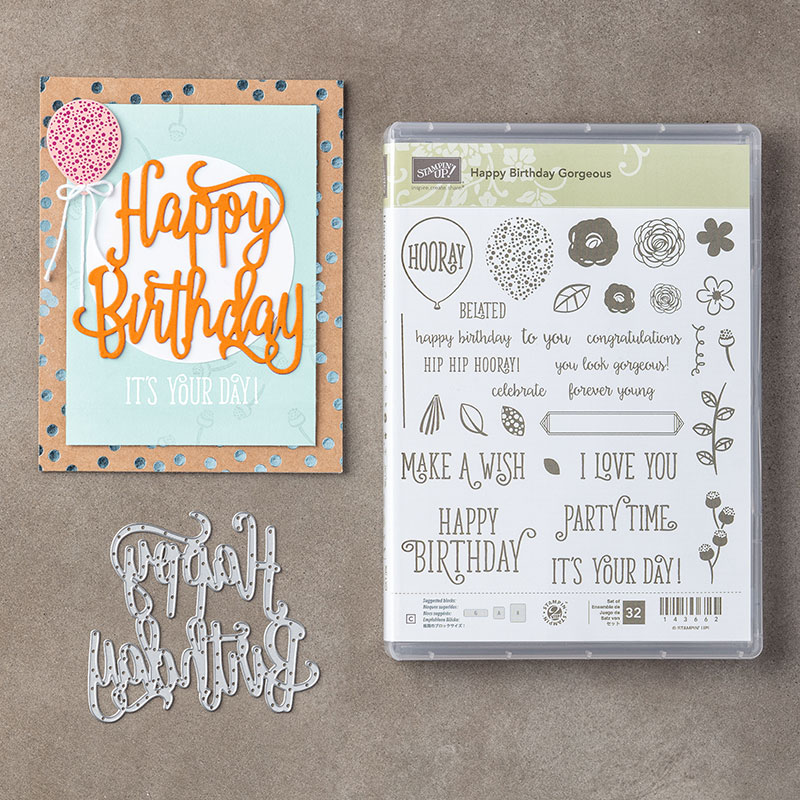
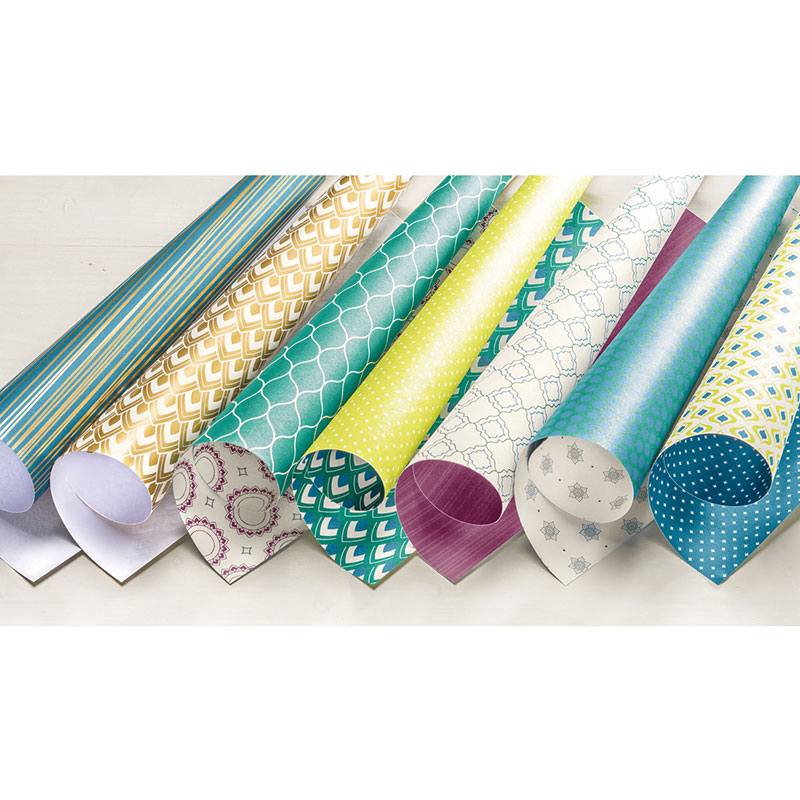
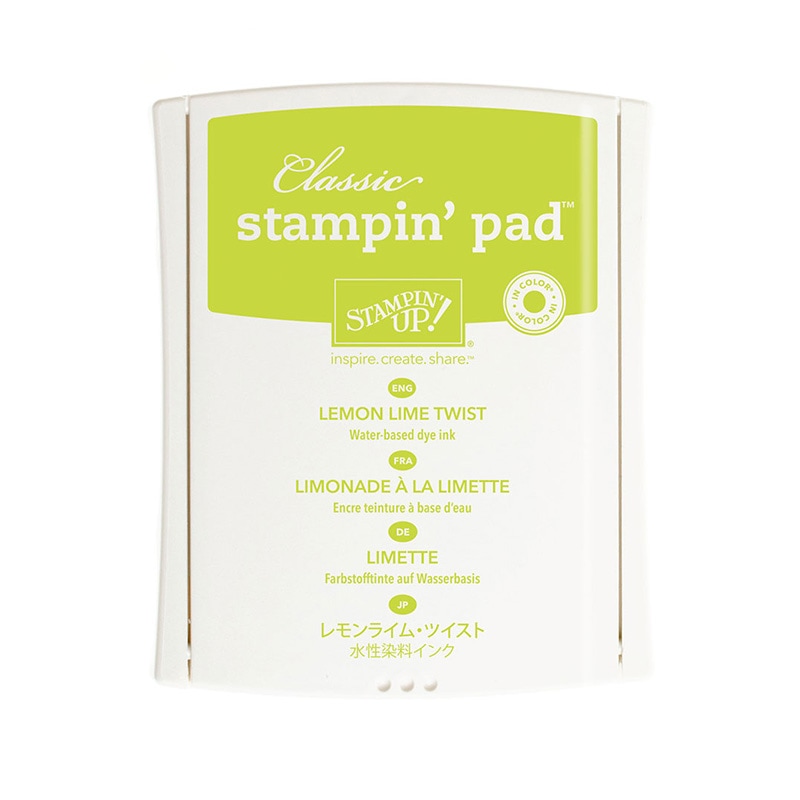
Hi all! I can't believe it's been 3 weeks since I last wrote on here! It's been quite manic here at the manor with cars breaking, getting ready for a christening and general busy life! This card class was meant to take place in June but with the hubby being away for work, it didn't actually happen until July! This month I chose to do a card class all about the inside of the card! We make so many cards where all the detail is on the outside, we often leave the inside blank or just add a sentiment. At this card class we made 3 totally different cards where the front was pretty....but the insides are BEAUTIFUL! 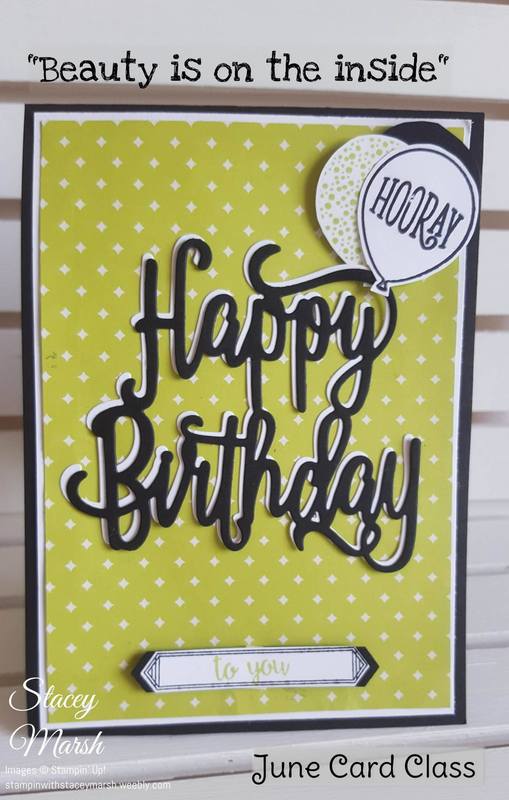 This card measures 4, 1/8" x 5, 3/4" and uses DSP from the Medallions collection, in my fabourite new colour Lemon Lime Twist! I have kept it very simple by using the new Happy Birthday Thinlit cut in White & Basic Black then layered to give a shadown effect. As nice as this die looks when cut in one colour, I prefer to use it this way as it really does pop off the page! The balloons and sentiment at the bottom come from the coordinating stamp set, Happy Birthday Gorgeous. 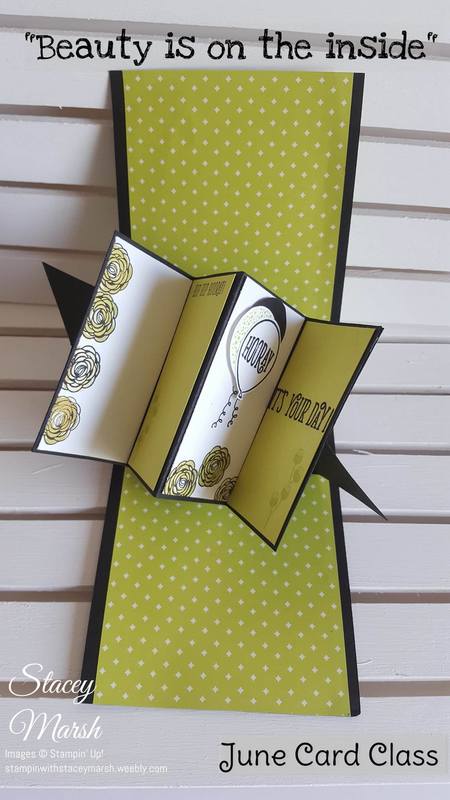 The inside is definitely more glamourous! This card is known as the "Twist and Pop" card as the centre of it lies flat when the card is closed (obviously!) and as you open the card, the centre part twists and pops out! I have decorated the individual panels using the coordinating cardstock and ink, and used more stamps from the Happy Birthday Gorgeous stamp set. This card was really fun to make, and looks alot more complicated than it actually is. If you would like to learn how to make this card, or would like to order any of the items we used, please do get in touch. Looking forward to showing you Part 2 tomorrow....! Stacey
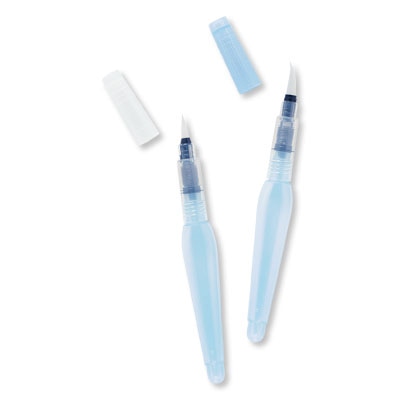
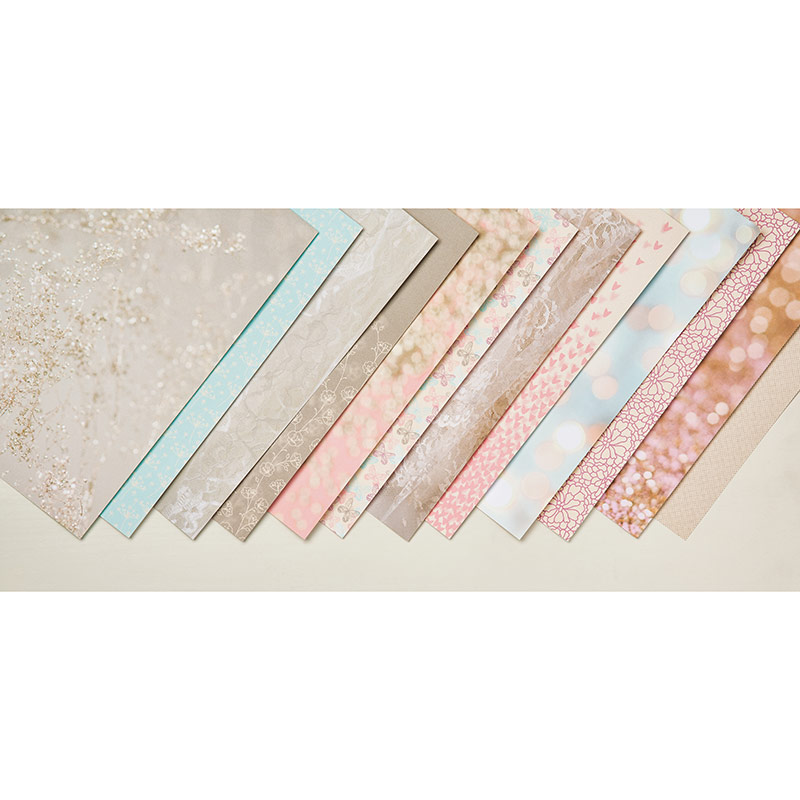
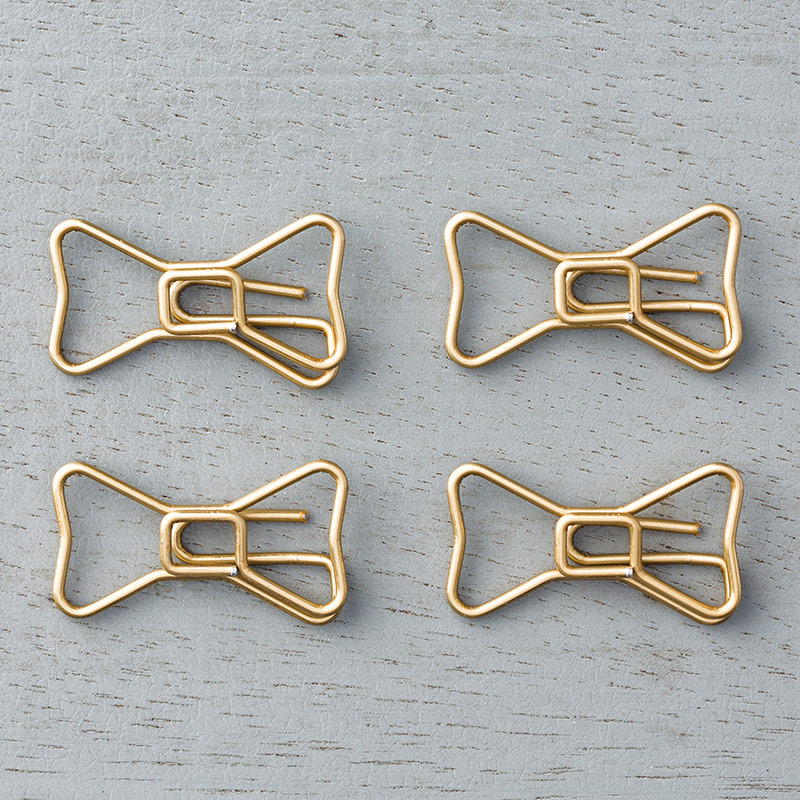
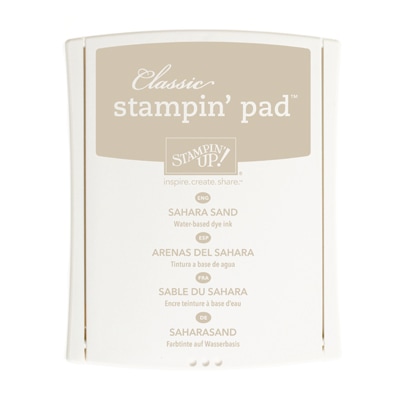
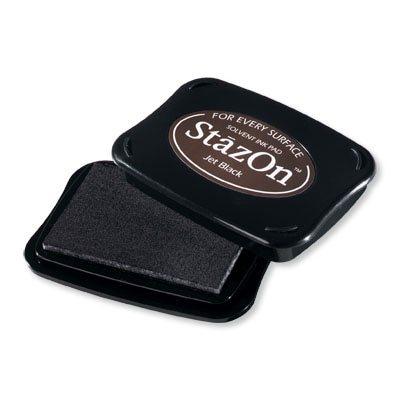
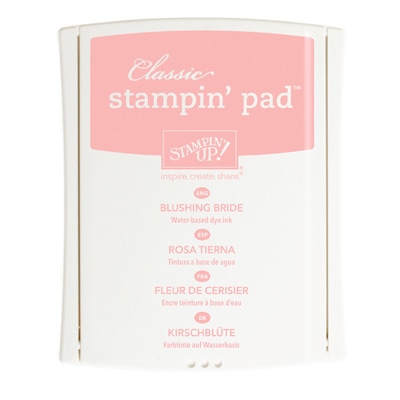
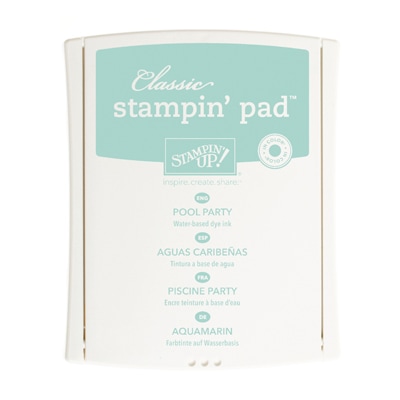
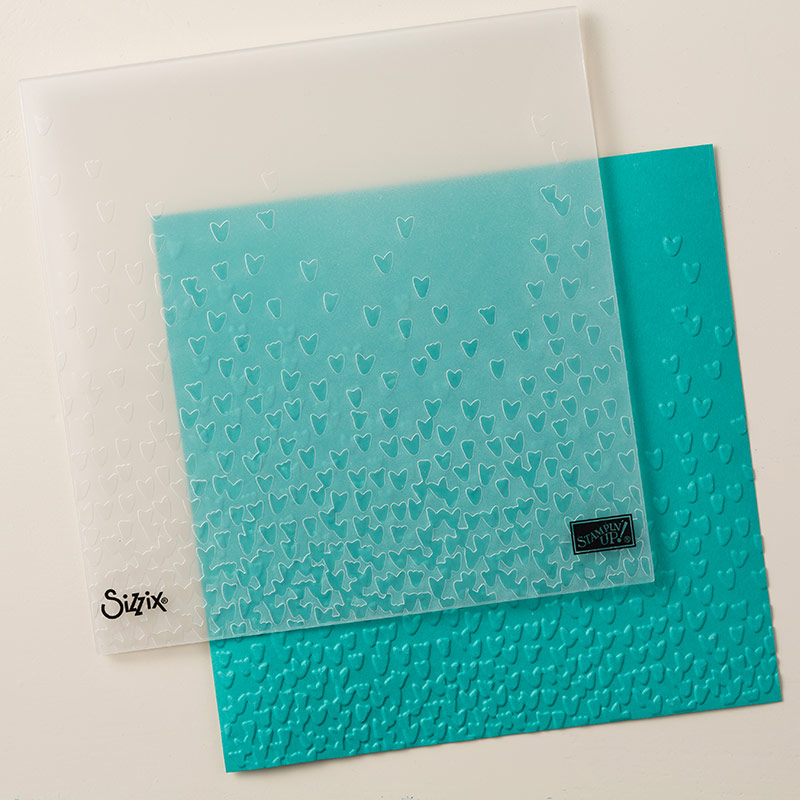
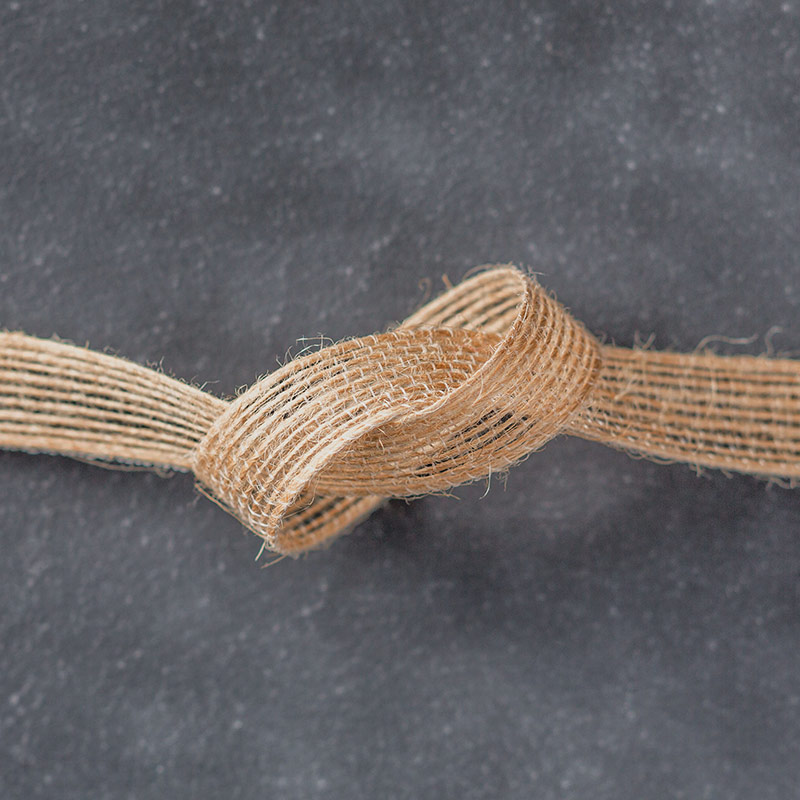
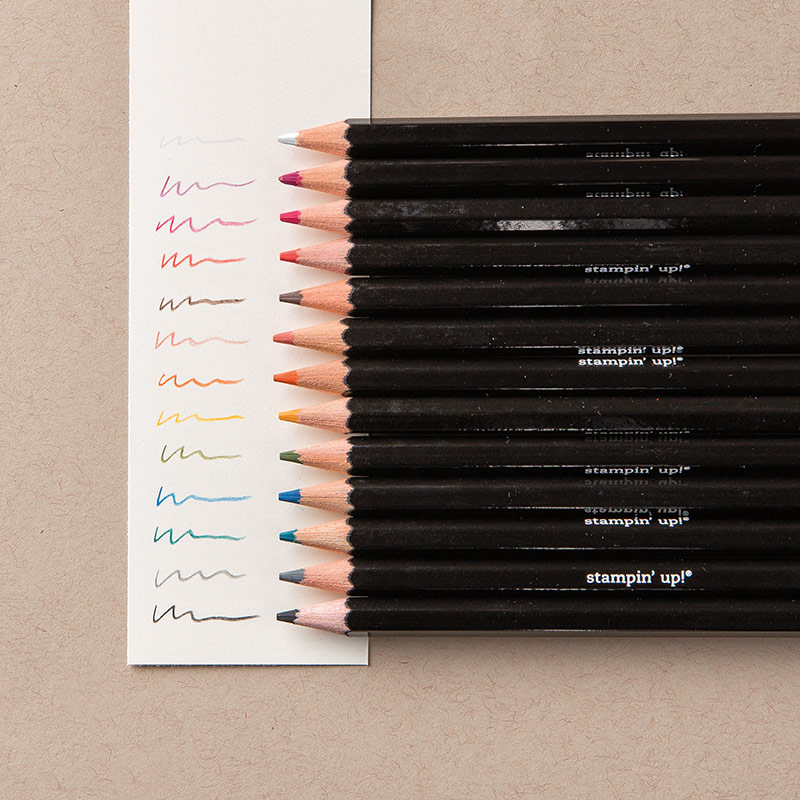
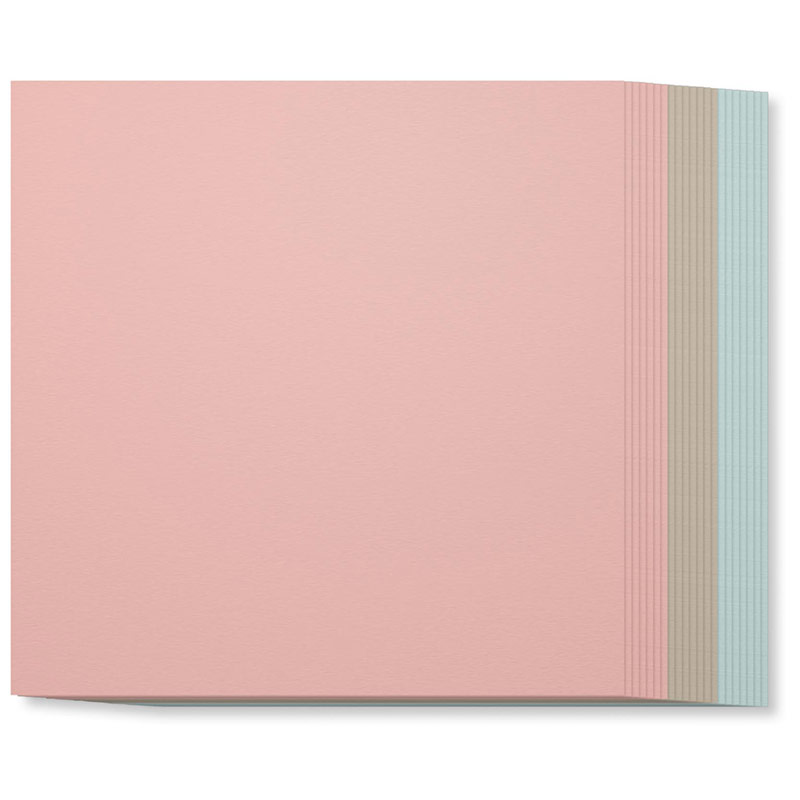
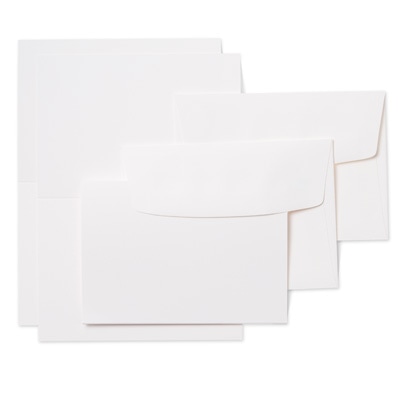
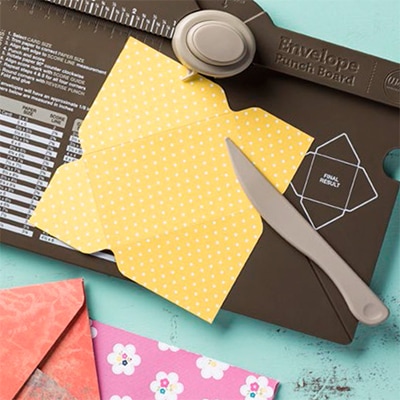
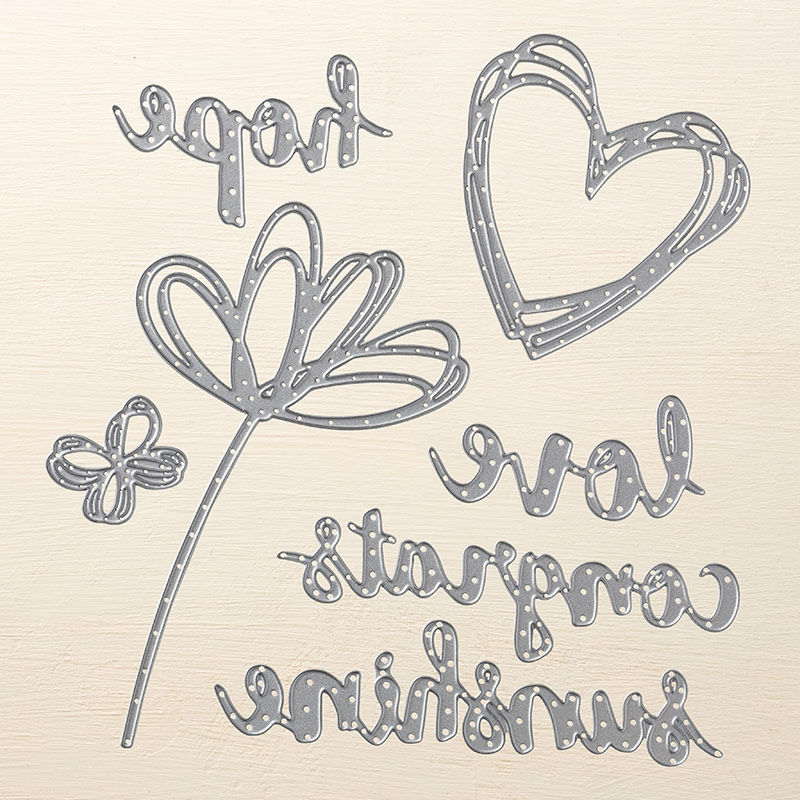
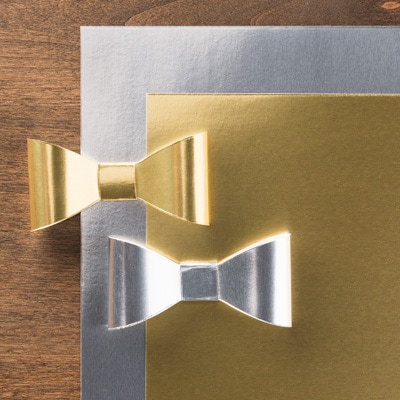
xx Hi all, Hope you're all having a good week! March's classes are all about the Beautiful You Stamp Set which is definitely the most popular stamp set from the Spring/Summer seasonal catalogue. If you've looked at Pinterest, you will see this stamp set being used alot! It is such a versatile set and looks fab however it is used! 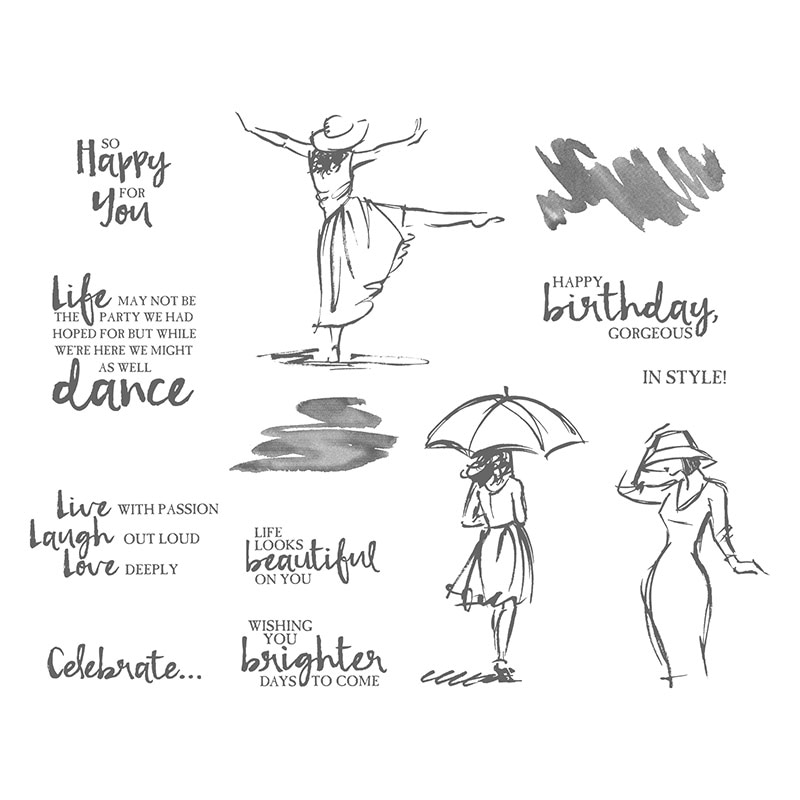 Alot of my customers have bought this stamp set so I thought it would be a good idea to put together a class. I love to make sets of coordinated notecards. They make for great gifts and always go down very well at craft fairs! 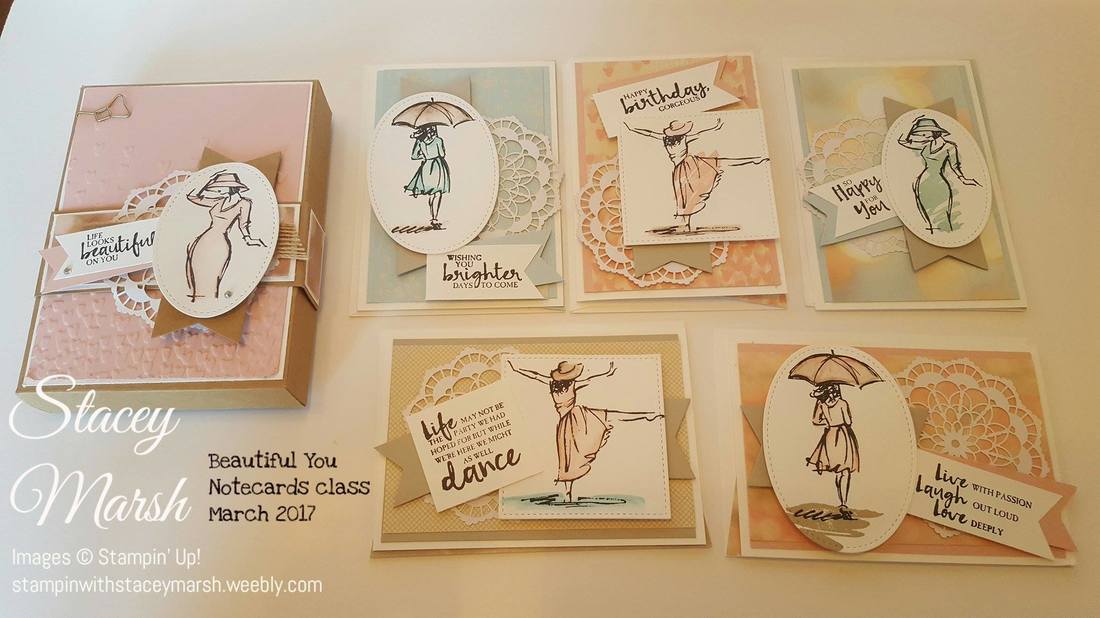 The box contains 5 notecards/envelopes which have been decorated with the Falling in Love Designer Series Paper set which is gorgeous pastels and really compliments the sentiments in the stamp set! The lady images have been coloured in using the new Watercolour Pencils and wash stamps from the set. 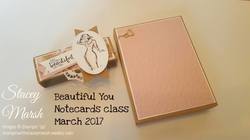 I made the box from Kraft card using the Envelope Punch Board. Starting with a 9"x9" piece of card, line the card up at 3, 1/8" and punch/score on all 4 sides. Then using the same piece of card, punch/score again with a starting point of 4,5/8". The box is then secured closed with the belly band. I used the following products to create this set: Watercolour Pencils & Aqua Painters Dies - Stitched Shapes Framelits & Mini Treat Bag Thinlits (banner die) Beautiful You stamp set Basic Black Stazon Ink, Blushing Bride, Pool Party & Sahara Sand Falling in Love DSP & cardstock Whisper White Notecards & envelopes Falling Petals Textured Impression Embossing Folder Triple Banner Punch & Envelope Punch Board Burlap Ribbon Gold Bow Paper Clip If you would like to order any of these products or find out about classes that I offer, please message me!
Stacey xxx Hi all, I hope you all had an enjoyable weekend. We managed some quality family time with a trip to the zoo and it was so nice to be outside in the fresh air making memories together! I've managed quite a bit of craft time this week (hooray!) so i'm on track with this week's Global Design Project challenge! This week we are casing the designer.... 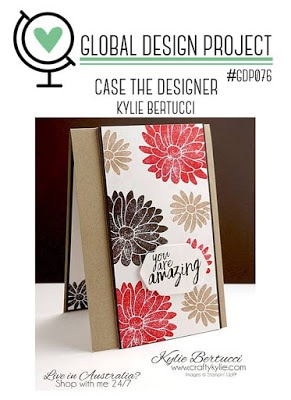 I love the colour combo that Kylie has used here but I've chosen to case just the style of card ...  For this card I have used the following products:
To make this card
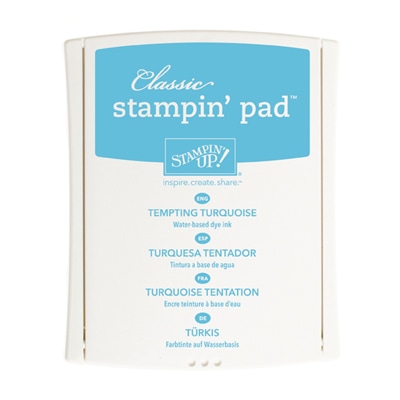
Tempting Turquoise measuring 3,1/4" x 5,3/4
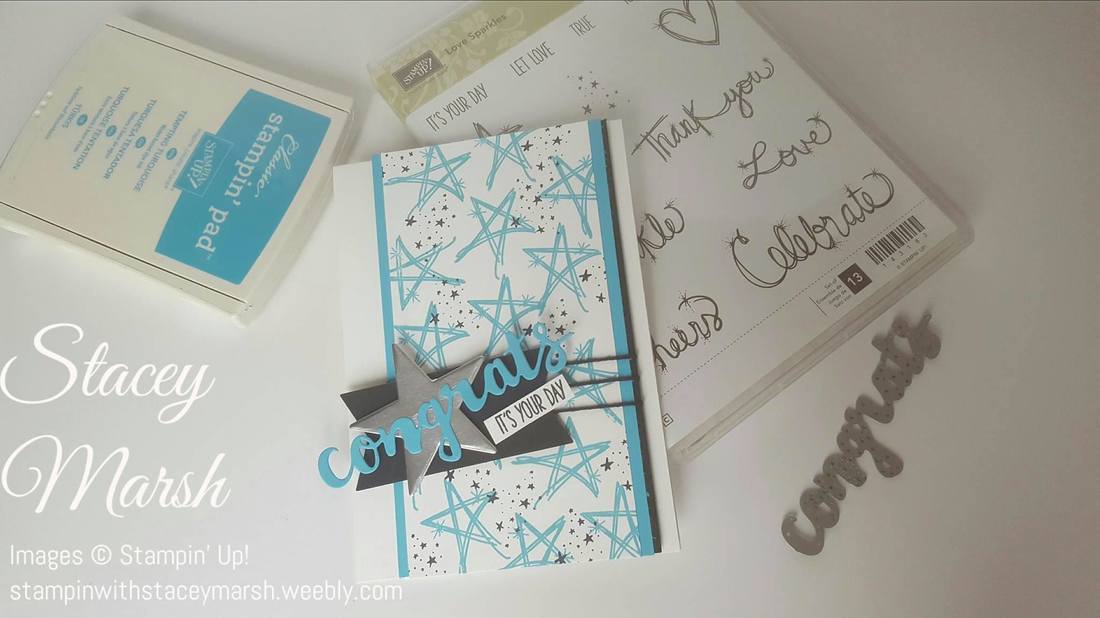 I hope you like my entry, thanks for reading!
Stacey xx Hi all, A new week which means a new Global Design Project challenge! Believe it or not I actually managed to complete this on Tuesday but after a busy week I am only just getting around to posting my entry! This week was focussed on a sketch. I've done a few of these in the past and I always find sketches really useful if you're stuck for a design starting point. They're great for any occasion and it doesn't matter what produts you're using and everyone interprets them differently!  And here is what I came up with... 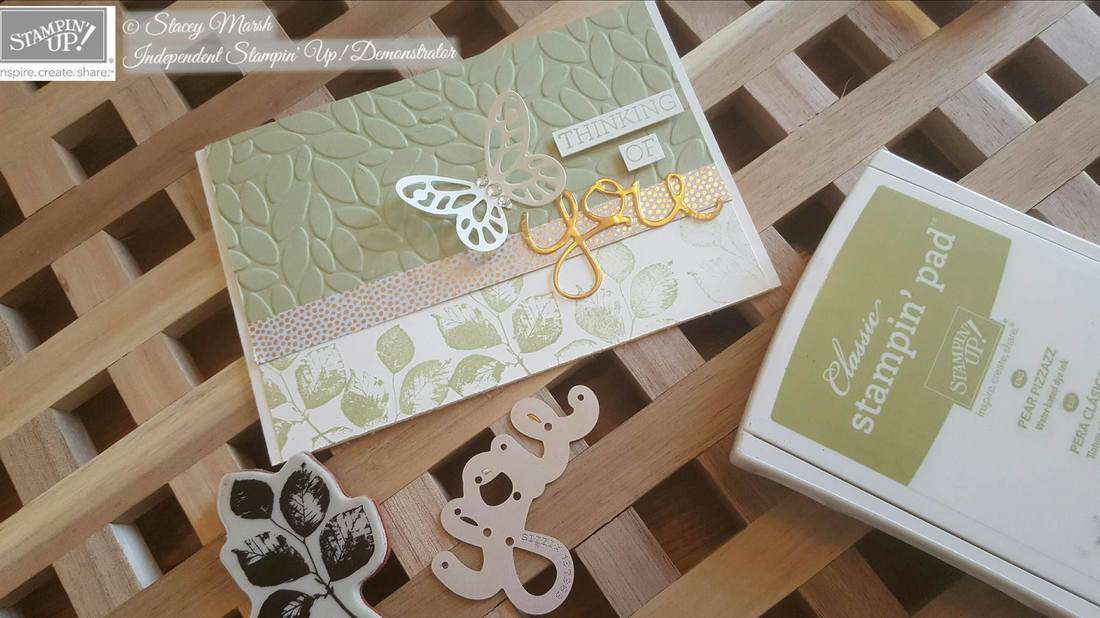 I have used a selection of different products for this card and the colour theme I have used is Copper, Pear Pizazz and Very Vanilla. These are the details... Very Vanilla cardstock for the card base (11, 1/2" x 4", folded in half). Pear Pizazz cardstock for the embossed layer. The emobossing folder I used is called Petal Burst Textured Impressions Embossing Folder. This layer measures 2,3/4" x 3, 3/4". Very Vanilla cardstock stamped with the leaf stamp from the Kinda Eclectic stamp set in Pear Pizazz at random. This strip measures 1,1/4" x 4". I have used a strip of the copper dot washi tape from the Affectionately Yours washi tape bundle along the edge of the embossed layer. "Thinking of You" comes from the Crazy About You stamp set. I have stamped the sentiment once and cut them out individually. They are attached using Dimensionals foam pads. "You" has been die cut using Copper Foil and the Hello You thinlits. The Butterfly has been die cut using Very Vanilla cardstock and the detailled butterfly from "Bold Butterfly Framelits. If you would like to purchase any of these products, please visit my online store or message me. Remember now is a great time to earn FREE products when you buy, join or host throughout January, February and March with Sale-a-Bration!  Thanks for reading!
Check back next week when the challenge will be around a "theme"! Have a great weekend Stacey xxx  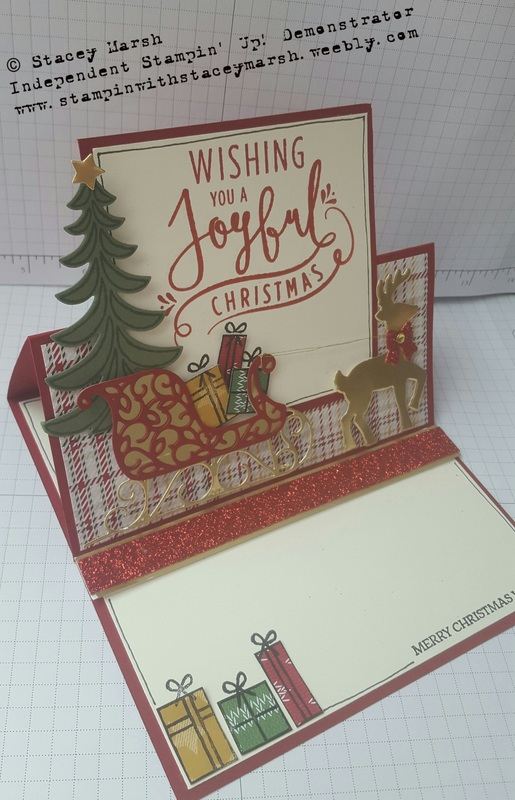 This card is a standard 6" x 6" square base and I have used
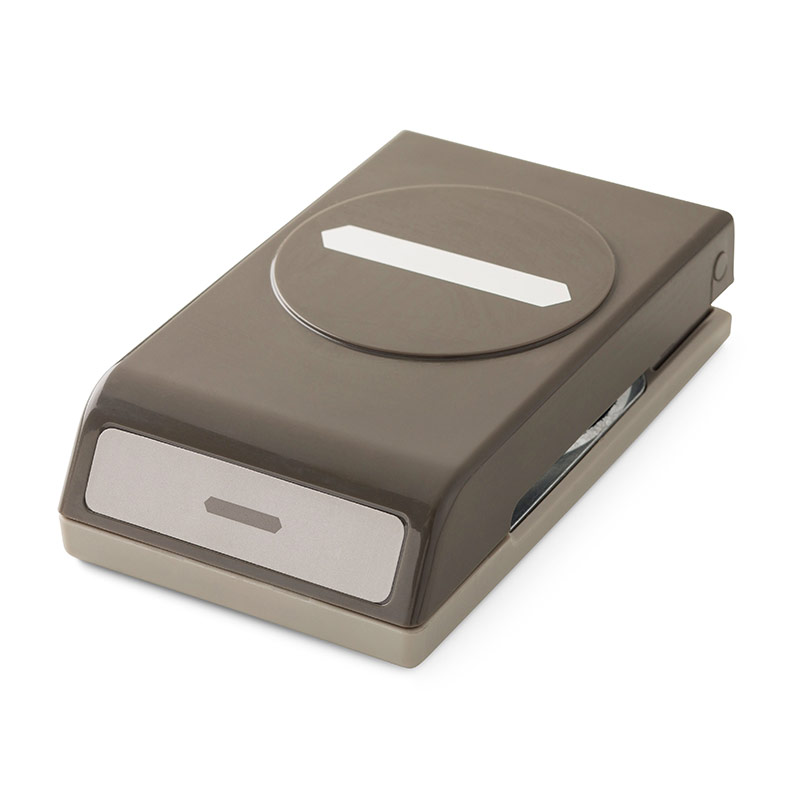
Hi all, Here we are for part 2 of my September card class post and the last 2 cards that we made together using the Jar of Love stamp set and Everyday Jars Framelits bundle. The first of the 2 is a shaker card which are proving rather popular recently and these jars are perfect for creating really effective and fun shaker cards! 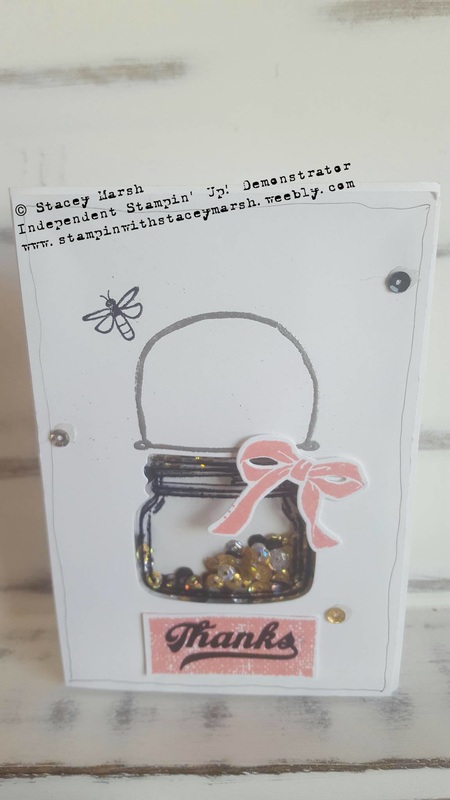 To create this card:
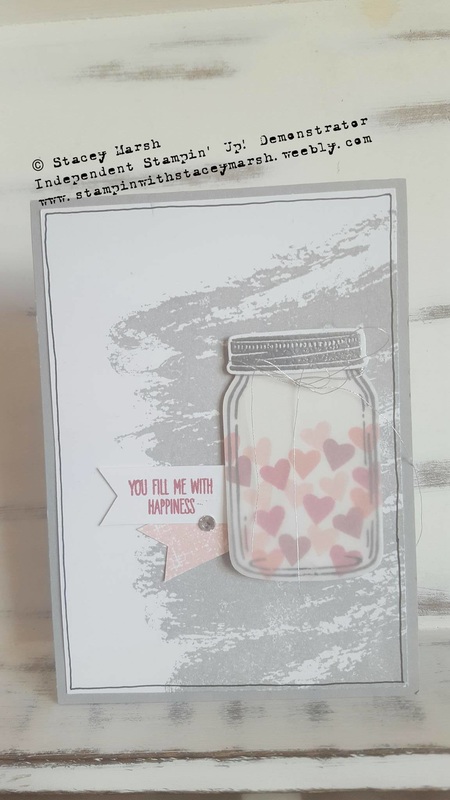 The last card is a standard 4" x 6" card base.
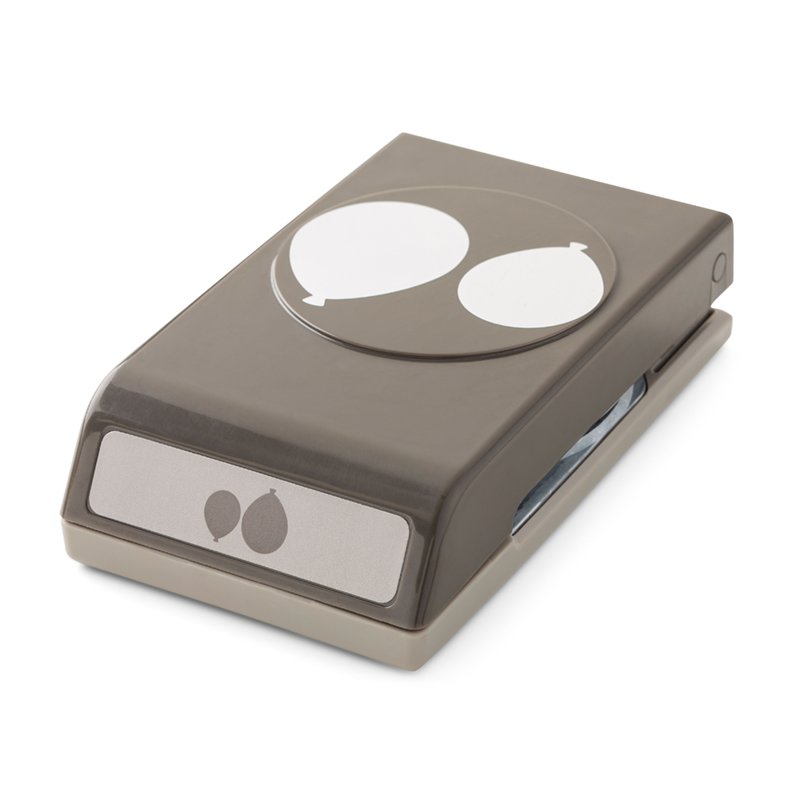
I'm sure this won't be the last time you see the Jar of Love stamp set bundle used by me as it is so effective and has so many options! Thank you for reading, hope you have a good week! Stacey xx Hi all! It's been a very busy summer here for me, and I can't believe how quickly time has passed! I have had a wonderful summer full of days out, catching up with friends and family, celebrating birthdays (including mine!) and even a holiday to North Devon/Cornwall! Sadly I didn't achieve much crafting and my blog has become rather neglected! Fingers crossed that now we are back into routine of school being back I will be able to find some time to craft! Over the last 2 weeks I have held my regular monthly card class and repeat session so I am excited to share with you what we made.... This month I focussed on using the Jar of Love stamp set and Everyday Jars Framelits bundle which is simply gorgeous and the options are endless from jars of flowers, wasps, fireflies, fish, paint pots, and anything else that you can fit in them! This bundle really is excellent value for money - there are 37 stamps in the set and 17 framelits! It is proving to be one of our best sellers since the launch of this catalogue in June and you will see Pinterest flooded with ideas of how to make stunning projects and cards with this set. Click here to view the stamp set in more detail. 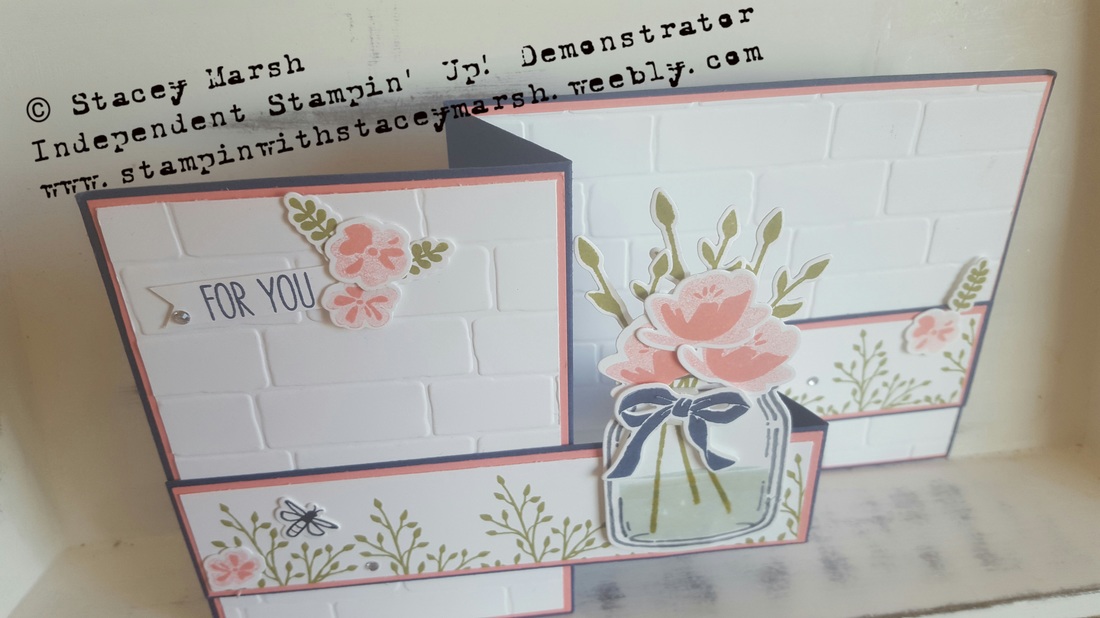 I originally saw this card fold on Pinterest but the layout and the colour combination are all from my little brain....
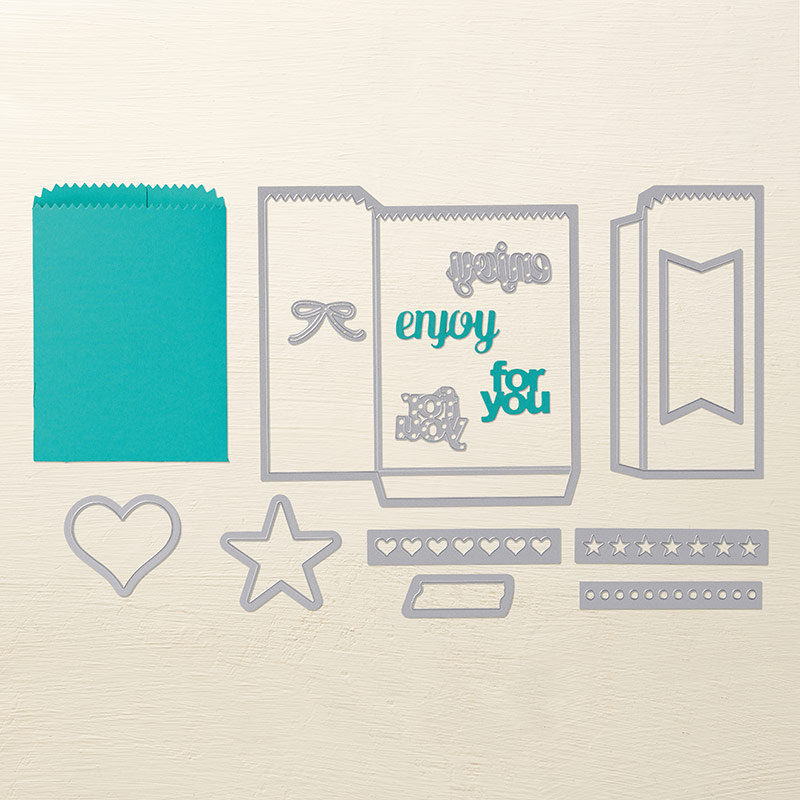
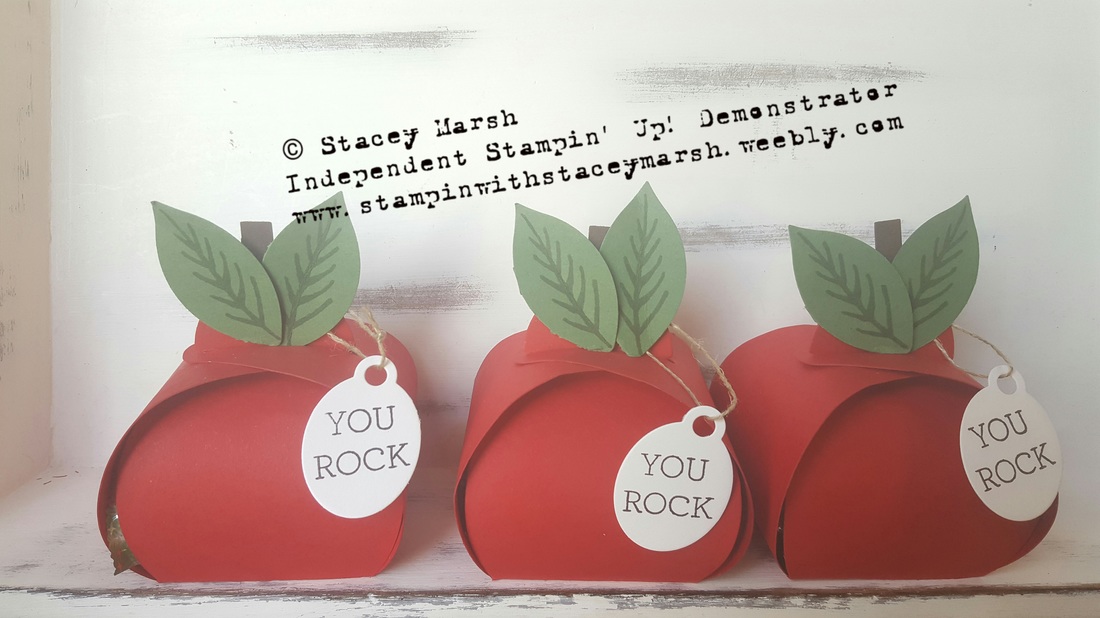
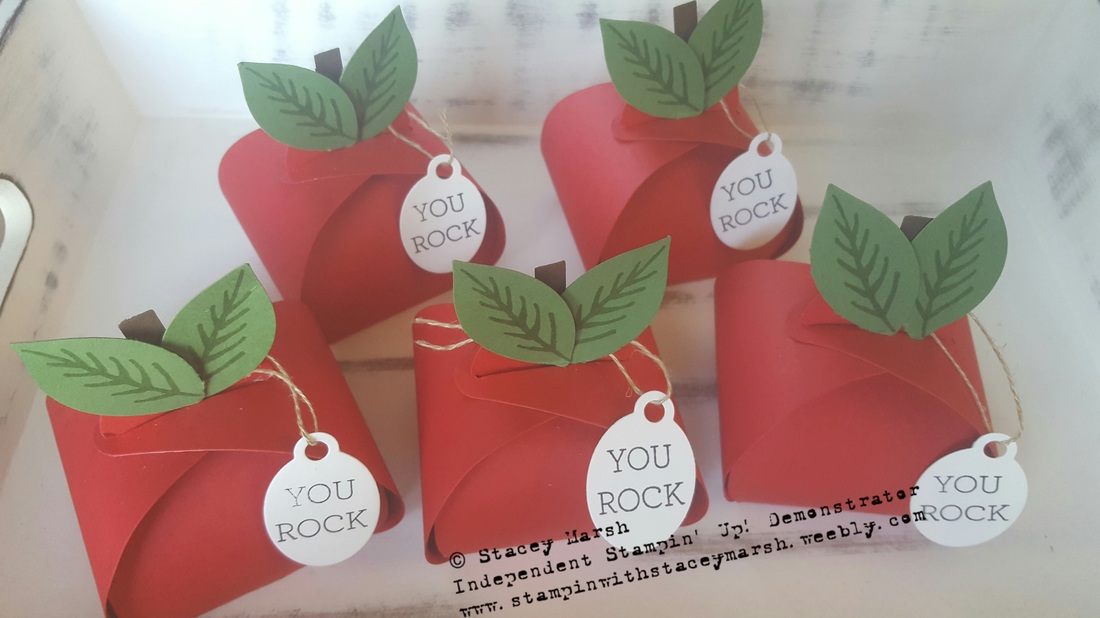
The card base is made from a piece of A4 card scored along the long edge at 6" & 8". I have then cut the card at 5" wide, and abother strip of 1.5" wide. I have layered the card using Flirty Flamingo cardstock and Whisper White which I have embossed using the Brick Wall embossing folder. I have added some Glossy Accents to the water in the jam jar to give a wet-like finish. Thanks for looking! Feel free to let me know your thoughts! xx Hi all! How nice is it to finally feel some warm sunshine this week??? Okay so it's a tad too warm for my pregnant body and hormones but it's so nice to not have rain! It's that time of year again in our world, end of the school year which means...thank you gifts are needed for Florences amazing Nursery teachers! They do a fabulous job and she is always so excited to talk about what she's been up so and is really fond of her teachers. It's always nice to say thank you and there's no better reason than to say thank you to people for taking such good care of my precious little girl! Thanks to Pinterest, I found a lovely little picture of some apples using the Curvy Keepsake Die and fell in love...as did Flossie! The Curvy Keepsake Die has been around for a short while now and I must admit I don't use it enough! 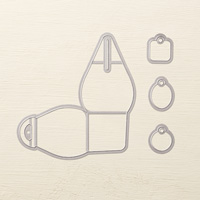 Whenever I make anything for Nursery, I always like to make sure that Florence can help in some way and in recent months she has started to show a keen interest in my crafting (which I love!). She loves to stamp and stick and has mastered turning the handle of the Big Shot too! I enjoyed making these little gifts, and I'm really pleased with how they turned out. Florence especially loved counting and putting the chocolates in the boxes, and sampling a few after (me too!) - she's now a fan of Mars apparently! I'm looking forward to seeing her hand out her little thank you gifts this week, complete with matching card of course! 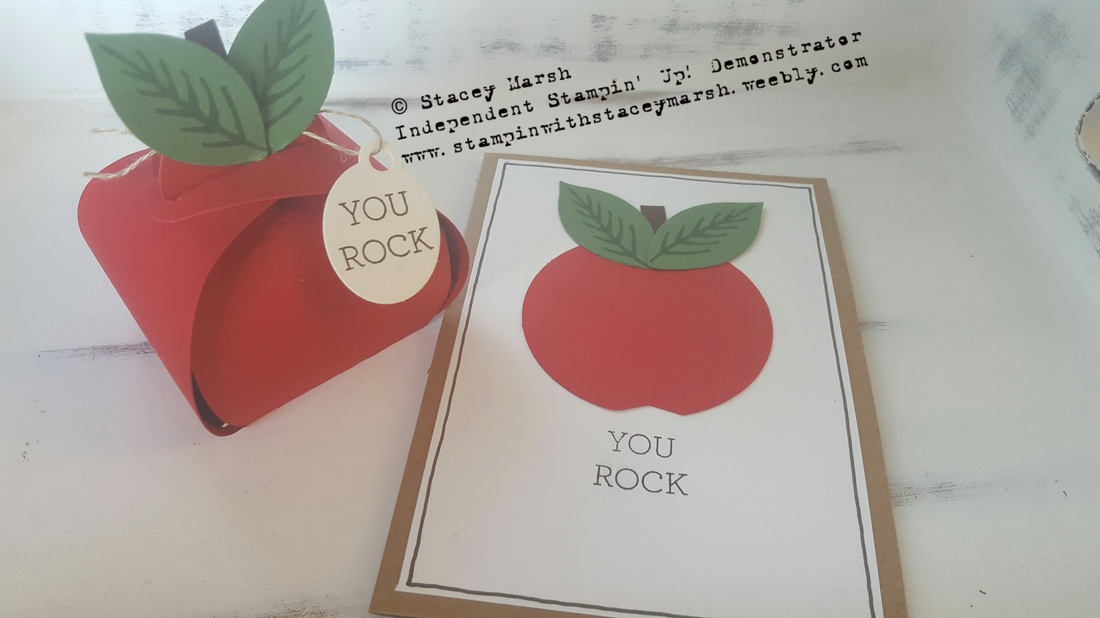 Here's a list of all the products that I used to make these gifts...
- Curvy Keepsake Box Thinlits Die - Festive Flower Builder Punch - Reason for the Season Stamp Set - Crazy for You Stamp Set - Linen Thread - Cardstock (Real Red, Garden Green, Early Espresso & Whisper White) I hope you all have a great week and manage to stay cool in the heatwave! I've got my final 2 days at work this week before the summer holidays, hooray! Thanks for reading. Stacey xx Hi all! I hope you've all had a good week! Another busy one here with the husband away and the last week of term almost upon us! Waking up this morning to the terrible news in Nice, France is just heartbreaking, thinking of all those involved. When will these devastating attacks cease?!! Today I want to share with you all a project that I made last weekend whilst watching the Wimbledon final....using the gorgeous Irresistibly Yours DSP as the main feature. They are a set of white 12" x 12" papers that have a shiny embossed texture to them, 2 in each pattern including florals, diamonds, stripes...and spots!!! For this project I used the spotty paper. I cut 3 strips of the DSP into 6" x 12" strips and chose a selection of inks...blues/purples, greens/blues and yellows/oranges/reds. I then used the new sponge brayers to add a random spectrum of colour to each strip. 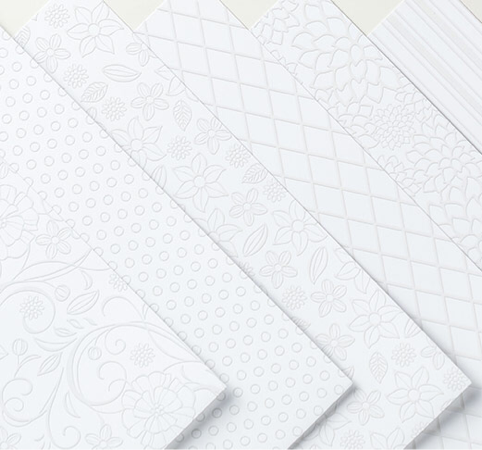 And this is the end project.....12 cards, 3 of each style/occasion and all using a variety of different stamps and dies and embellishments! 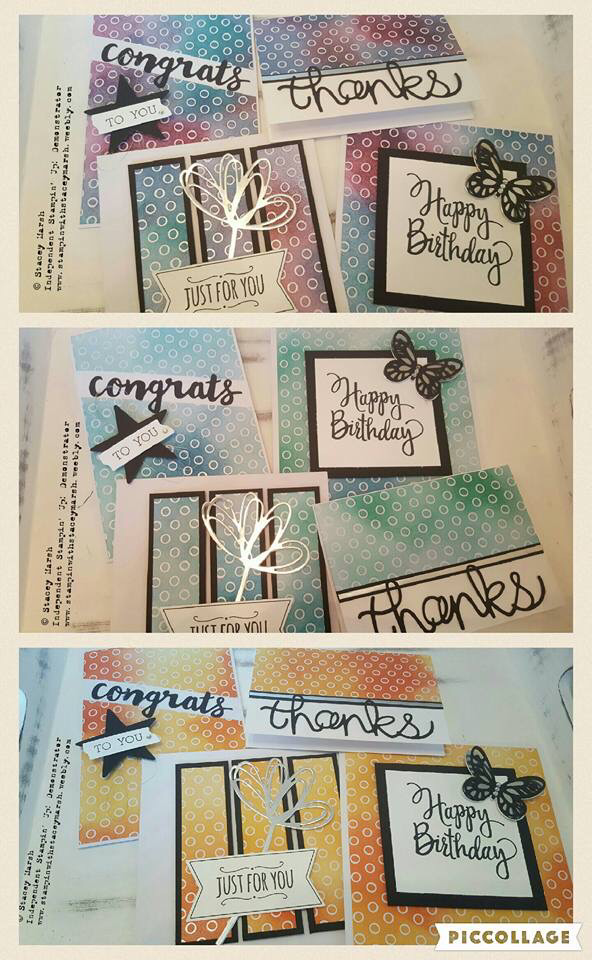 This project was a lot of fun to make and would be a lovely card-set gift to give someone! Looking forward to to using some of the other papers now....! Heres a list of products I used...
Remember the current promotion running throughout July for orders of £45 or more!  Double-tap to edit.I hope you have a lovely weekend! Thanks for reading, Stacey xxx Double-tap to edit.
|
About Me
Hi there! Shop With Me
Order Online
Shop 24/7 by clicking on the logo above and get Stampin’ Up! products delivered directly to your door for a flat postage rate of £4.95 Browse the
|


 RSS Feed
