|
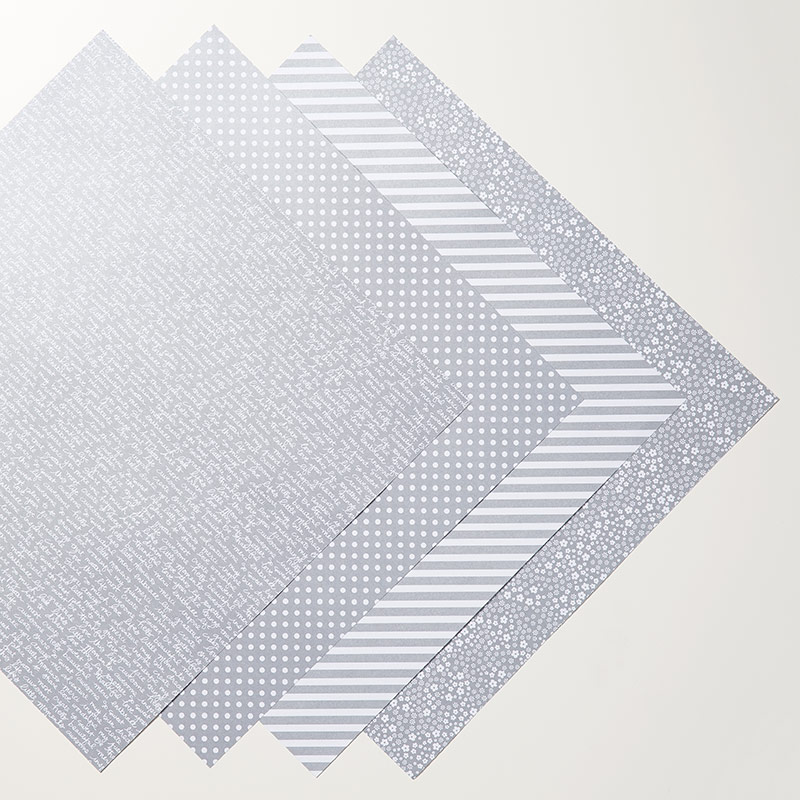
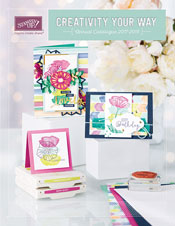
Hi all, Hope you're managing to stay safe and warm from the horrible weather we are experiencing! I very nearly got blown away on the school run today! Today I am bringing you a 3d project instead of my usual card! Stampin' Up! offer a wide range of gift packaging items and one of the things that I really like are their clear acetate treat boxes. Measuring 2" square, these are great for filling with sweet things to share on a table, or just as a little "just because" gift.  This treat box is filled with mints, which is great for the non-chocolate lover, and great as a table gift if you are hosting! I have added some strips of DSP around the box, leaving the top clear so the receiver can see what's inside, and tied with some ribbon and bakers twine to secure. To create the tag, I have used a selection of punched shapes and a sentiment which is just perfect for these things, "Treat Yourself". All of these products are currently available to buy now and with Sale-a-Bration under way right now, you can choose a FREE Sale-a-Bration item with any order of £45!  Clear Tiny Treat Boxes 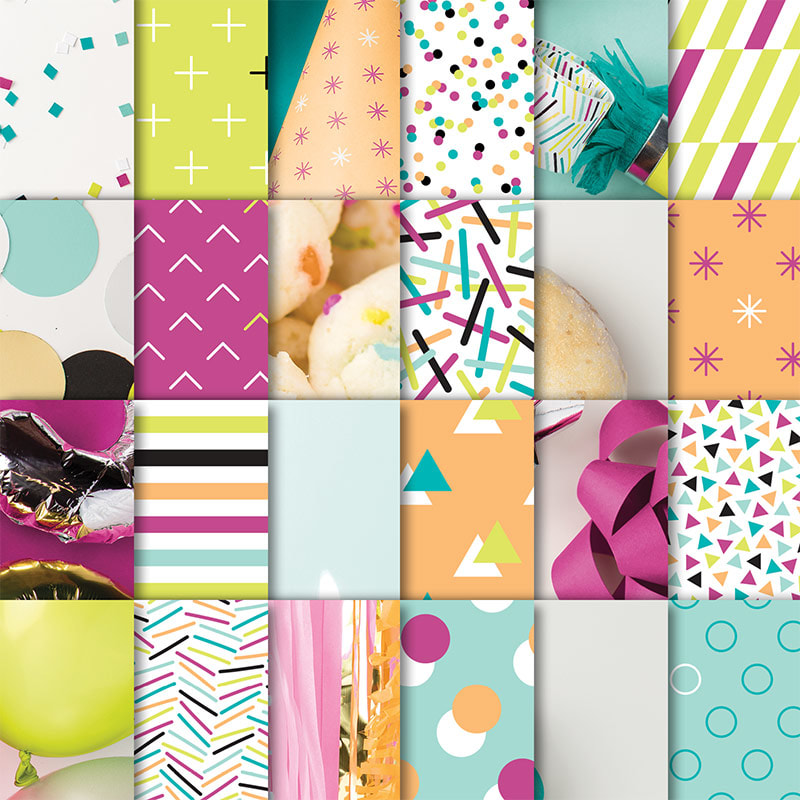 Picture Perfect Party 6" x 6" Designer Series Paper Stack  Picture Perfect Birthday Photopolymer Stamp Set 2 of these items are brand new in our Spring/Summer catalogue. If you would like a paper copy sent to you, leave your details in the comments.
Thanks for reading. Stacey xxx
0 Comments
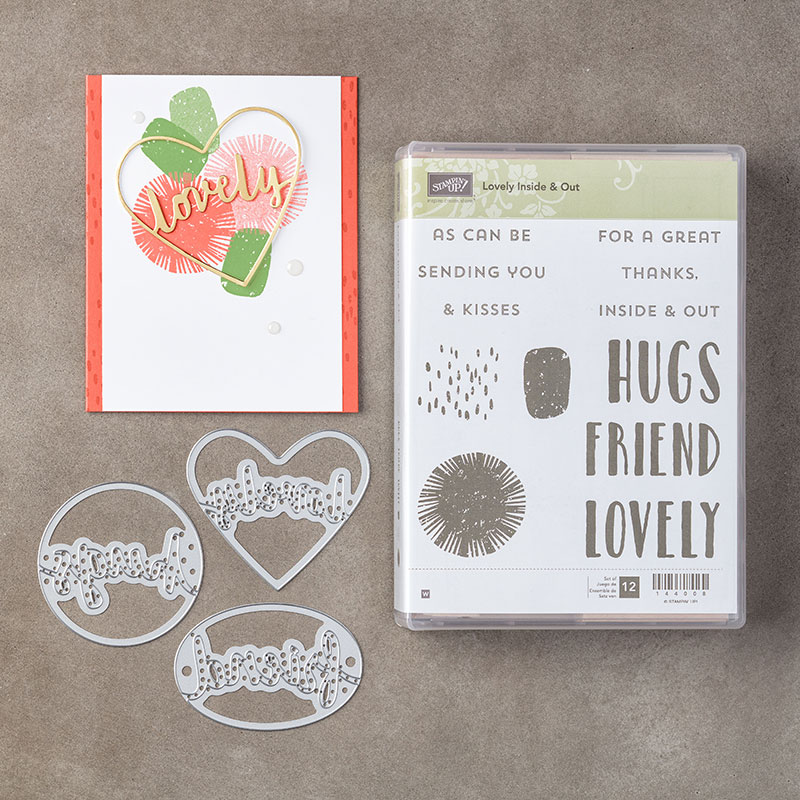
Hi all, As promised, here is the 2nd class that we made at this month's card class. If you missed yesterday's post, the cards this month all focus on the inside of the card, rather than all the detail being just on the outside! I make so may cards that are quick and simple, but it was really nice to do something a bit more involved and have that wow factor when the recipient opens their card! 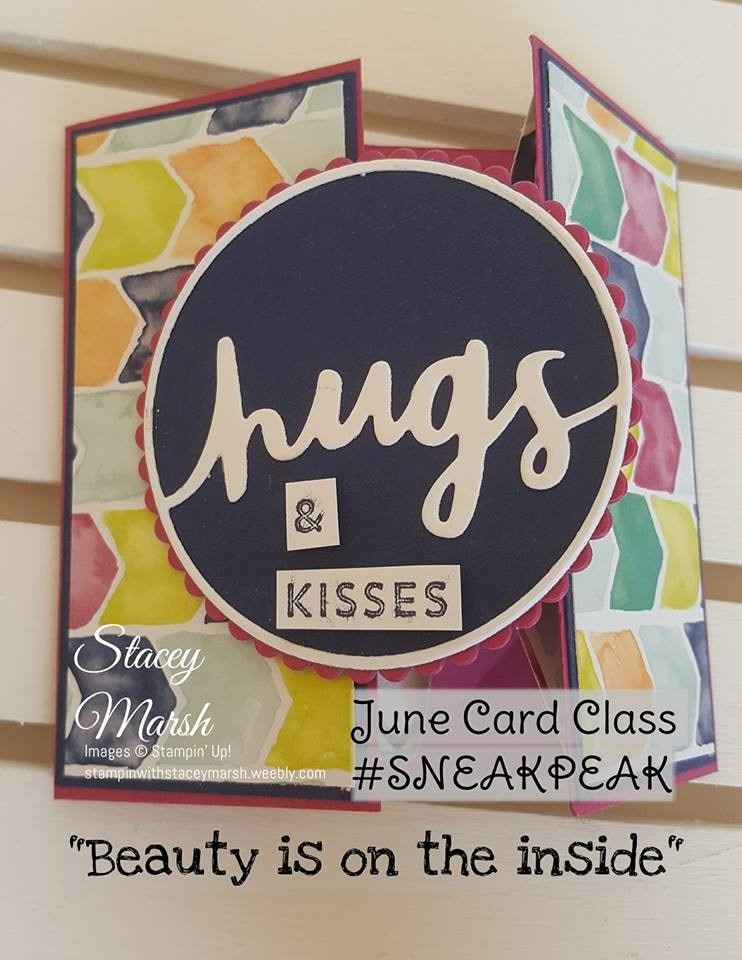 When closed this card measures 4" x 4" and is made from a 4" x 8" piece of cardstock. The arrows paper comes from the Naturally Eclectic Deigner Series Paper range and showcases some of the new 2017-2019 in-colours and previous 2016 - 2018 in-colours. I have also used the Lovely Inside and Out bundle which includes the Lovely Words Thinlit Dies and Lovely Inside and Out stamp set. . 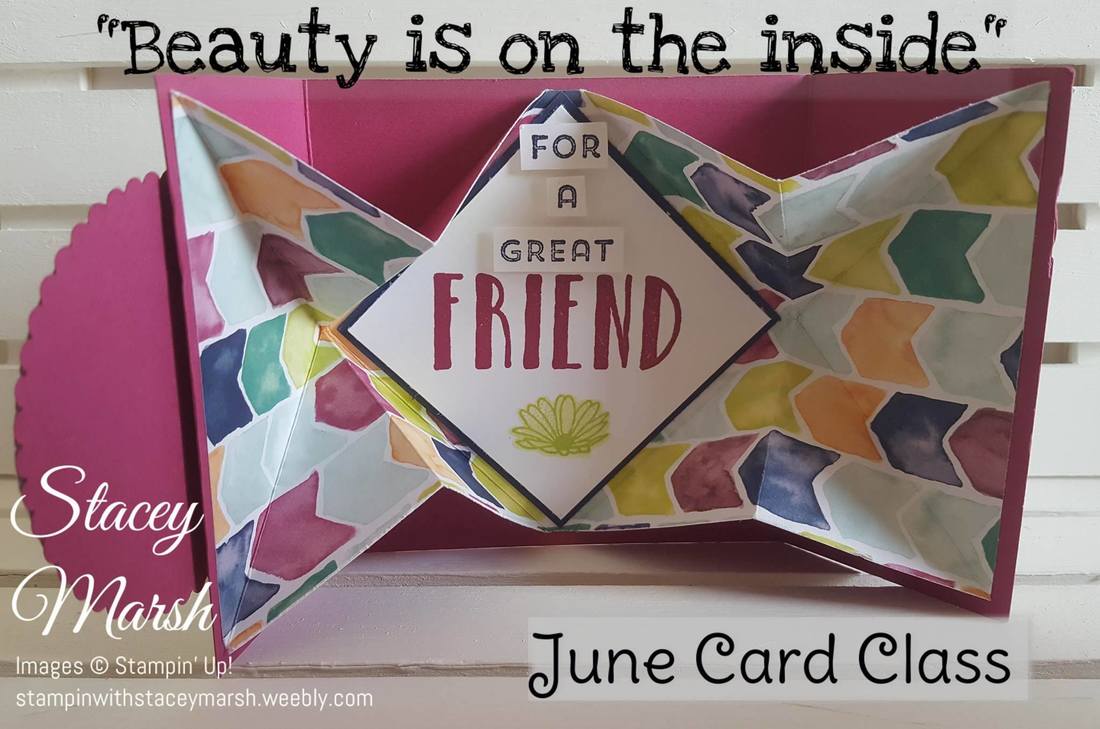 Now I will admit that this card doesn't photograph all that well and I'm still not confident enough to start videoing....but basically when you open the card it reveals diagonal folds with the diamond shape in the middle. It is very effective and provided some excellent sound effects from the ladies at class last night! These are the products that I used to create this card... Come back tomorrow to see the final of the 3 cards from this months card class...and my personal favourite!
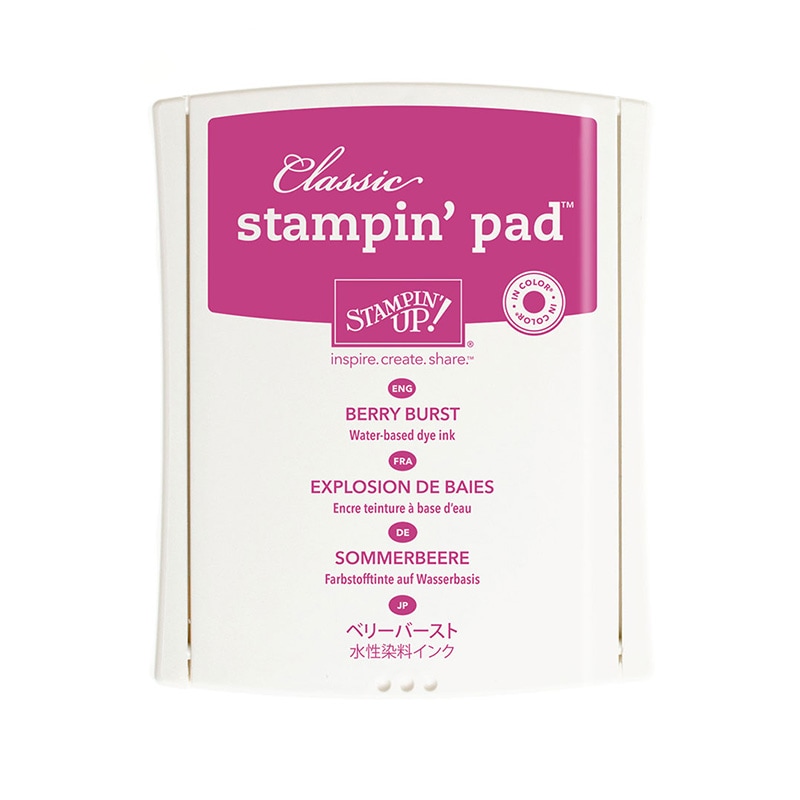
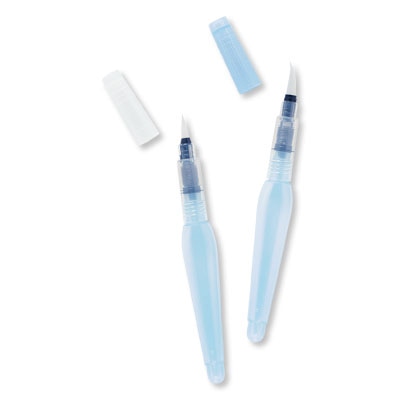
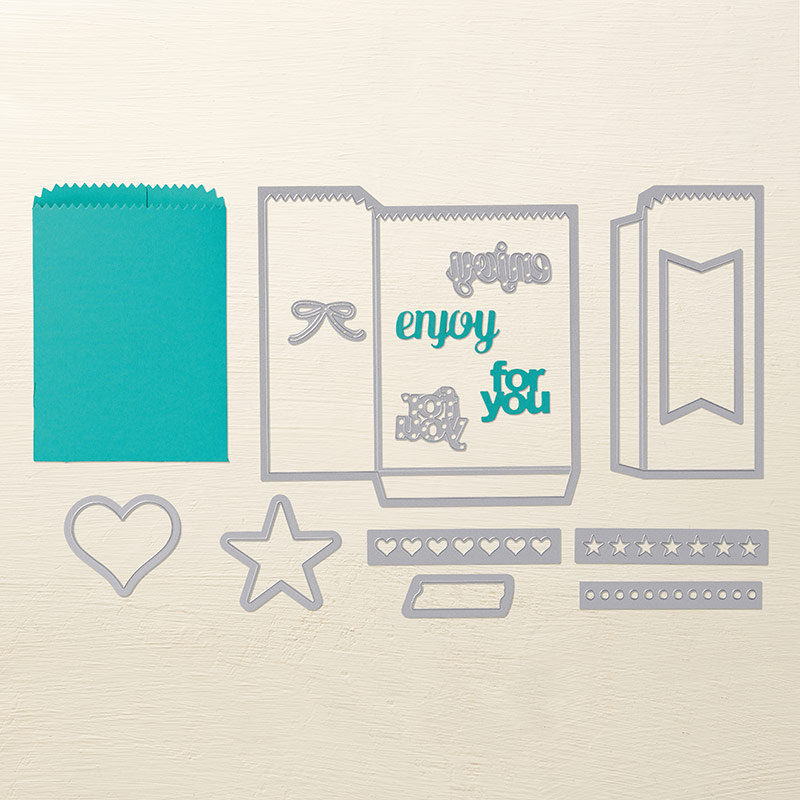
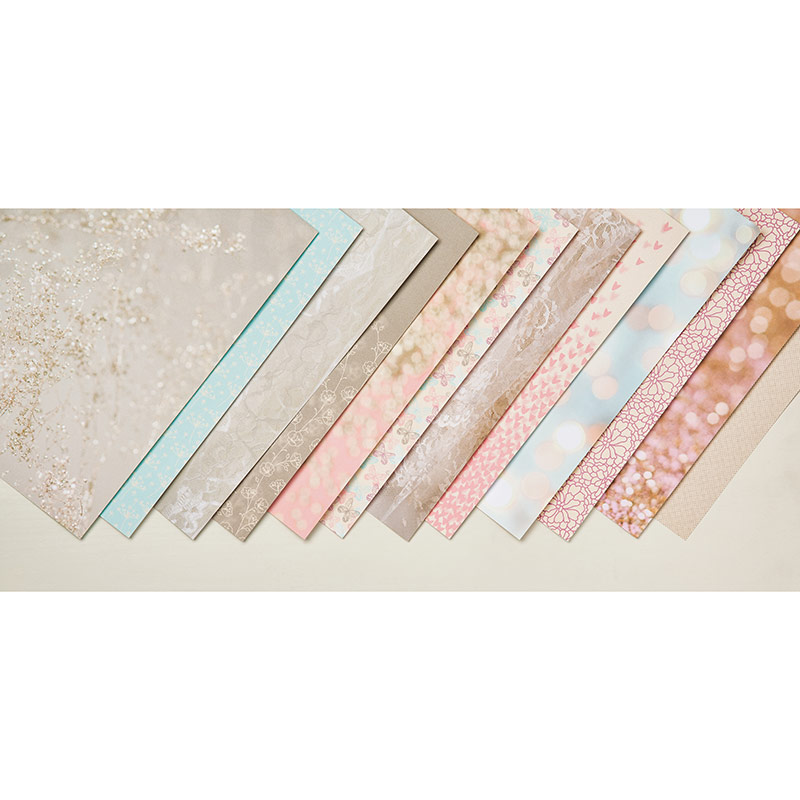
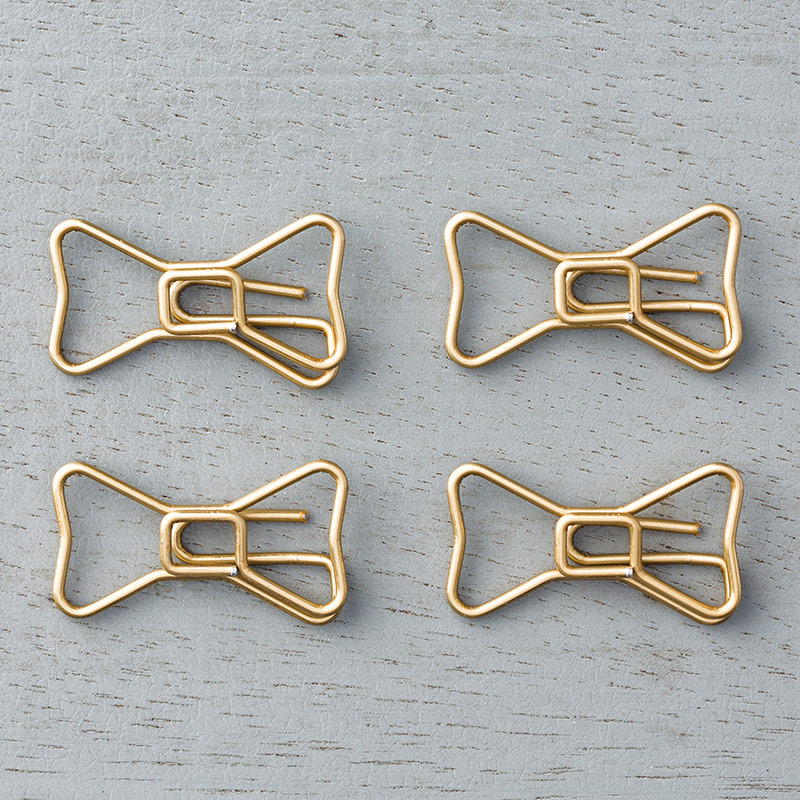
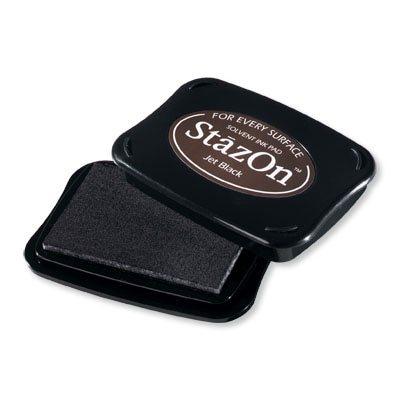
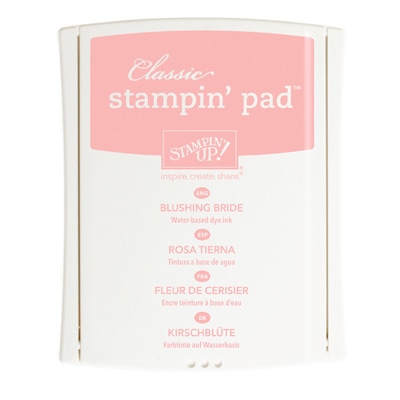
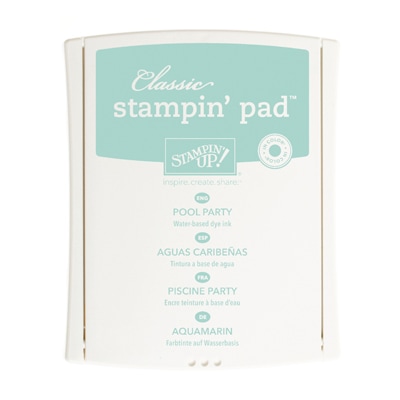
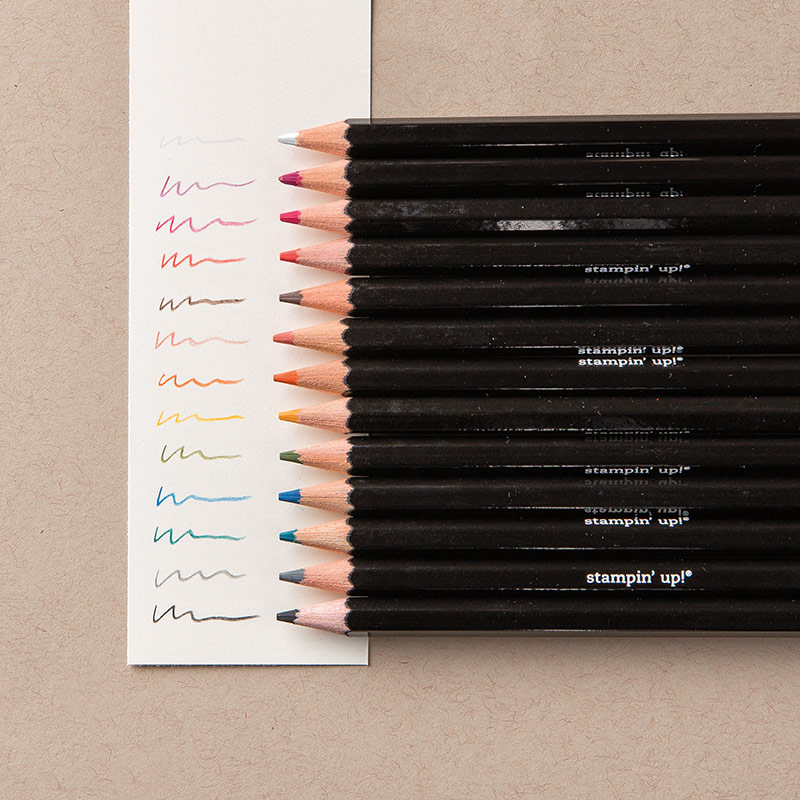
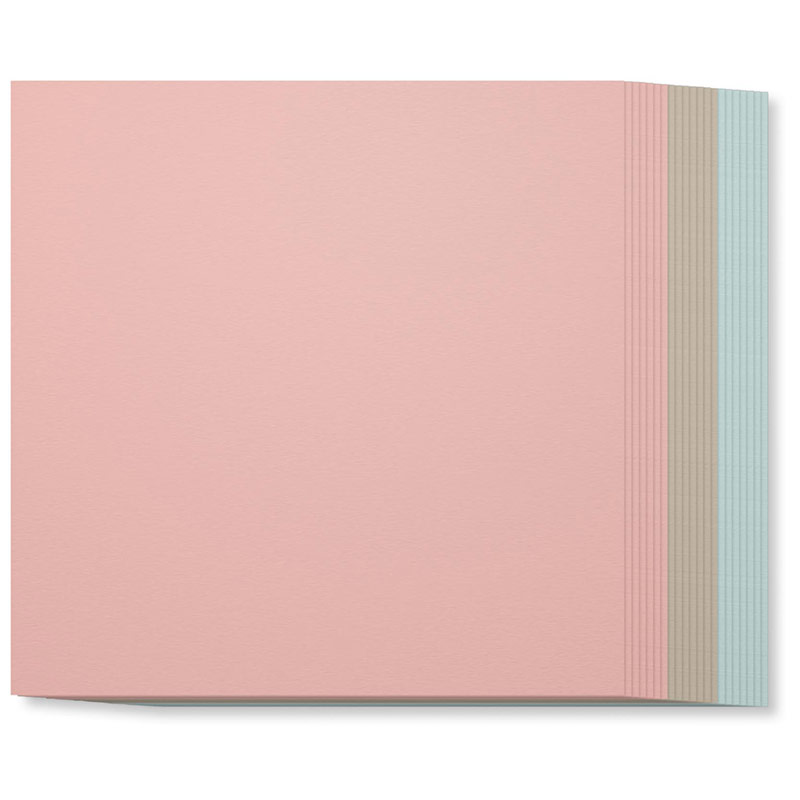
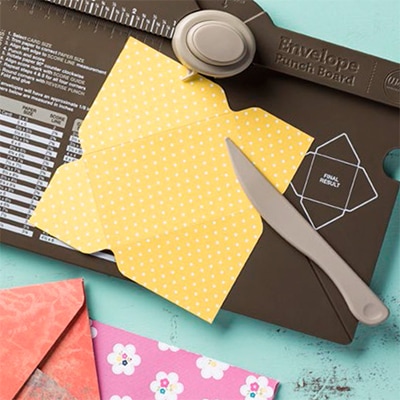
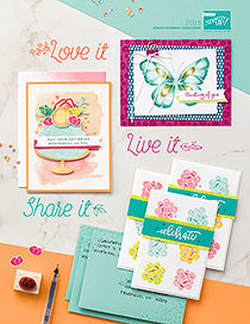
Stacey xx Hi all, Hope you're all having a good week! March's classes are all about the Beautiful You Stamp Set which is definitely the most popular stamp set from the Spring/Summer seasonal catalogue. If you've looked at Pinterest, you will see this stamp set being used alot! It is such a versatile set and looks fab however it is used! 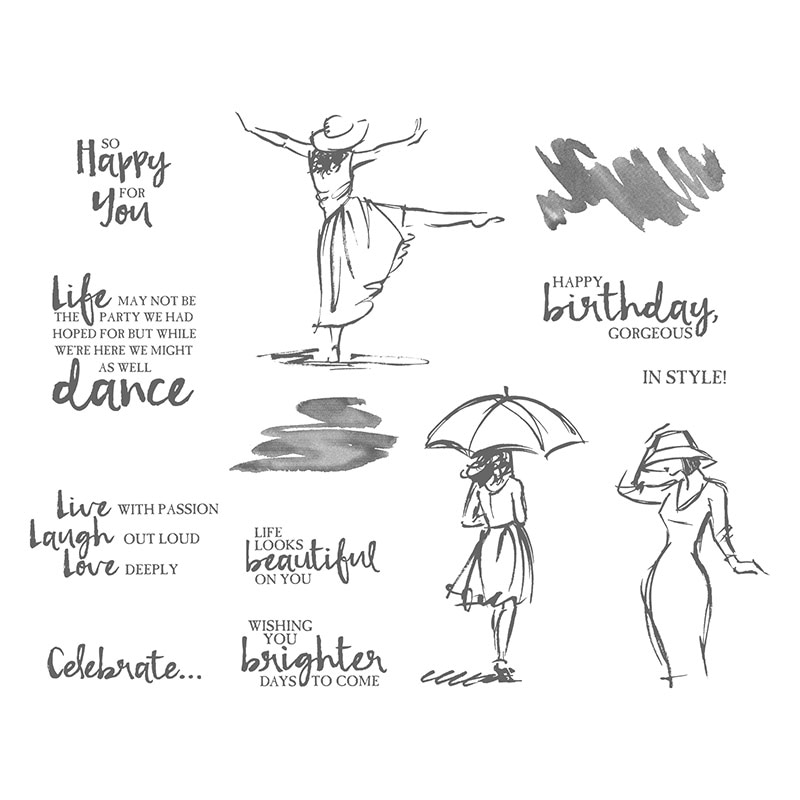 Alot of my customers have bought this stamp set so I thought it would be a good idea to put together a class. I love to make sets of coordinated notecards. They make for great gifts and always go down very well at craft fairs! 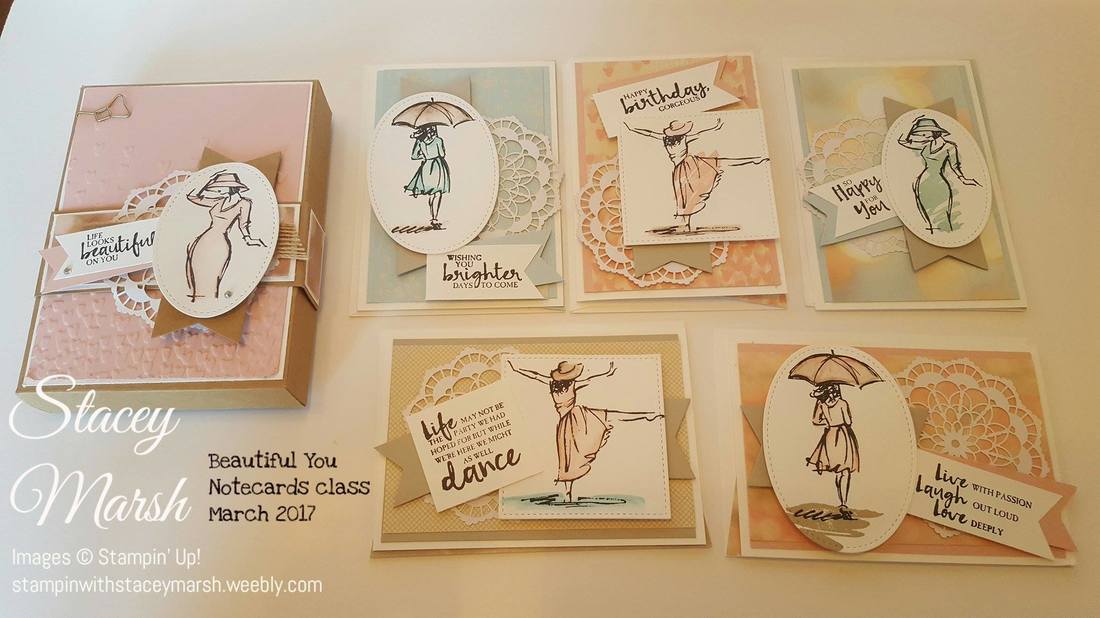 The box contains 5 notecards/envelopes which have been decorated with the Falling in Love Designer Series Paper set which is gorgeous pastels and really compliments the sentiments in the stamp set! The lady images have been coloured in using the new Watercolour Pencils and wash stamps from the set. 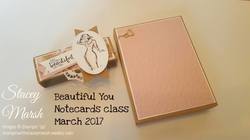 I made the box from Kraft card using the Envelope Punch Board. Starting with a 9"x9" piece of card, line the card up at 3, 1/8" and punch/score on all 4 sides. Then using the same piece of card, punch/score again with a starting point of 4,5/8". The box is then secured closed with the belly band. I used the following products to create this set: Watercolour Pencils & Aqua Painters Dies - Stitched Shapes Framelits & Mini Treat Bag Thinlits (banner die) Beautiful You stamp set Basic Black Stazon Ink, Blushing Bride, Pool Party & Sahara Sand Falling in Love DSP & cardstock Whisper White Notecards & envelopes Falling Petals Textured Impression Embossing Folder Triple Banner Punch & Envelope Punch Board Burlap Ribbon Gold Bow Paper Clip If you would like to order any of these products or find out about classes that I offer, please message me!
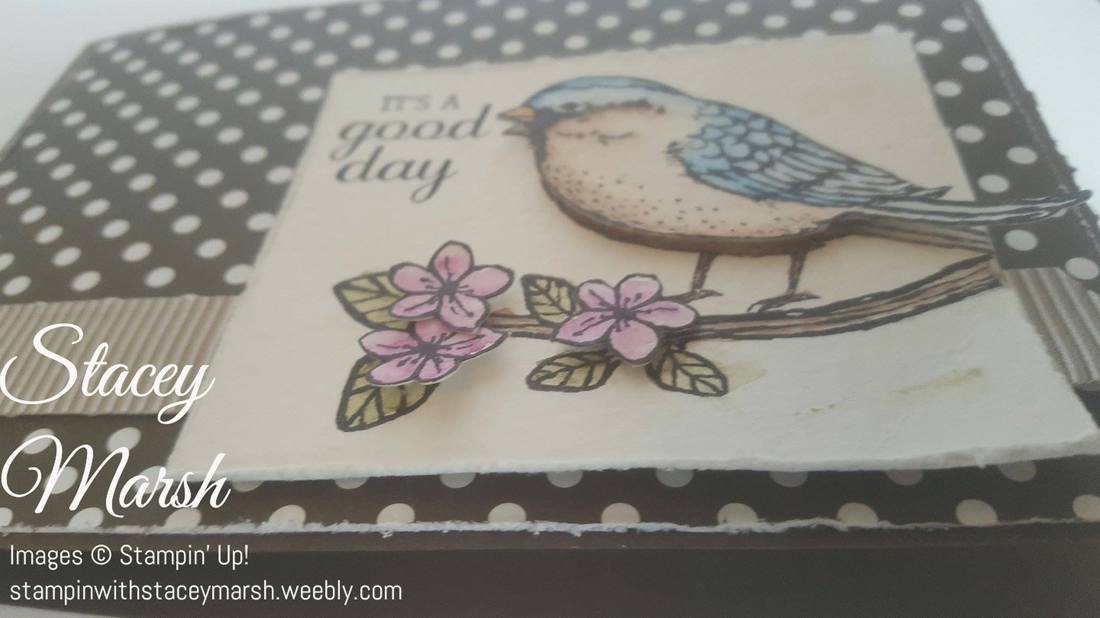
Stacey xxx Hi all, A bit late in the week for me but I got there eventually! This week's Global Design Project challenge is a theme week all about Winged Creatures!  What does Winged Creatures mean to me?! Well, Butterflies were what stood out to me first, however this challenge is designed to get you crafting out of your comfort zone, well for me that's the idea anyway so I didn't reach for my many butterfly stamps and dies...instead I opted for an unused stamp set that I have in my stock...Best Birds! 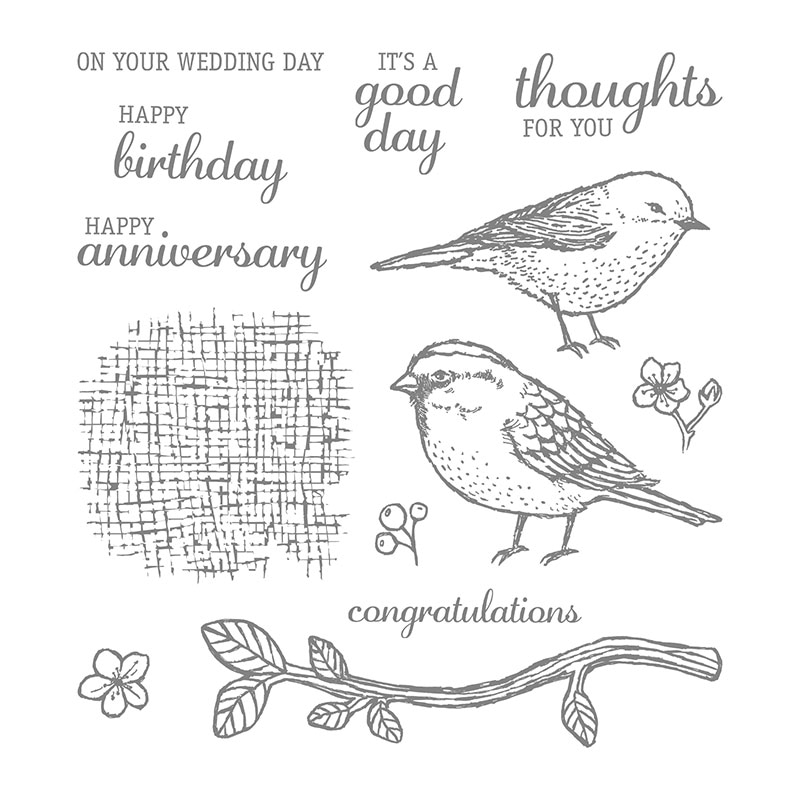 I love this stampset and I have many projects pinned to Pinterest unsing it but nope it's still untouched...until this week! 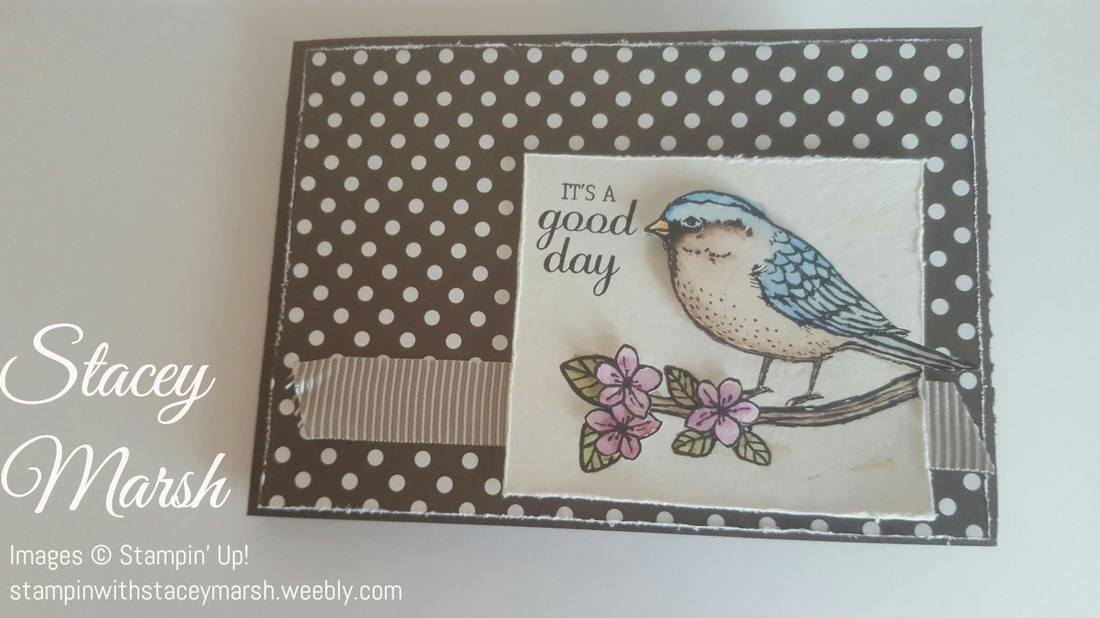 The card measures 4" x 5, 3/4". Using the Stazon ink I have stamped the branch onto watercolour paper and then the bird to get the image that the bird is standing on the branch. I also stamped "it's a good day". On a seperate piece of Watercolour Paper I have stamped the bird again and 3 flowers. Using the watercolour pencils and an aqua painter I have coloured the images in and left to dry. Whilst there are coordinating framelits for this stamp set, I didn't purchase them so I have cut the bbird and flowers out using my good old scissors. I have attached the bird and the flowers to the base image using Dimensional foam pads. To make the edge of the watercolour paper & DSP look rough, I have scratched the edge using the blade of my scissors. The DSP has been stuck to the Early Espresso cardstock, trim added and the image using dimensionals to make it stand out.
Watercolouring is still very new to me but overall my technique is improving. This isn't a traditonal "my style" of card but I hope you like it! To purchase any of these items that I have used, please click "visit my shop" below. Remember the "sale-a-bration" promotion is currently running whereby any order over £45 will reward you with a FREE limited edition product of your choice!  Have a great weekend!
Stacey.xx Hi all, Hope you're all managing to shelter from this horrible weather we are experiencing at the moment. Today I am sharing with you a 3-d project which makes a nice change from the usual cards! These boxes measure 2" square and they are really handy for small gifts. I like to fill mine with sweet treats for table gifts and that's exactly the idea behind this project. Filled with lovely mints, I have added a couple of strips of DSP, and some ribbon and bakers twine to secure. The tag is made from a few punched shapes and a stamp set that is just perfect for this sort of project! 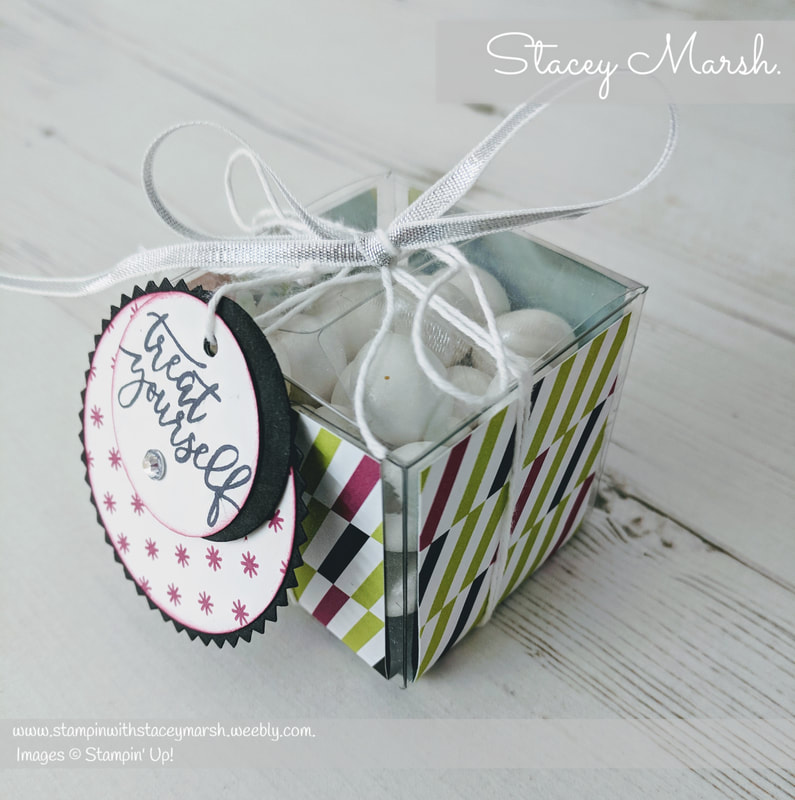 All of these products are available to order now and remember you can order a FREE Sale-a-Bration product with orders of £45!  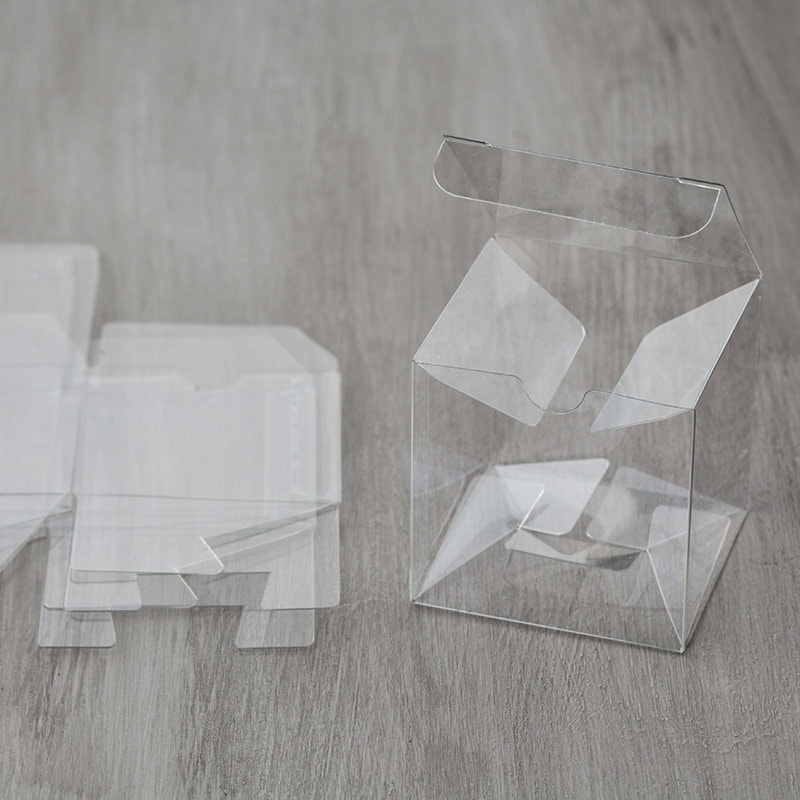 Clear Tiny Treat Boxes  Picture Perfect Designer Series Paper 6" x 6" Stack 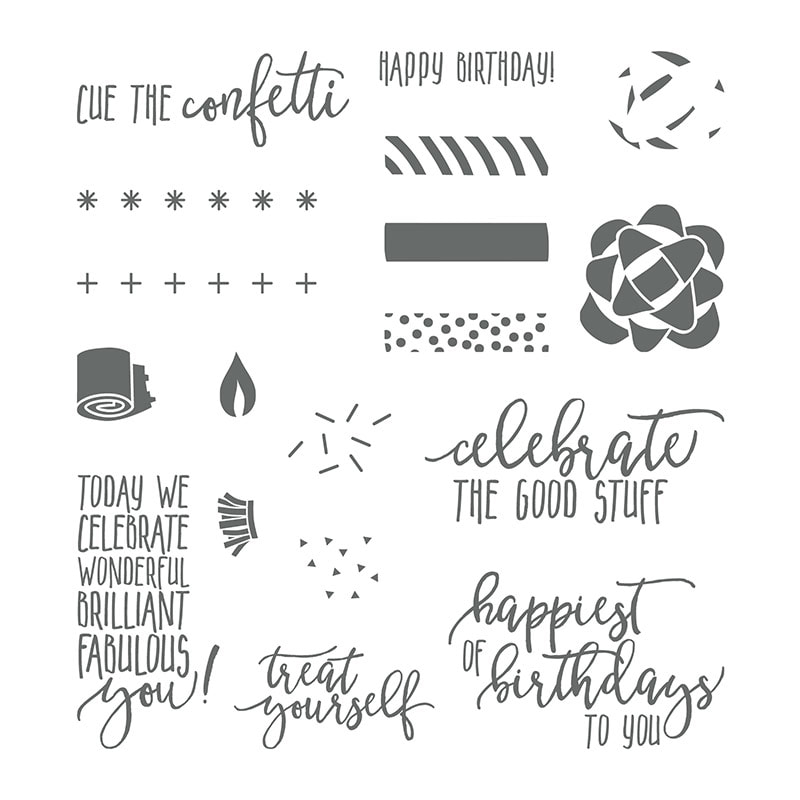 Picture Perfect Birthday Photopolymer Stamp Set Click SHOP NOW to go to the main website to order.
Stacey xx Hi all, Hope you had a good week! Not a great deal to report from me which makes a nice change! It's THEME week over at the Global Design Project  These days it takes me a bit of time to create a 3D project and as you know I don't have great deal of time at the moment so I resorted to my old friend Pinterest for some much needed inspiration! As a Stampin' Up! Demonstrator I have met many new friends, all of which inspire me in different ways but one of my favourites for creating gorgeous boxes is Heidi from Flutter By Heidi. I wasn't very surprised when it was one of Heidi's creations that jumped out from Pinterest that made me think "Oh that's nice!" Maybe it was because my favourite Ferrero Richer chocolates were in the picture too ha! So this is my take on Heidi's lovely Elegant Envelope Punch Board Top Opening Box! 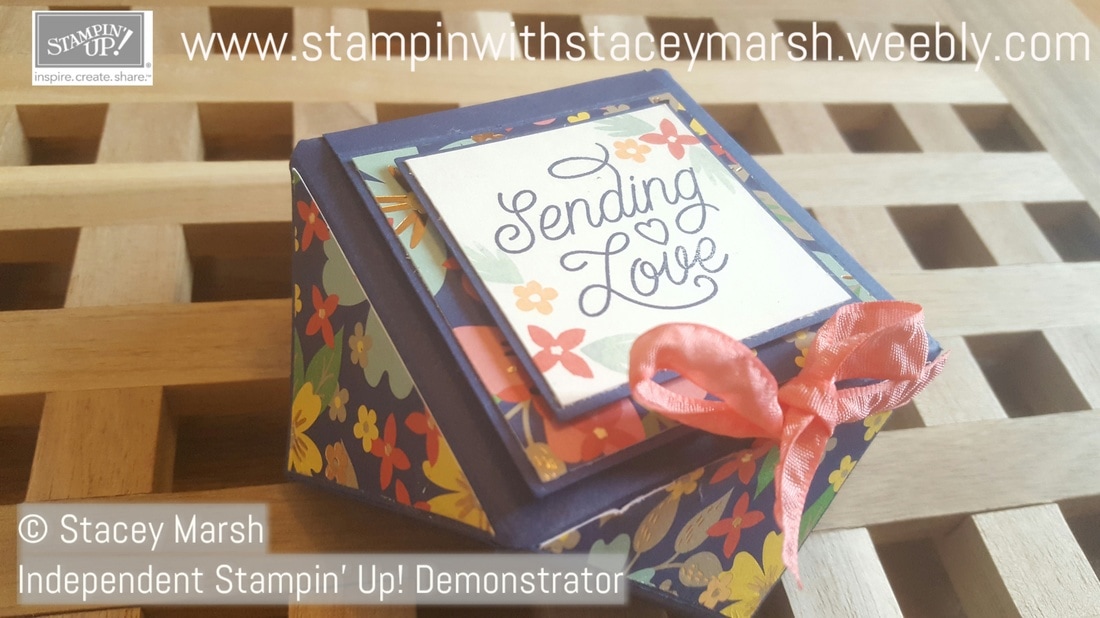 The box is ultimately made up from a sheet of A4 cardstock, and some DSP plus some ribbon!
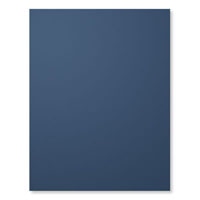
I sat and made this box at my weekly craft group on Tuesday and it really was straight forward, fun and quite quick to make. These are the products that I used to make my box: I used Night of Navy cardstock for the box. The DSP comes from the set called Affectionately Yours "Sending Love" comes from the Designer Tin of Cards stamp set and is stamped in Night of Navy ink. I have stamped some flowers & leaves around the sentiment whch come from the stamp set called "Love & Affection". The trim I have used is Ruched Ribbon in Flirty Flamingo. Thanks for the inspiration Heidi! Click here to visit Flutter by Heidi and see how the box is made. If yu would like to find out how you can order these products or to earn then for free leave me a comment below or visit my online shop. Stacey xx  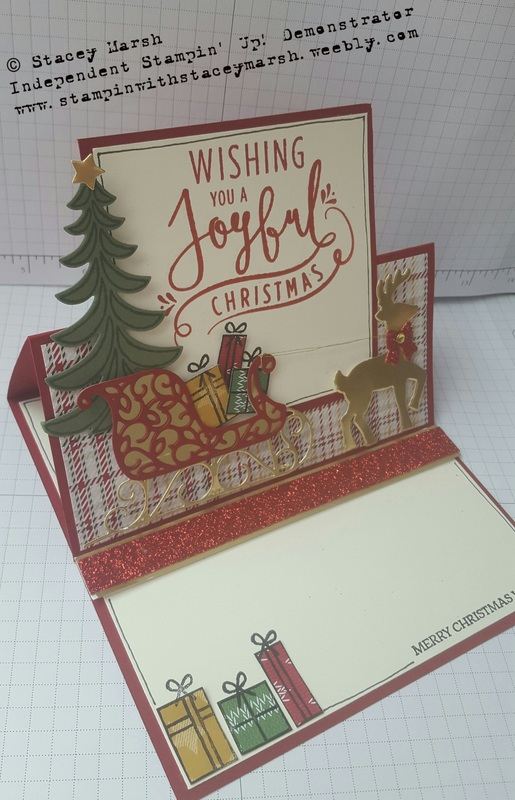 This card is a standard 6" x 6" square base and I have used
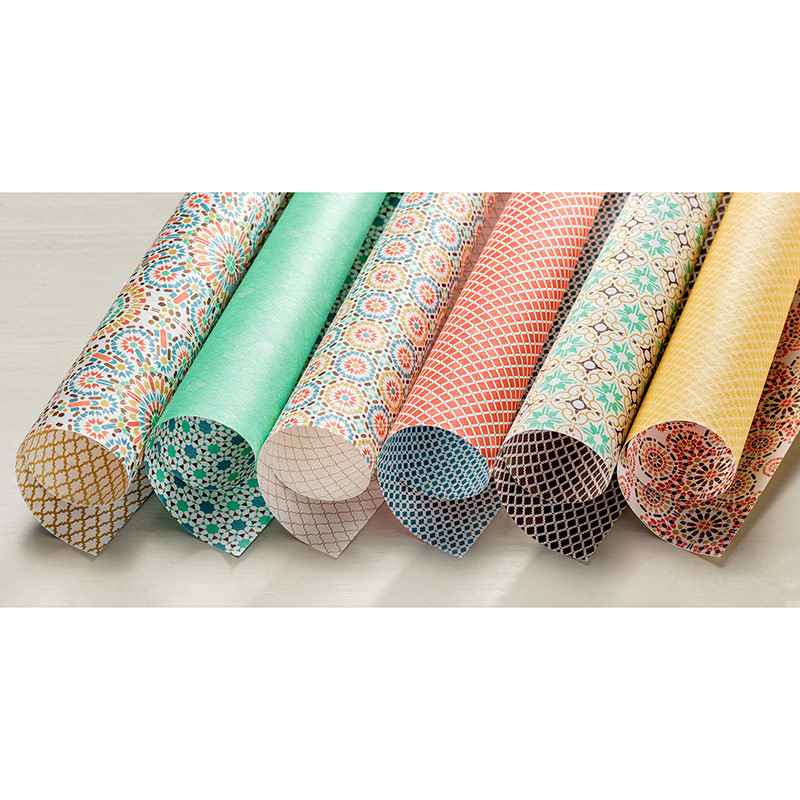
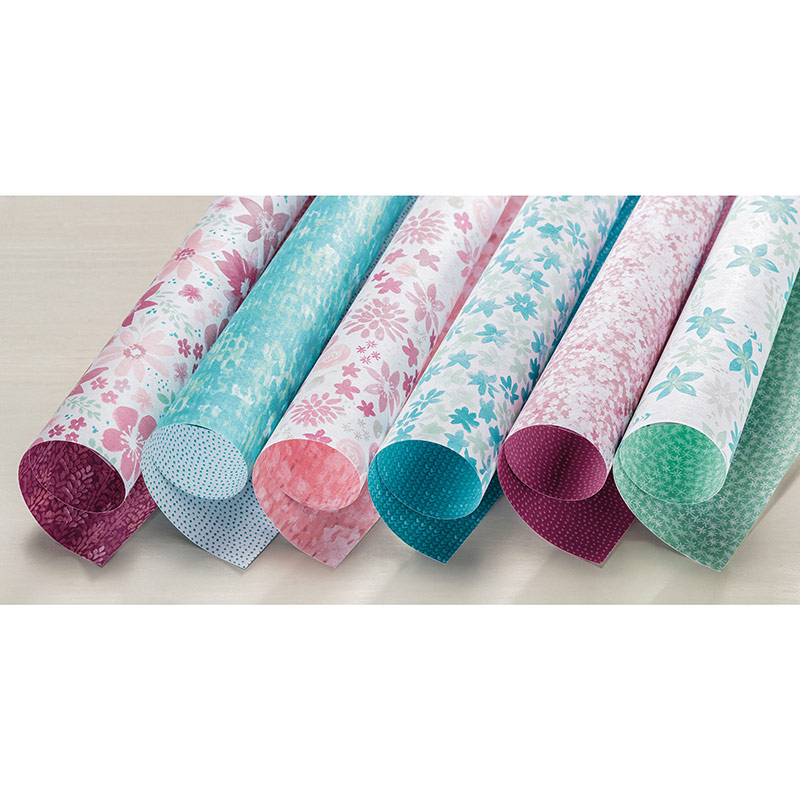
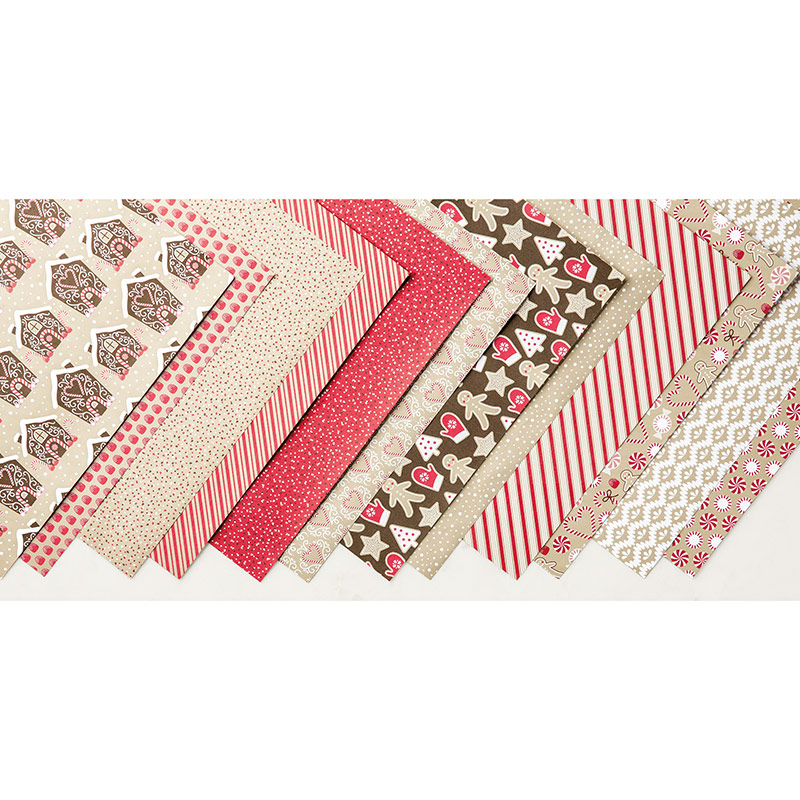
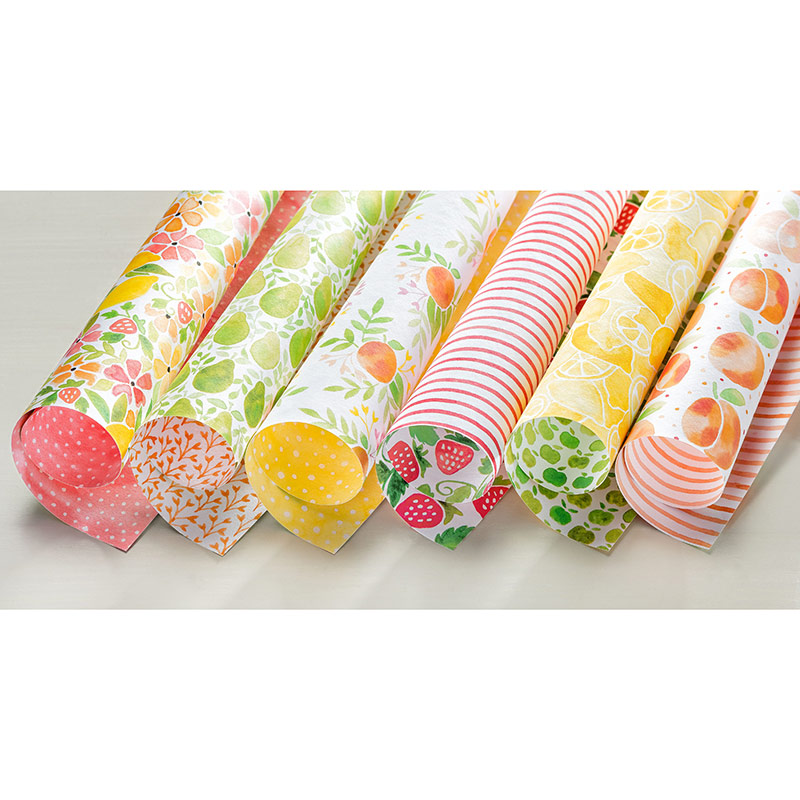
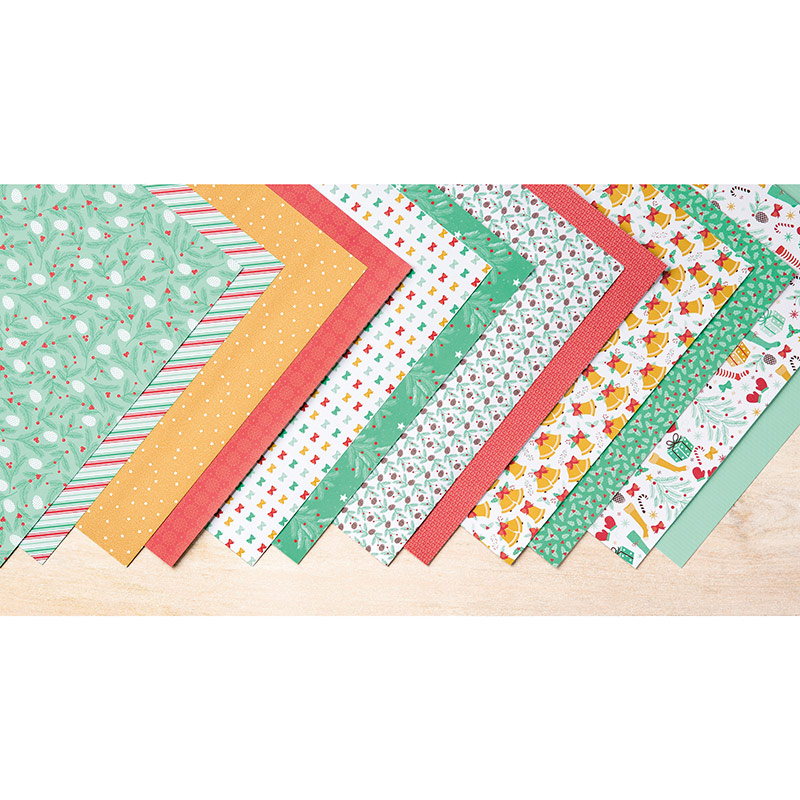
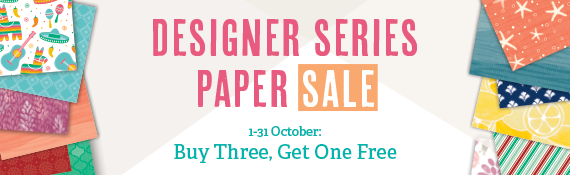 Hi all, Throughout the month of October Stampin' Up! are offering a fab promotion on their suites of 12" x 12" Designer Series Paper. Buy 3 packs of 12" x 12" DSP for £10.00 each and choose a 4th pack totally FREE! Papers that are included in the offer include: Blooms and Bliss By the Shore Candy Cane Lane Festive Birthday Floral Boutique Fruit Stand Moroccan Presents and Pinecones To place an order, please visit my online shop or send me a message with your details.
Stacey xx Hi all! I hope you've all had a good week! Another busy one here with the husband away and the last week of term almost upon us! Waking up this morning to the terrible news in Nice, France is just heartbreaking, thinking of all those involved. When will these devastating attacks cease?!! Today I want to share with you all a project that I made last weekend whilst watching the Wimbledon final....using the gorgeous Irresistibly Yours DSP as the main feature. They are a set of white 12" x 12" papers that have a shiny embossed texture to them, 2 in each pattern including florals, diamonds, stripes...and spots!!! For this project I used the spotty paper. I cut 3 strips of the DSP into 6" x 12" strips and chose a selection of inks...blues/purples, greens/blues and yellows/oranges/reds. I then used the new sponge brayers to add a random spectrum of colour to each strip.  And this is the end project.....12 cards, 3 of each style/occasion and all using a variety of different stamps and dies and embellishments! 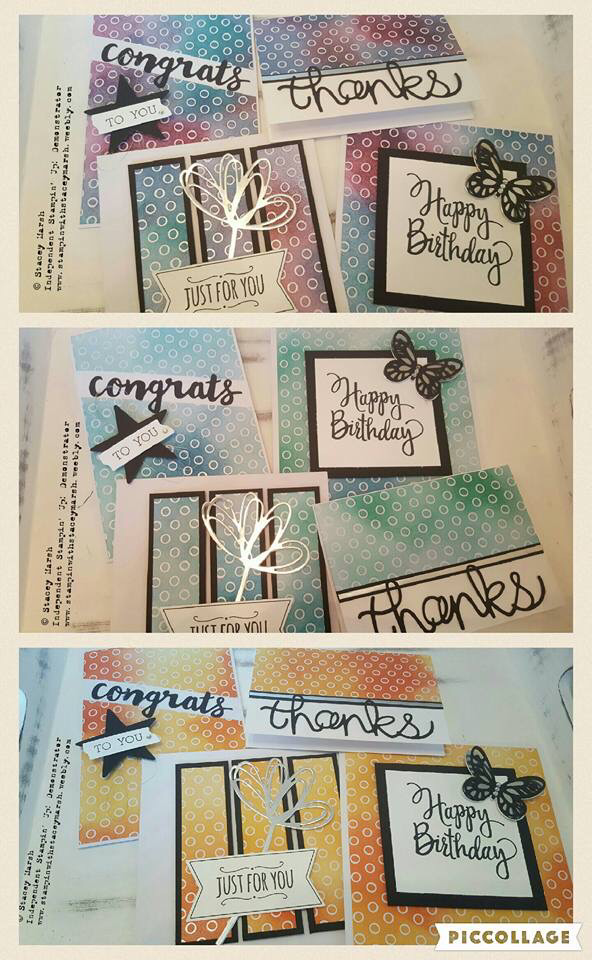 This project was a lot of fun to make and would be a lovely card-set gift to give someone! Looking forward to to using some of the other papers now....! Heres a list of products I used...
Remember the current promotion running throughout July for orders of £45 or more!  Double-tap to edit.I hope you have a lovely weekend! Thanks for reading, Stacey xxx Double-tap to edit.
Hi all! Hope you're having a good week so far! We found out yesterday we're expecting another little girl in november sk it's smiles all round at the manor especially for little Florence who has been adamant that she's having a sister right from the start! Bringing you the final card from this month's card class...and the fancy fold instalment! Each month i try to include a card that is folded slightly differently than the normal style. Sometimes they're reallt fancy and other times they're just slightly fancy! 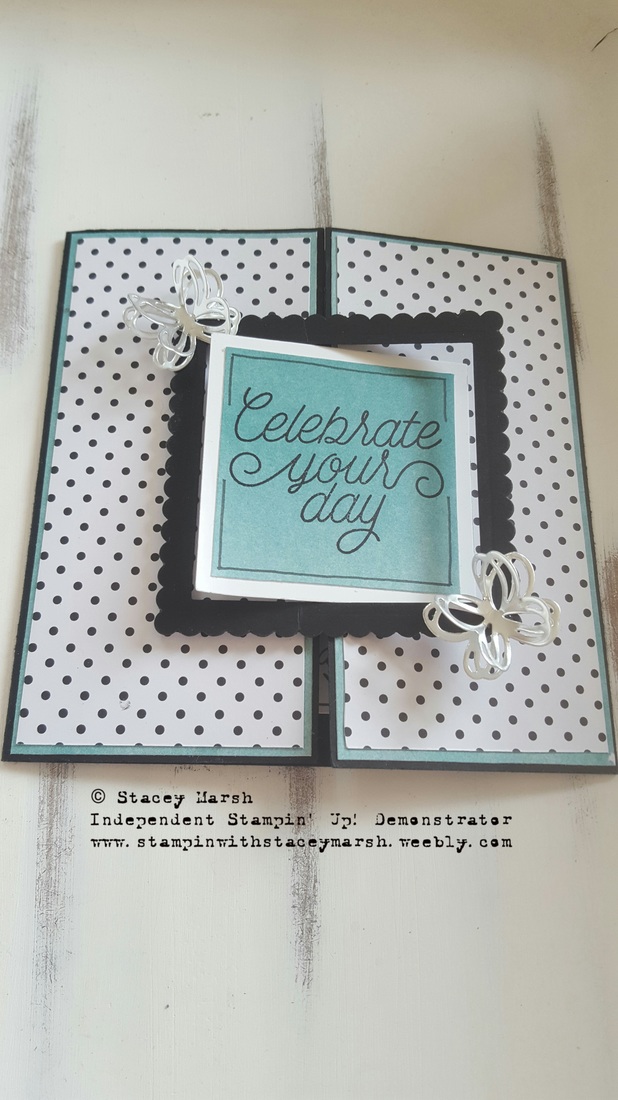 Once the card has been folded it makes a 5" x 5" square card. To create this style of card, rather than scoring in the middle of the card, score it at 2.5" from either end. I have added some DSP to the side panels of the card from the Pop of Pink range. For the cross-over section in the middle I have used the Layering Square Dies to create a frame effect and layered using the new Foam Adhesive Strips. The sentiment comes from the Designer Tin of Cards set and the silver butterfly shapes are cut from the Sunshine Wishes Framelits Dies. 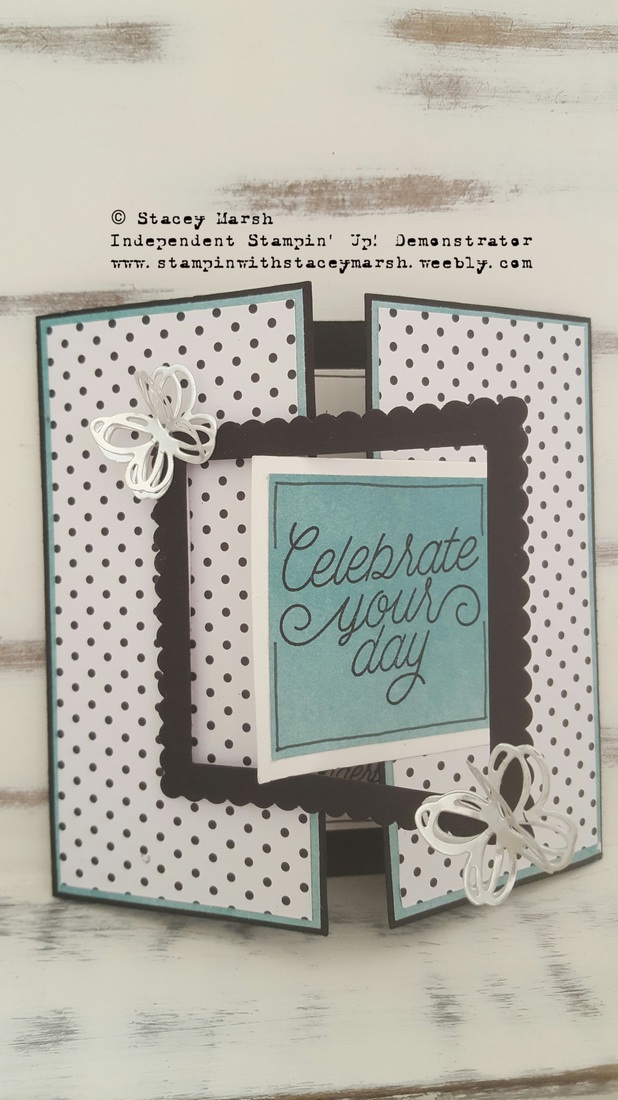 I liked this "fancy fold" card as it looks effective but is so easy to make and could be great for using up all those off-cuts of DSP we all keep!
Thay concludes our card class set for July. I hoped you liked the cardsm Next month I will be doing a notecard and box set at the card class...dates to follow! Have a great week! Stacey xxx |

About Me
Hi there! Shop With Me
Order Online
Shop 24/7 by clicking on the logo above and get Stampin’ Up! products delivered directly to your door for a flat postage rate of £4.95 Browse the
|


 RSS Feed
