|
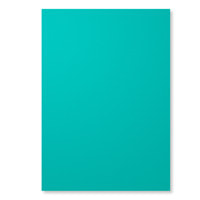
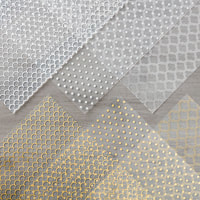
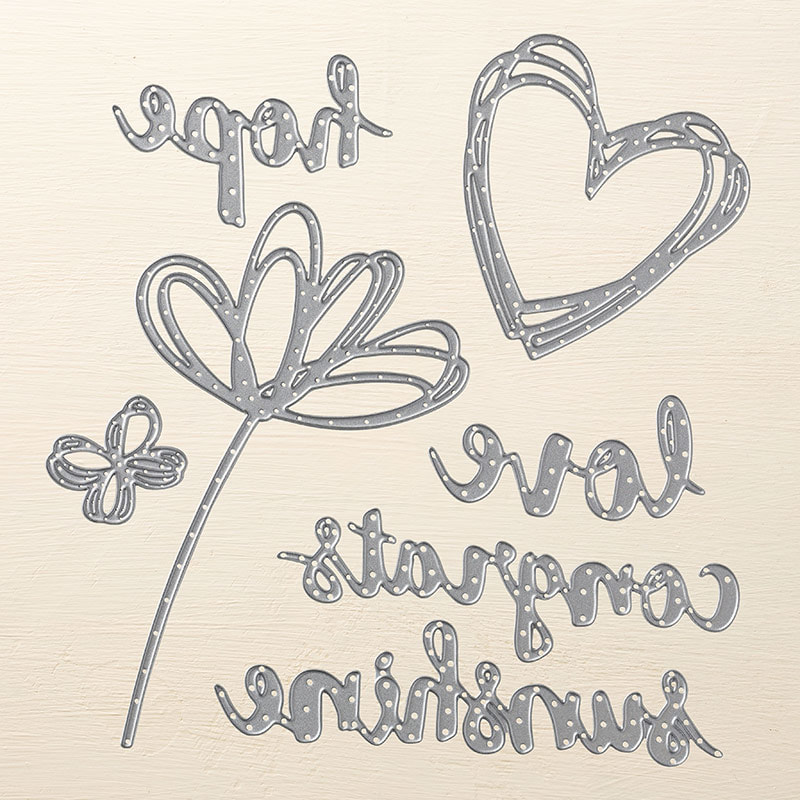
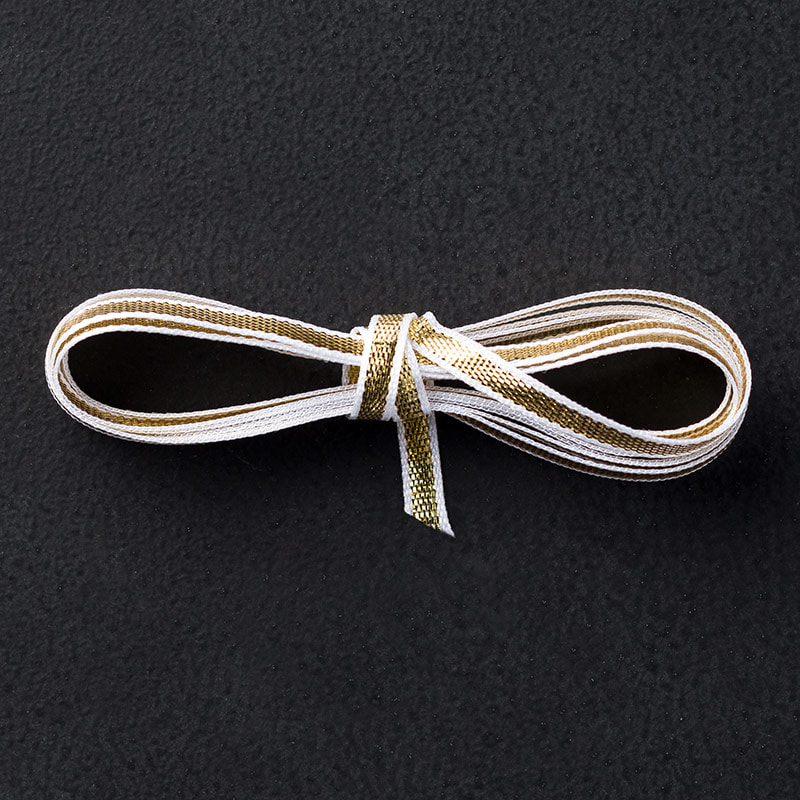
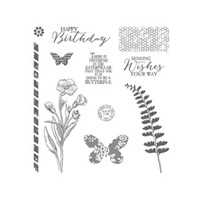
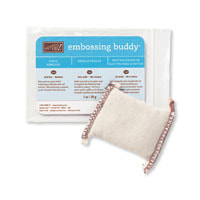
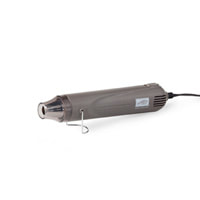
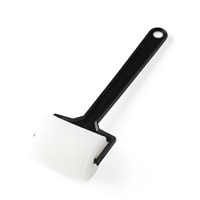
Hi all! Hope you're all enjoying a lovely week! This week I have picked up the Global Design Project after a little break from this challenge. This week is a sketch challenge and it's a simple one witha technique that I use alot for quick cards.  This challenge screams TRIPLE BANNER PUNCH which is actually one of my can't craft without items! It is a really versatile item that cute banners any length but in widths of 1/2", 1", 1,1/2" and 2". It is great for cards, tradition scrapbooking, pocket scrapbooking, 3d items and lots more! We are currently in the process of building a craft barn in the garden for me so I've not had a great deal of crafting time, plus the craft stuff is everywhere right now! For my challenge entry I decided to do some heat embossing....after I managed to find the heat tool! 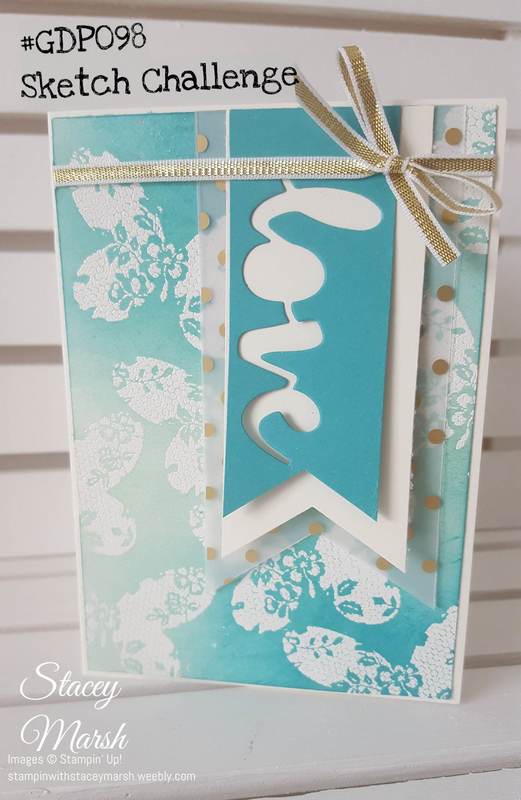 One of my most favourite and used stamp sets is called "Butterfly Basics". For this card, I used the butterfly stamp with white embossing powder to create texture to the cardstock I then used a sponge brayer with a mixture of Pool Party and Tempting Turquoise to create the colourful bakground. If you're not familiar with this technique, it really is a great way to add a different dimension to your cards, and building up your own backgrounds. I have cut 4 banners; one in Vellum, 1 in Fabulous Foil Designer Acetate (the same size as the Vellum), 1 in Very Vanilla and 1 in Bermuda Bay. Althought I haven't used Bermuda Bay ink, this is the cardstock colour that matches best with the background that I have created with the Pool Party and Tempting Turquoise inks). Using the "love" thinlit die from "Sunshine Wishes" set, I have cut out from the Bermuda Bay cardstock and used the negative image. I used the 1/8" Gold Ribbon to secure everything together. 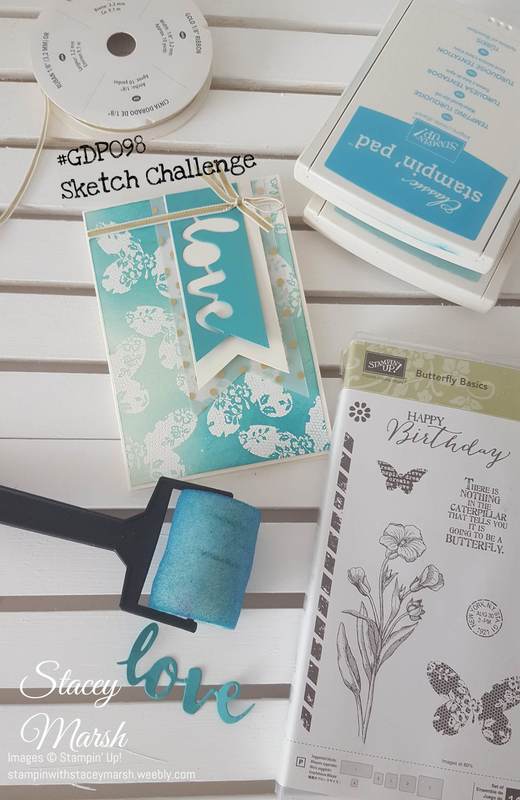 Here is the list of all the products that I used to make this card. Thanks for reading, I hope you like my entry to this week's Global Design Project!
Stacey xx
0 Comments
Hi all, Here we are for part 2 of my September card class post and the last 2 cards that we made together using the Jar of Love stamp set and Everyday Jars Framelits bundle. The first of the 2 is a shaker card which are proving rather popular recently and these jars are perfect for creating really effective and fun shaker cards! 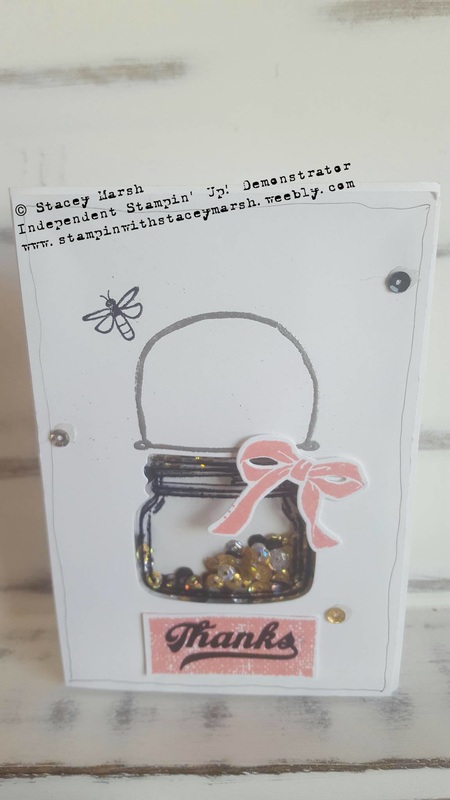 To create this card:
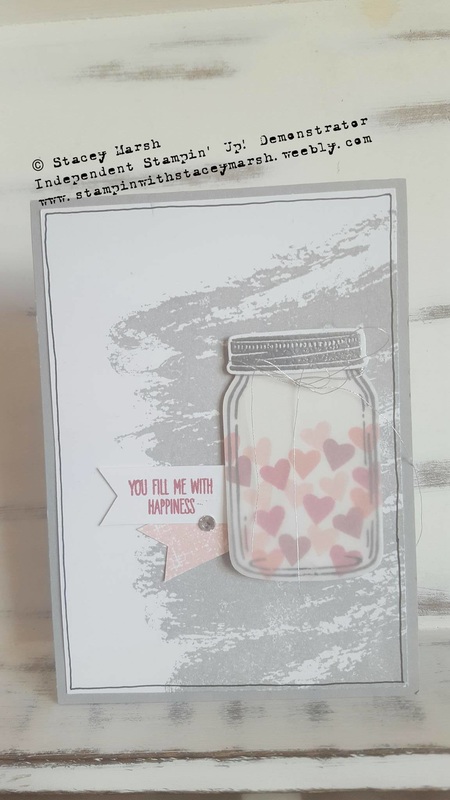 The last card is a standard 4" x 6" card base.
I'm sure this won't be the last time you see the Jar of Love stamp set bundle used by me as it is so effective and has so many options! Thank you for reading, hope you have a good week! Stacey xx Hi all, Hope you're all well! It's the school holidays for me now which means lots of quality time with my little girl, husband and mum, a holiday, mine and my hubbys birthday and hopefully some crafting marathons too! We're in the final week of the Bonus Days promotion which I know quite a few of you have benefitted from already! For those of you that haven't placed your orders yet I will be placing a final order on Saturday evening this week! I always like to include a little thank you card with peoples orders when i send them out and this month I have used the Serene Scenery Designer Series Paper Stack as the main event! They are a set of co-ordinating 6"x6" double sided papers made up of pretty scenes, textures and printed patterns. When i first saw them in the catalogue I wasn't sure but now I've used them I'm a fan! 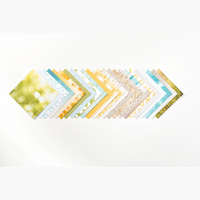 Here are the cards... 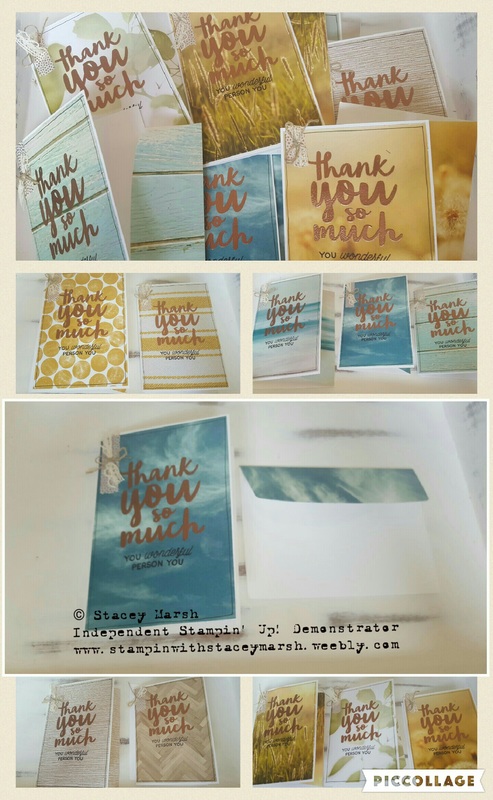 I have used one of each of the Scenery sided papers along with the Notecards and Envelopes in Whisper White. I have stamped using Versa Mark and heat-embossed with Copper embossing powder. For an embellishment I have used a mixture of washi-tape, twine and lace trim. And to avoid the naked envelope I have added a sentiment to the front and some of the same DSP to the fold over! 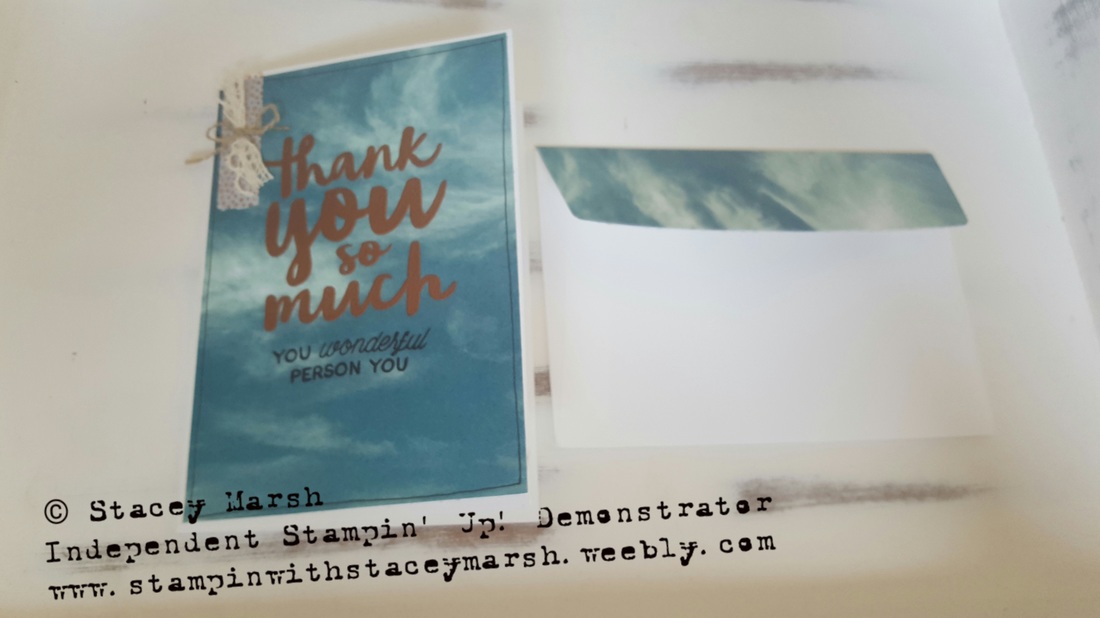 Thanks for reading!
Have a good week everyone! Stacey xxx Hi all, Yesterday was the first group of my monthly card class. There are so many locelt new products in the catalogue, this month i found it really hard to pick one to focus on! We made 3 cards and used the following selection of new products... Love You Lots Hostess Stamp Set Sunshine Wishes Dies & Sunshine Sayings Stamp Set Layering Squares Framelits Dies Sponge Brayers Irresistably Floral Speciality Designer Series Papers Today i'm going to share with you mt favourite card of the 3.... 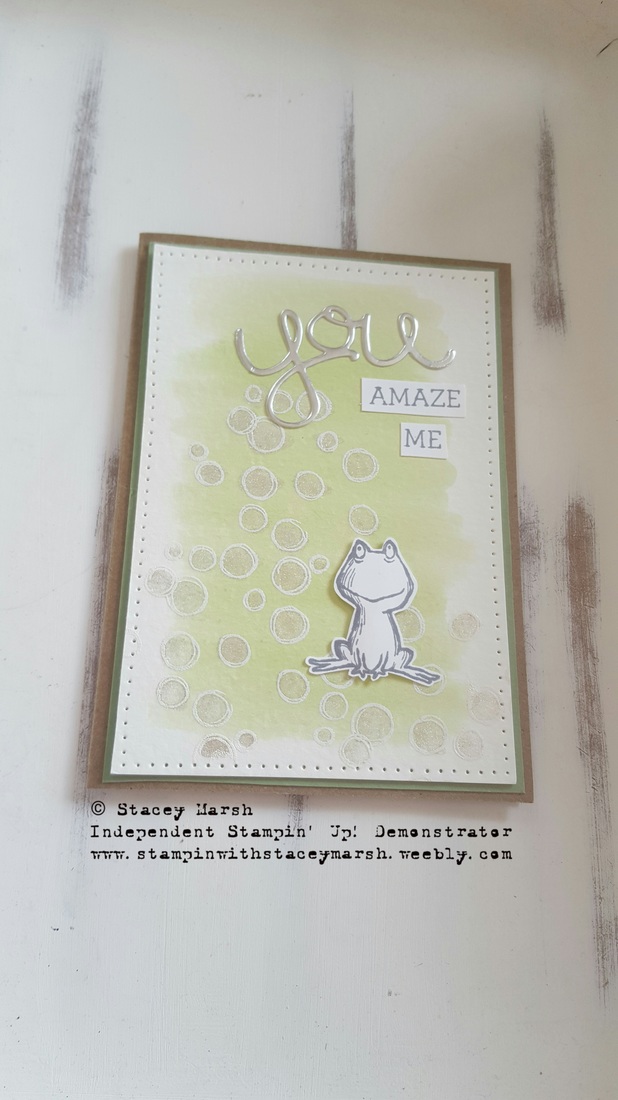 I've used Kraft card for the card base with a Wild Wasabi cardstock layer. For the background, I used an Aqua Painter and Wild Wasabi ink to create a wash of colour. The bubbles are from the Playful Backgrounds stamp set and I have stamped with Versamark, added Whisper White embossing powder and heated. Once dry I added some sparkle using Wink of Stella. The little frog is stamped using Basic Grey and stuck on with Dimensionals. The words come from the Crazy By You stamp set and "you" has been cut from the Hello You Thinlits Dies. One of my ladies decided to use the hedgehogs instead...don't they look sweet too??? 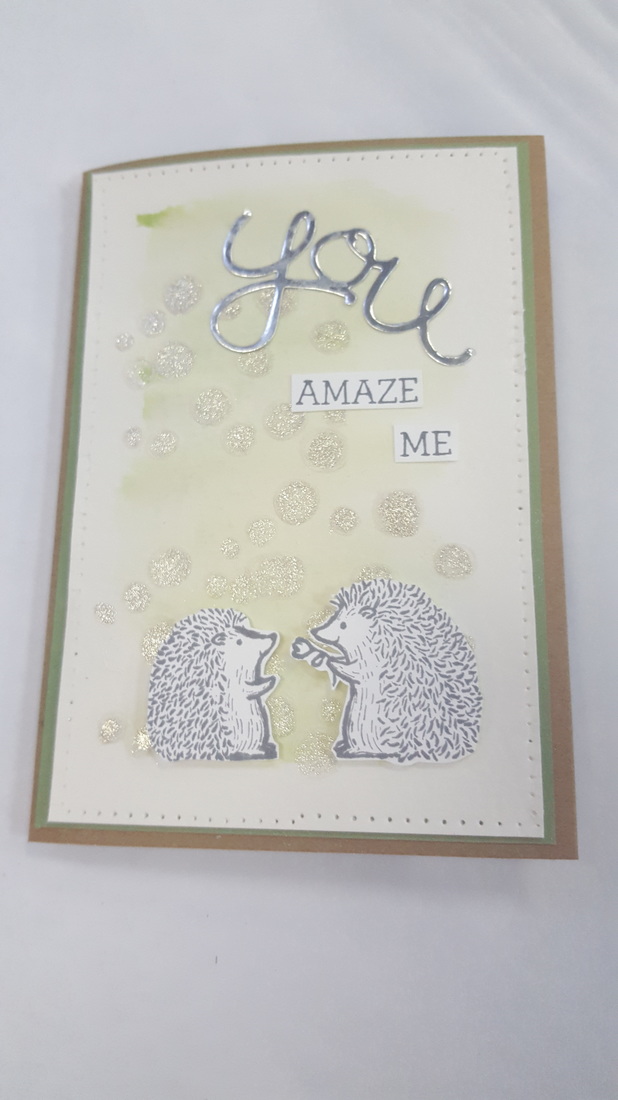 There are so many examples of this stamp set all over Pinterest at the moment I can't wait to use the other cute animals!xx 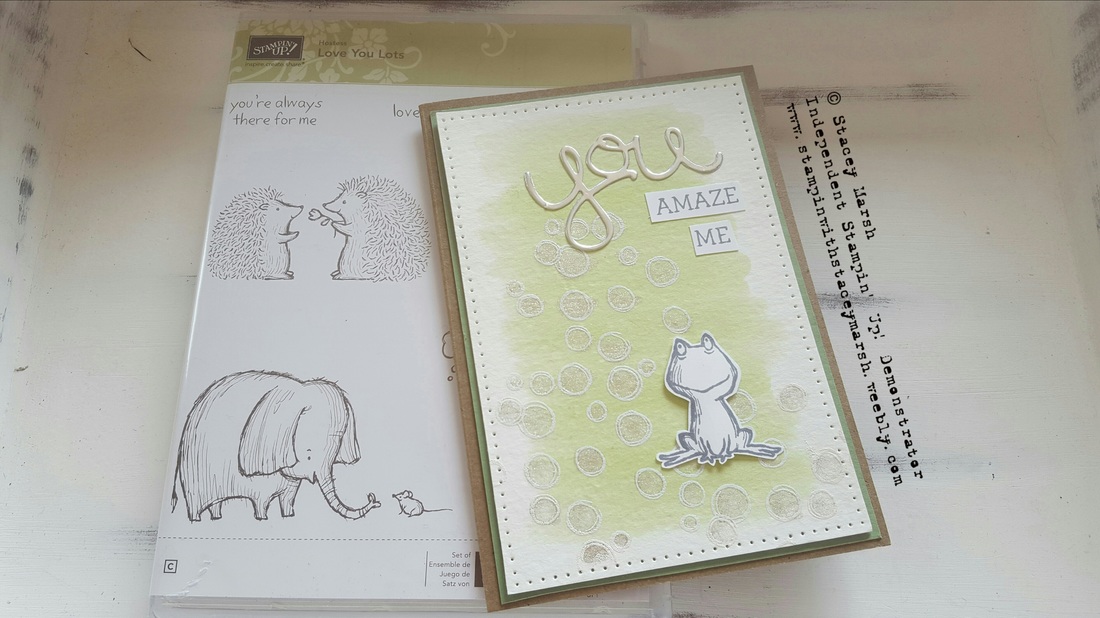 |

About Me
Hi there! Shop With Me
Order Online
Shop 24/7 by clicking on the logo above and get Stampin’ Up! products delivered directly to your door for a flat postage rate of £4.95 Browse the
|


 RSS Feed
